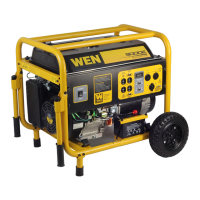
GENERATOR PREPARATION
To connect the battery:
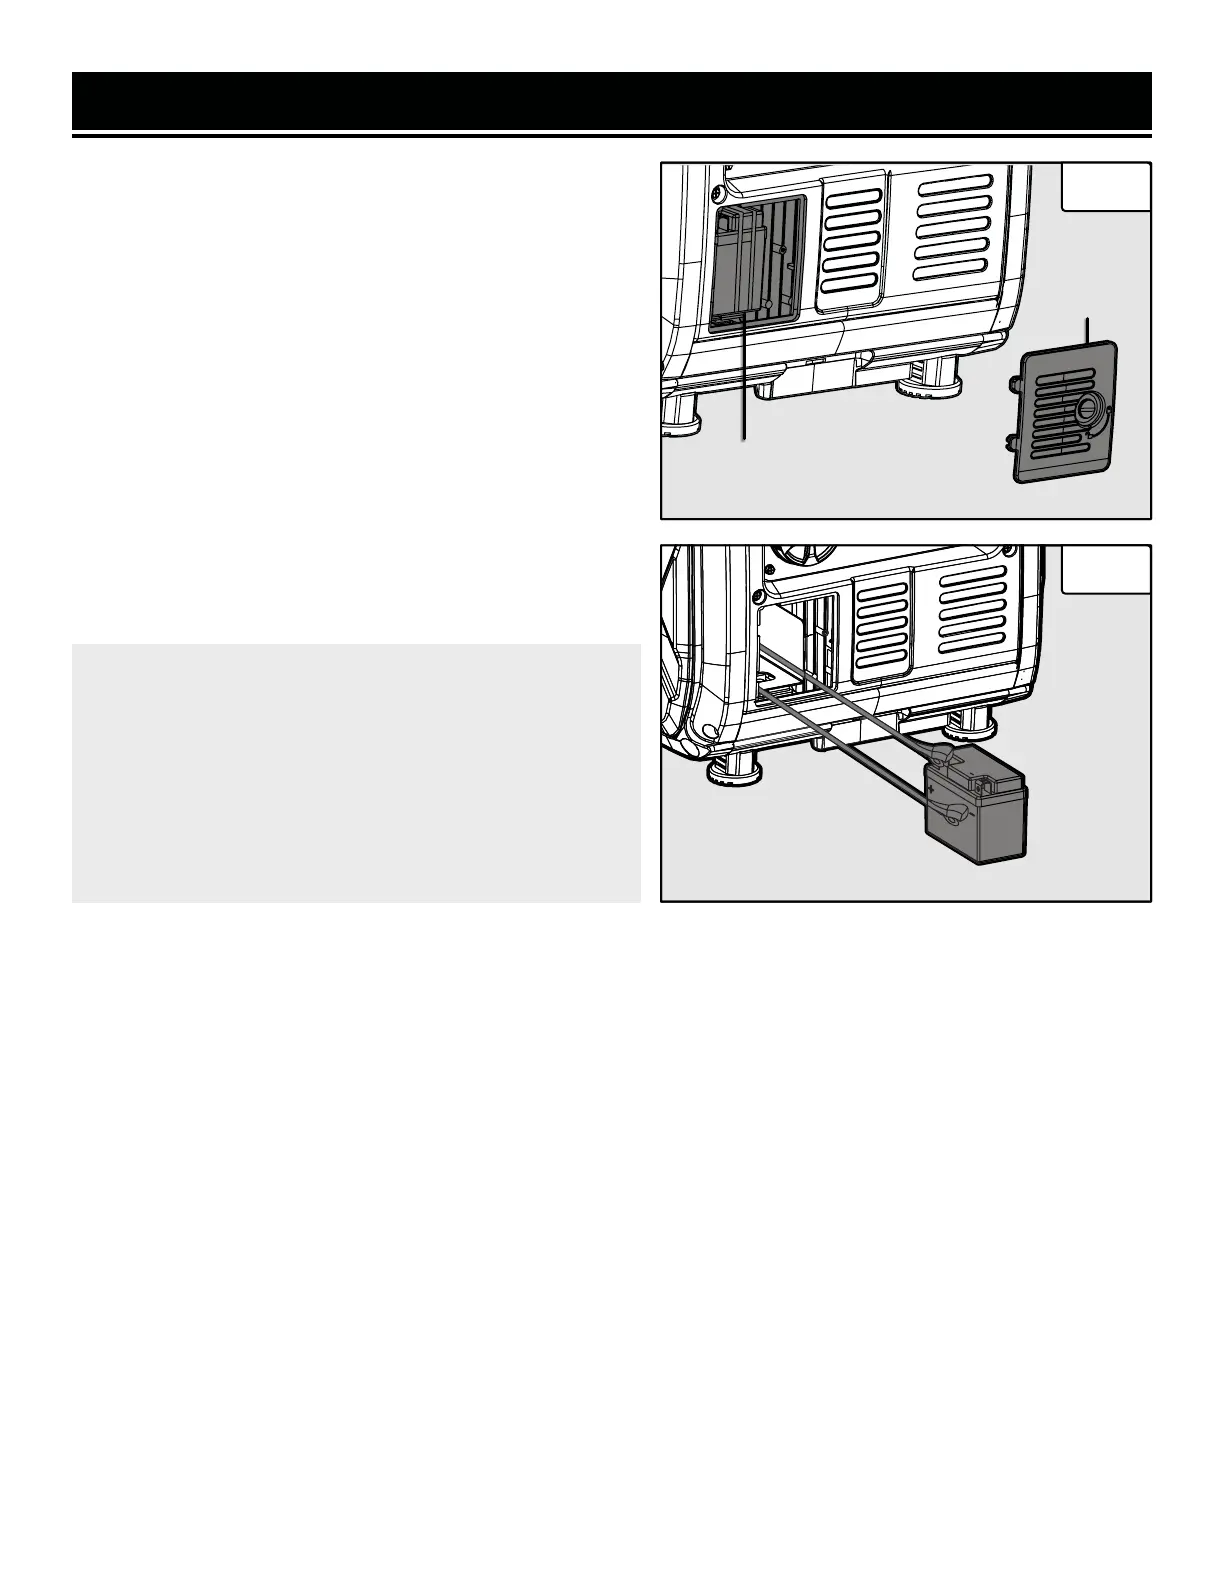
1. Using a quarter coin or flat-head screwdriver (not includ-
ed), open and remove the battery access cover (Fig. 7).
2. Loosen the rubber belt and pull out the battery.
3. Remove the cover from the battery's negative (-) terminal
and connect the black cable to the battery's negative (-)
terminal as shown in Fig. 8.
The generator's positive pole has already been connected.
Double check to confirm that the connection is secure.
4. Return the battery into position and use the rubber belt to
fasten the battery.
5. Reinstall and secure the battery access cover.
IMPORTANT: If you do not plan to use the gen-
erator for a long period of time, we recommend
DISCONNECTING the negative battery cable from
the battery to protect the battery from losing
charge. After disconnecting the cable, cover the
free end with an insulator such as electrical tape.
You may also choose to use a trickle charger (not
included) to maintain battery charge.
Fig. 7
Fig. 8
Rubber Belt
Battery
Access
Cover
17
ENGINE BREAK-IN PROCEDURE
The procedure below should be followed when you receive your generator in order to prolong the engine's service
life. This procedure helps to seat the piston rings properly in the cylinder, and will reduce overall wear on the engine.
For the first 8 hours of operation, vary the load, but keep it at or below 50% of the generator's rated wattage, if
possible. If your generator is equipped with an Eco-mode switch (only applicable for certain inverter generators),
engage Eco-mode periodically during the first 8 hours. After the first 8 hours, change the oil, then change it again af-
ter the first 25 hours. You may run the generator at full load after the 8-hour oil change. Refer to the Recommended
Maintenance Schedule in Table 4 for the full maintenance schedule.
 Loading...