OPERATION
CAUTION! To avoid personal injury and/or damage to
the workpiece, become familiar with the rotation of the belt
and disc sanding surfaces.
The belt sander rotates counterclockwise or downward toward
the table or backstop. The disc sander rotates counterclockwise,
downward toward the table on the left side of the disc and up-
ward from the table on the right side of the disc. Always use the
left side of the disc; using the right side of the disc will cause the
workpiece to fly up or kickback and could result in injury. Re-
view this instruction manual for correct operation, adjustments,
and basic sanding operations.
BELT SANDER - HORIZONTAL & VERTICAL SANDING
Your belt & disc sander can sand vertically as well as horizon-
tally. Depending on the operator’s needs and the workpiece, the
work-support can be used with either the horizontal or vertical
position.
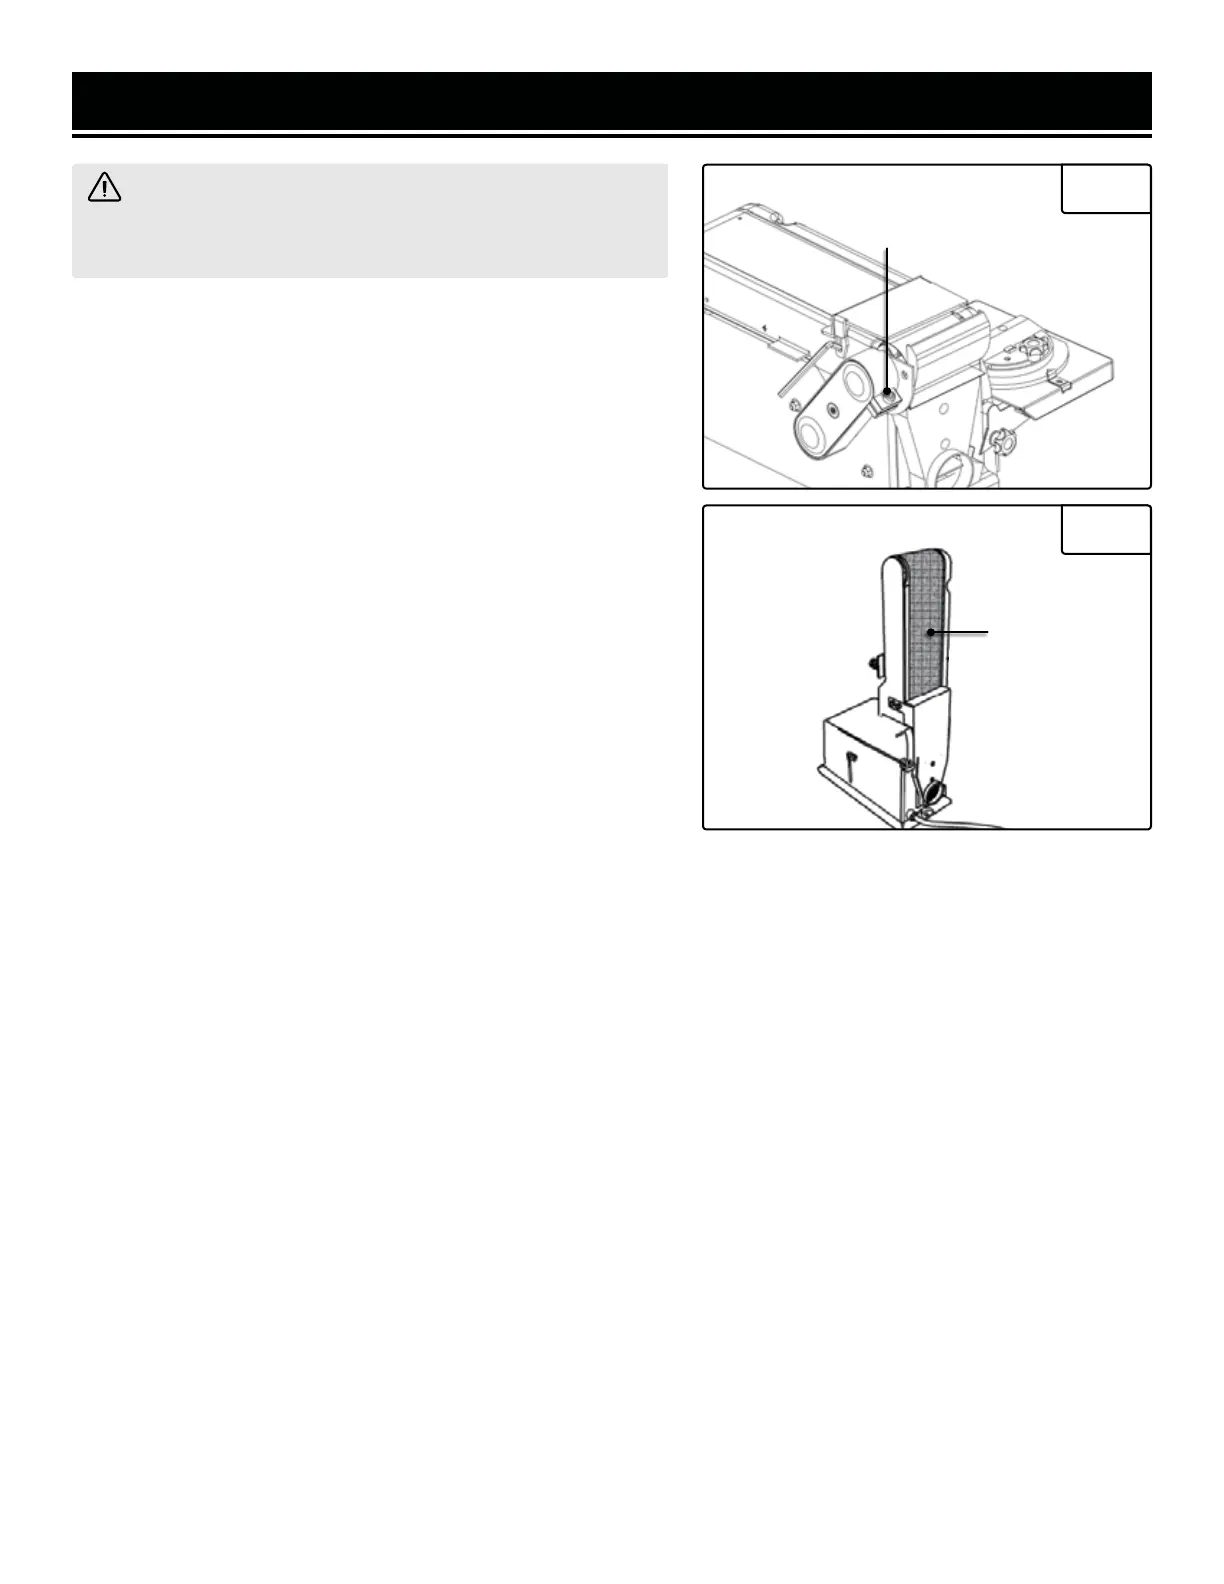
To change from one position to the other:
1. Locate the 15/64” (6 mm) hex wrench
2. Loosen the bed-locking screw by turning it counter-clock-
wise.
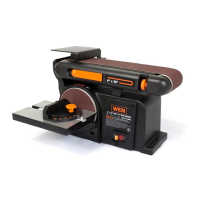
Fig. 17
Fig. 18
Bed-locking
Screw
Vertical
3. Manually move the work support station into the vertical or horizontal position, as required.
4. Retighten the bed-locking screw by turning it clockwise (using the 15/64” (6 mm) hex wrench).
NOTE: Sand long workpieces with the sanding belt in the vertical position by moving the work evenly across the
sanding belt.
MITER GAUGE - DISC SANDER
A miter-gauge is supplied with your sander, and can be used on the disc table. The miter gauge head can be set
anywhere up to 60º (right or left) by loosening the lock-knob, setting the miter gauge head to the desired angle, and
retightening the lock-knob.
SANDING SMALL END GRAIN & OTHER SMALL SURFACES USING MITER GAUGE
Use of the miter gauge is recommended for sanding small end surfaces on the sanding disc.
NOTE: Always move the workpiece across the sanding disc from the left side towards the right side, and be sure to
hold the workpiece down tightly onto the table surface.
15
 Loading...