ASSEMBLY & ADJUSTMENTS
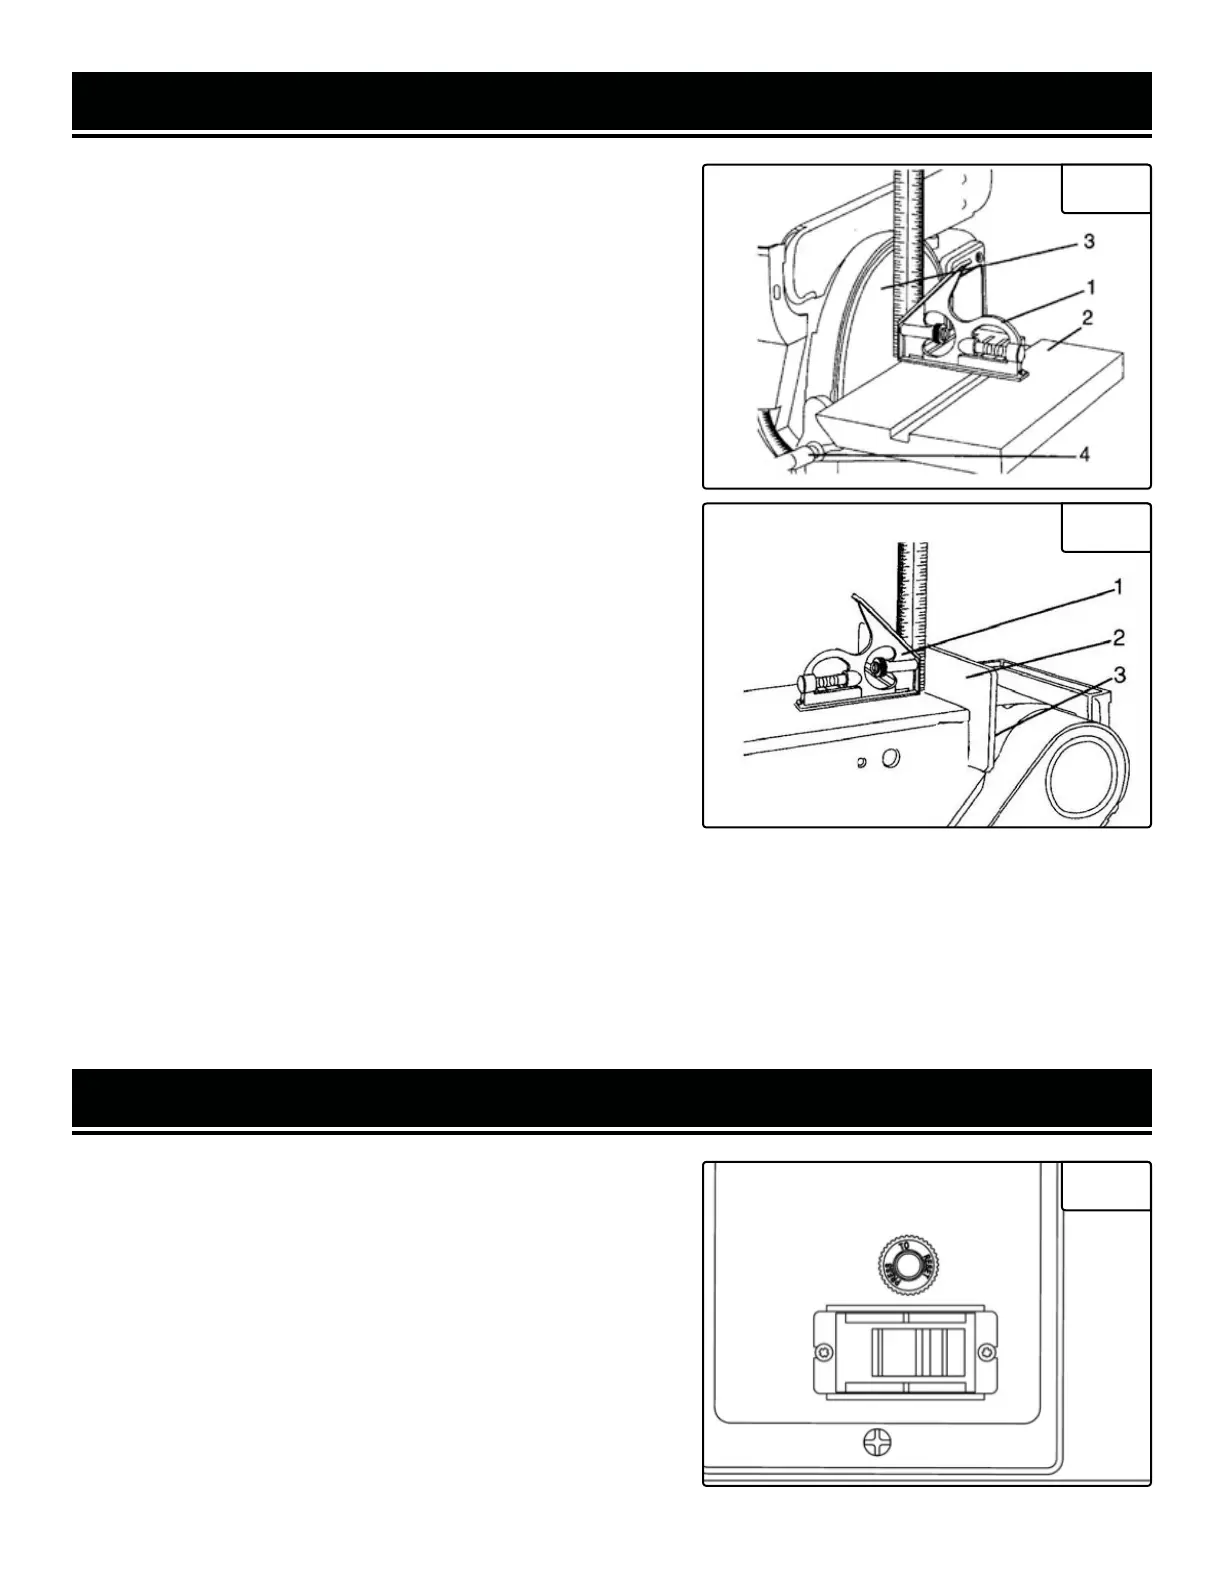
SQUARING THE TABLE
To ensure accurate end sanding, the work table (Fig. 10 - 2)
must be square to the sanding surfaces prior to using the tables
for disc sanding.
1. Adjust the table to be 90° with the sanding surface.
2. Using a combination square (Fig. 10 - 1), place one end on
the table with the ruler end against the sanding surface (Fig. 10
- 3). Check that the table is 90° to the sanding surface.
3. If the table is not 90° to the sanding surface, loosen the han-
dle (Fig. 10 - 4), adjust the table, tighten the handle and recheck
with the square.
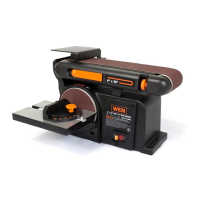
SQUARE THE WORK SUPPORT
The work support (Fig. 11 - 2) must be square to the sanding
belt when using the belt sander in a horizontal position. To keep
the workpiece from being carried along the belt:
1. Make sure the sanding belt is tight; also check that the ten-
sion lever is fully tightened.
2. Place the combination square (Fig. 11 - 1) on the belt with the
ruler against the work support (Fig. 11 - 2).
3. Adjust by loosening the work support locking screw (Fig. 11
- 3), square the work support.
4. Tighten the work support locking screw (Fig. 11 - 3).
Fig. 10
Fig. 11
OPERATION
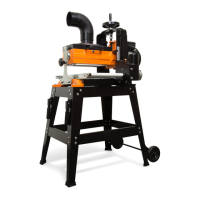
CIRCUIT BREAKER
To protect the motor, your sander is equipped with a circuit
breaker, located on the right side of the unit near the power
switch. If the motor is overloaded, the circuit breaker will trip.
To reset the breaker, wait a moment and then press it in to reset
it. Do not press too hard on the sandpaper, or the motor may
overload.
Fig. 12
13