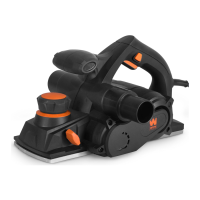
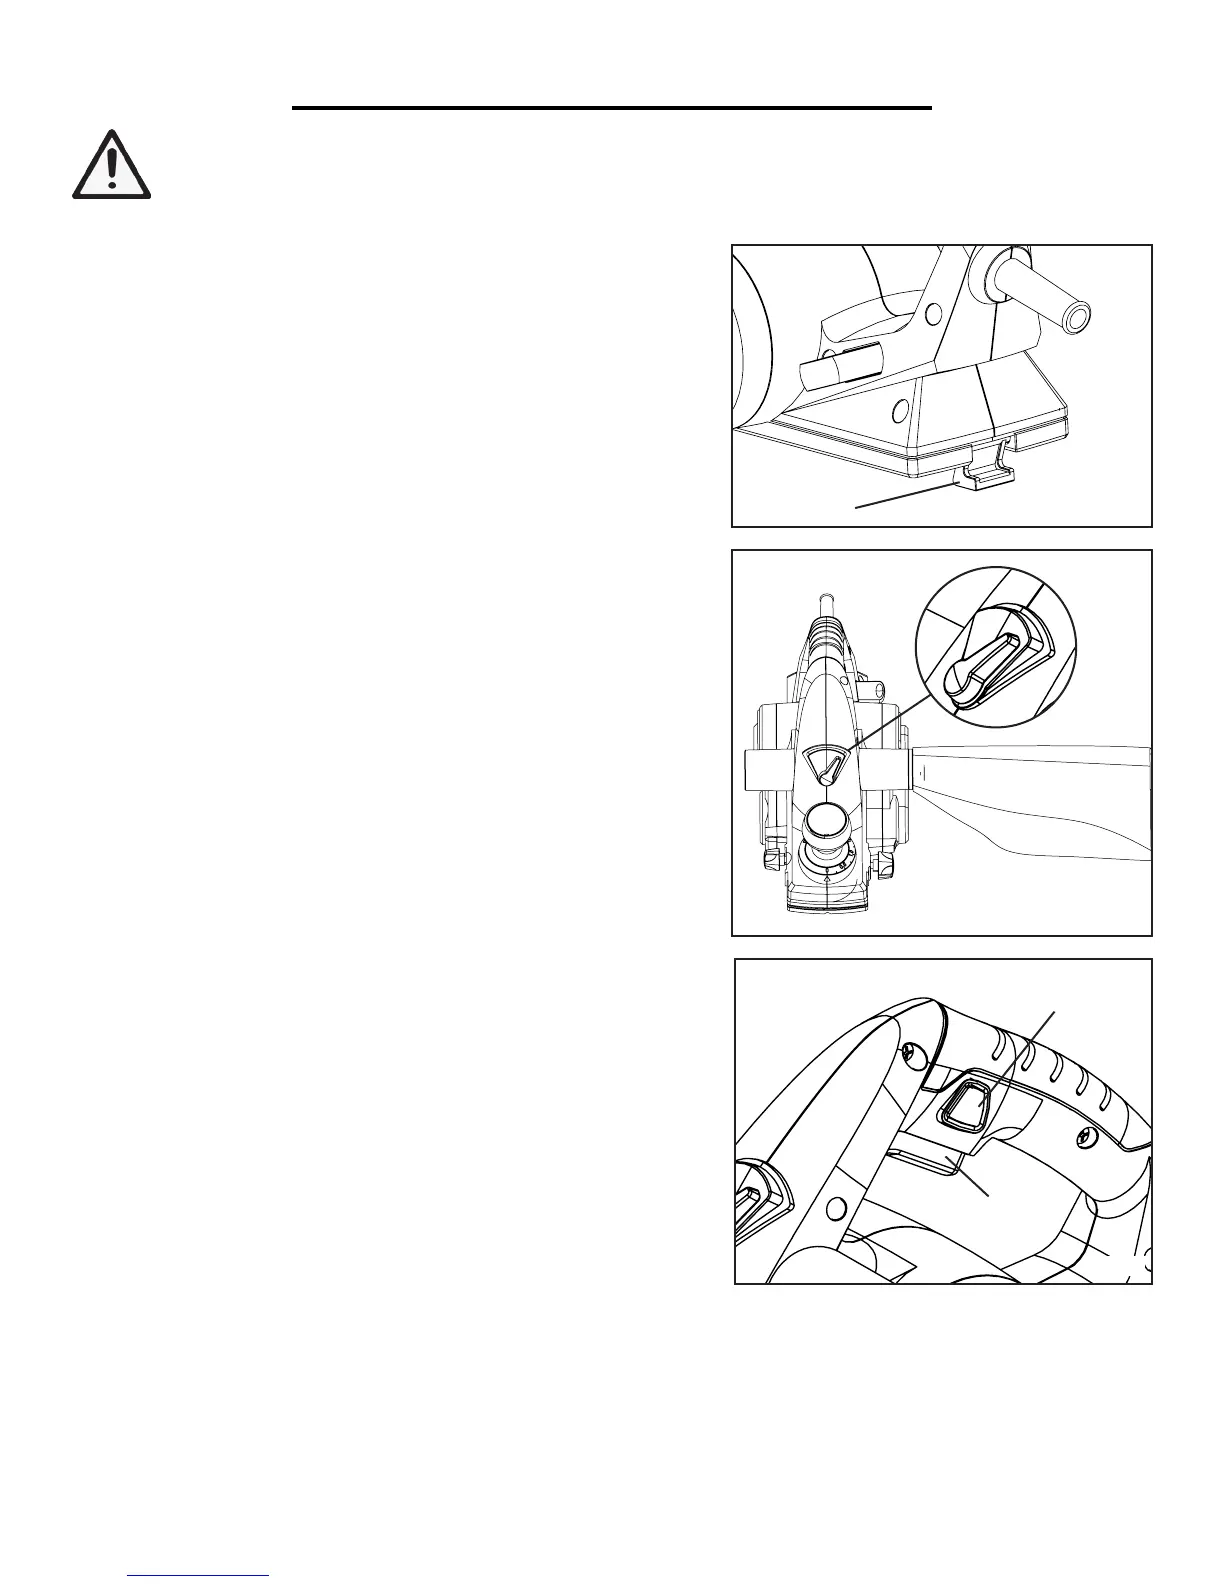
USING THE SAFETY KICKSTAND
The safety kickstand (Fig. B - 1) on the back of the planer swings
down to help keep the blade from coming into contact with the
work surface when the planer is not in use.
The kickstand is designed to swing up and out of the way by it itself
when the back of the planer crosses the leading edge of the work-
piece.
CONNECTING THE CHIP EXTRACTION PORT
The wood shavings can be set to flow from either side of the tool to
suit the task at hand. Set the extraction guide switch (Fig. C) to point
towards the extraction port that you wish the chips to flow towards.
If desired, attach the dust bag by sliding the nozzle onto the ap-
propriate chip extraction port. For efficient operation, empty the
dust bag when it is no more than half full, allowing for better airflow
through the bag.
You can also connect your planer to a suitable dust extraction sys-
tem through the extraction port. Hose adaptors (not included) may
be needed depending on the size of your dust hose.
WARNING: Shavings may jam in the dust extraction port when
cutting damp wood. Never stick your finger into the dust extraction
port. Clean out the shavings with a stick, but only when the cutter
has stopped running and the tool has been unplugged from the
power source.
SWITCHING ON AND OFF
The tool is equipped with a trigger lock (Fig. D - 1) to avoid unin-
tentional start-ups.
1. To turn the planer on, press the trigger lock (Fig. D - 1) and then
squeeze the trigger switch (Fig. D - 2).
2. To switch off, release the trigger switch.
WARNING: To prevent serious injury, make sure all the instructions have been read and understood
before operating this tool. Before plugging the machine into the power supply, always check that the trig-
ger switch and trigger lock work properly.
Fig. D
Fig. B
Fig. C
1
2
1
OPERATION
8

 Loading...