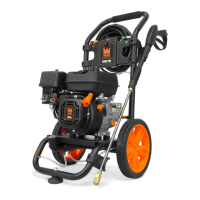
CHECKING THE OIL
Check the oil level of the pressure washer according to the Recommended Maintenance Schedule in Figure 17.
The pressure washer should be checked before each use for proper oil level. This is a critical step for proper
engine starting. To check the oil level:
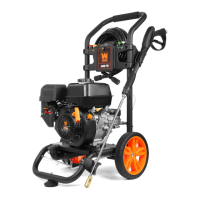
AFTER EACH USE
Follow these procedures after each use:
1. Shut off engine and turn off water supply. Release water pressure by pointing spray gun in a safe direction and
squeezing the trigger.
2. Disconnect high pressure hose, spray gun, and nozzle. Drain water from items and use a rag to wipe down the
outside of the hose and spray gun.
3. Empty the water from the pump by pulling the recoil starter 6 times.
4. Store unit in a clean and dry area after it has had a chance to cool down.
5. Use of a pressure washer pump conditioner is recommended. Follow the instructions provided by the
manufacturer of the pump conditioner.
16
MAINTENANCE & CARE
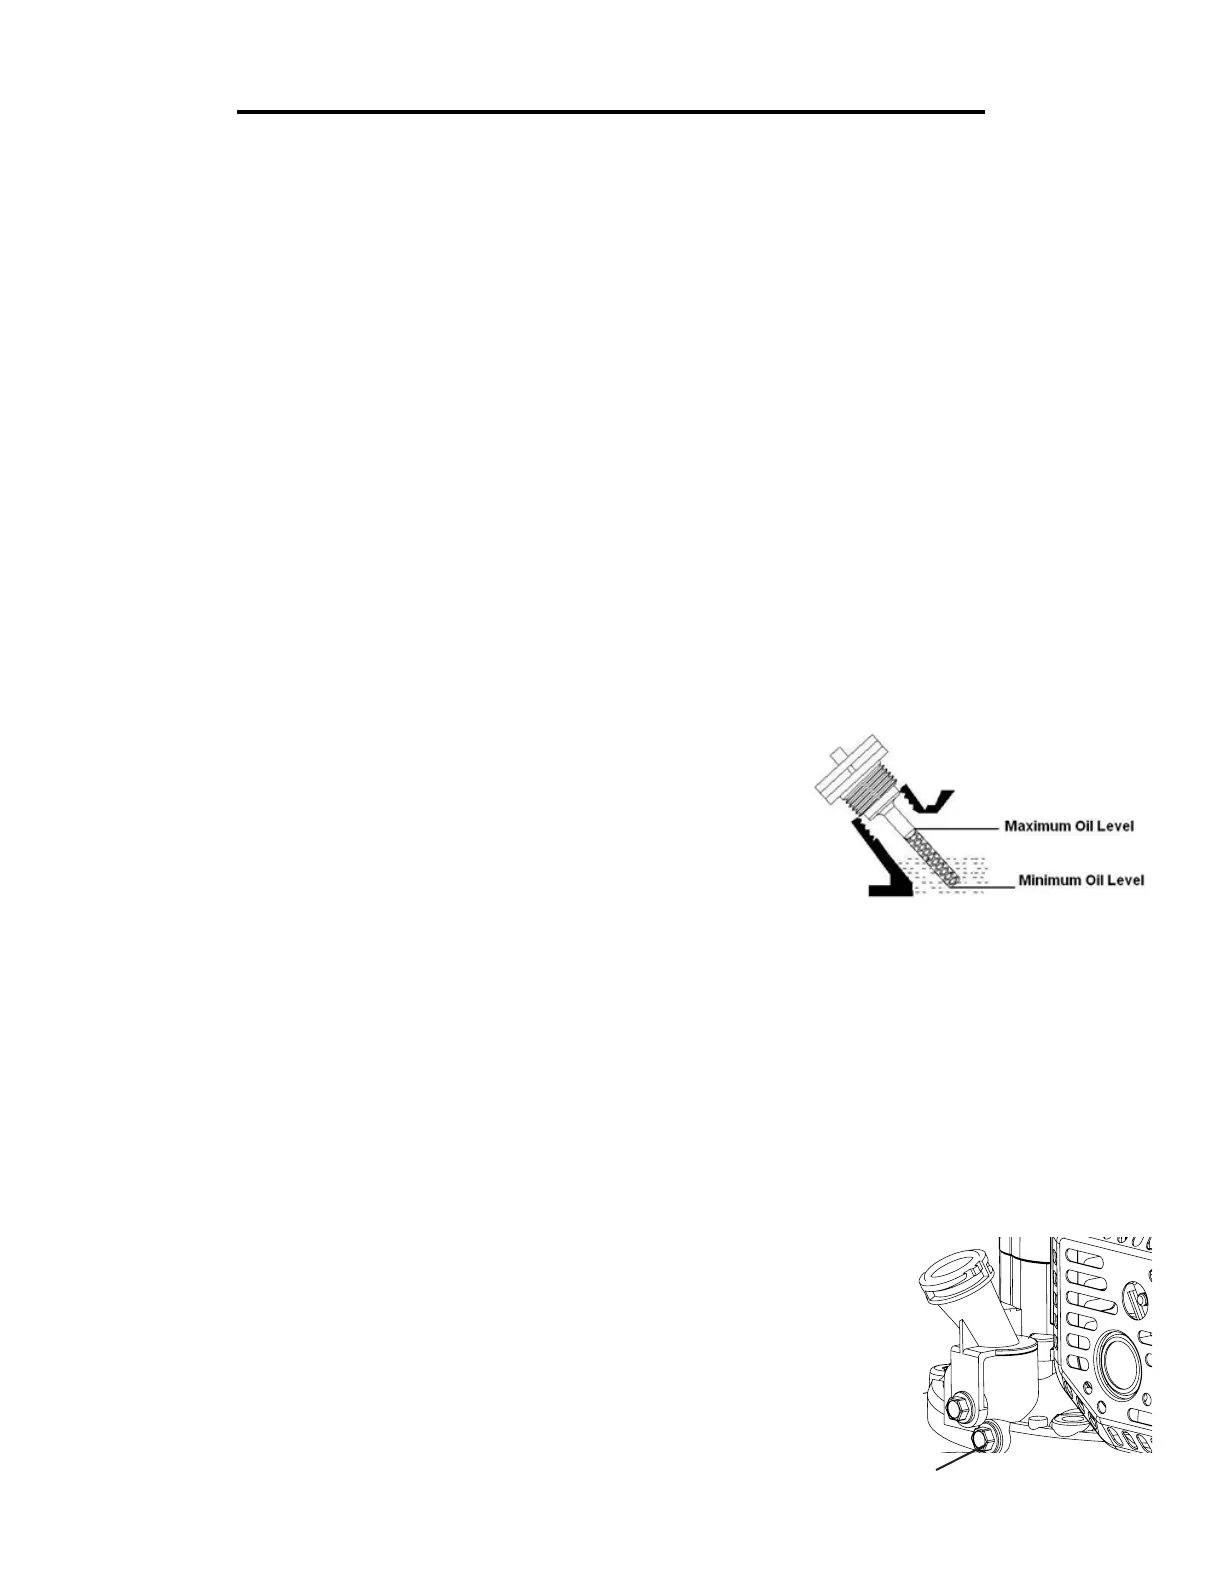
CHANGING OIL (Fig. 19)
Change the oil according to the Recommended Maintenance Schedule in Fig. 17. Change the oil when the out-
side temperature is warm to allow for complete drainage. Change oil more often if operating under heavy load or
high ambient temperatures. It is also necessary to drain the oil from the crankcase if it has become contaminated
with water or dirt. The oil capacity of the pressure washer engine is 16.9 fl. oz. Add oil when the oil level is low.
For proper type and weight of oil refer to the “add oil” portion of the “Pressure washer Preparation” section. To
change oil:
Fig. 18 - Oil Fill Opening,
Dipstick and Oil Level
A A
B B
C C
D D
E E
F F
G G
H H
J J
K K
L L
M M
N N
P P
R R
T T
24
24
23
23
22
22
21
21
20
20
19
19
18
18
17
17
16
16
15
15
14
14
13
13
12
12
11
11
10
10
9
9
8
8
7
7
6
6
5
5
4
4
3
3
2
2
1
1
DRAWN
CHK'D
APPV'D
MFG
Q.A
UNLESS OTHERWISE SPECIFIED:
DIMENSIONS ARE IN MILLIMETERS
SURFACE FINISH:
TOLERANCES:
LINEAR:
ANGULAR:
FINISH:
DEBURR AND
BREAK SHARP
EDGES
NAME
SIGNATURE
DATE
MATERIAL:
DO NOT SCALE DRAWING
REVISION
TITLE:
DWG NO.
SCALE:1:5
SHEET 1 OF 1
A0
WEIGHT:
back
Fig. 19
Oil Drain Plug
1. Make sure the pressure washer is on a level surface.
2. Clean around oil fill. Remove dipstick and wipe the dipstick with a
clean rag. Insert the dipstick into the oil fill opening without screwing in.
Remove the dipstick to check the oil mark. Add oil if the oil mark covers
less than one half of the dipstick.
3. Slowly add more oil and repeat step 2 until the oil mark reaches to the
top of dipstick (Fig. 18). Do not over fill the crankcase. Reinstall oil dip-
stick.
1. Shut off engine. Clean the area around the oil fill cap/dipstick to keep out
debris then remove oil fill cap/dipstick.
2. Place an oil pan on the ground to catch oil. Remove oil drain plug to empty
out the oil from the crankcase (Fig. 19).
3. Once oil is completely drained, install the oil drain plug. Refill the engine
with new oil as instructed in the manual under Adding/Checking Oil.
 Loading...