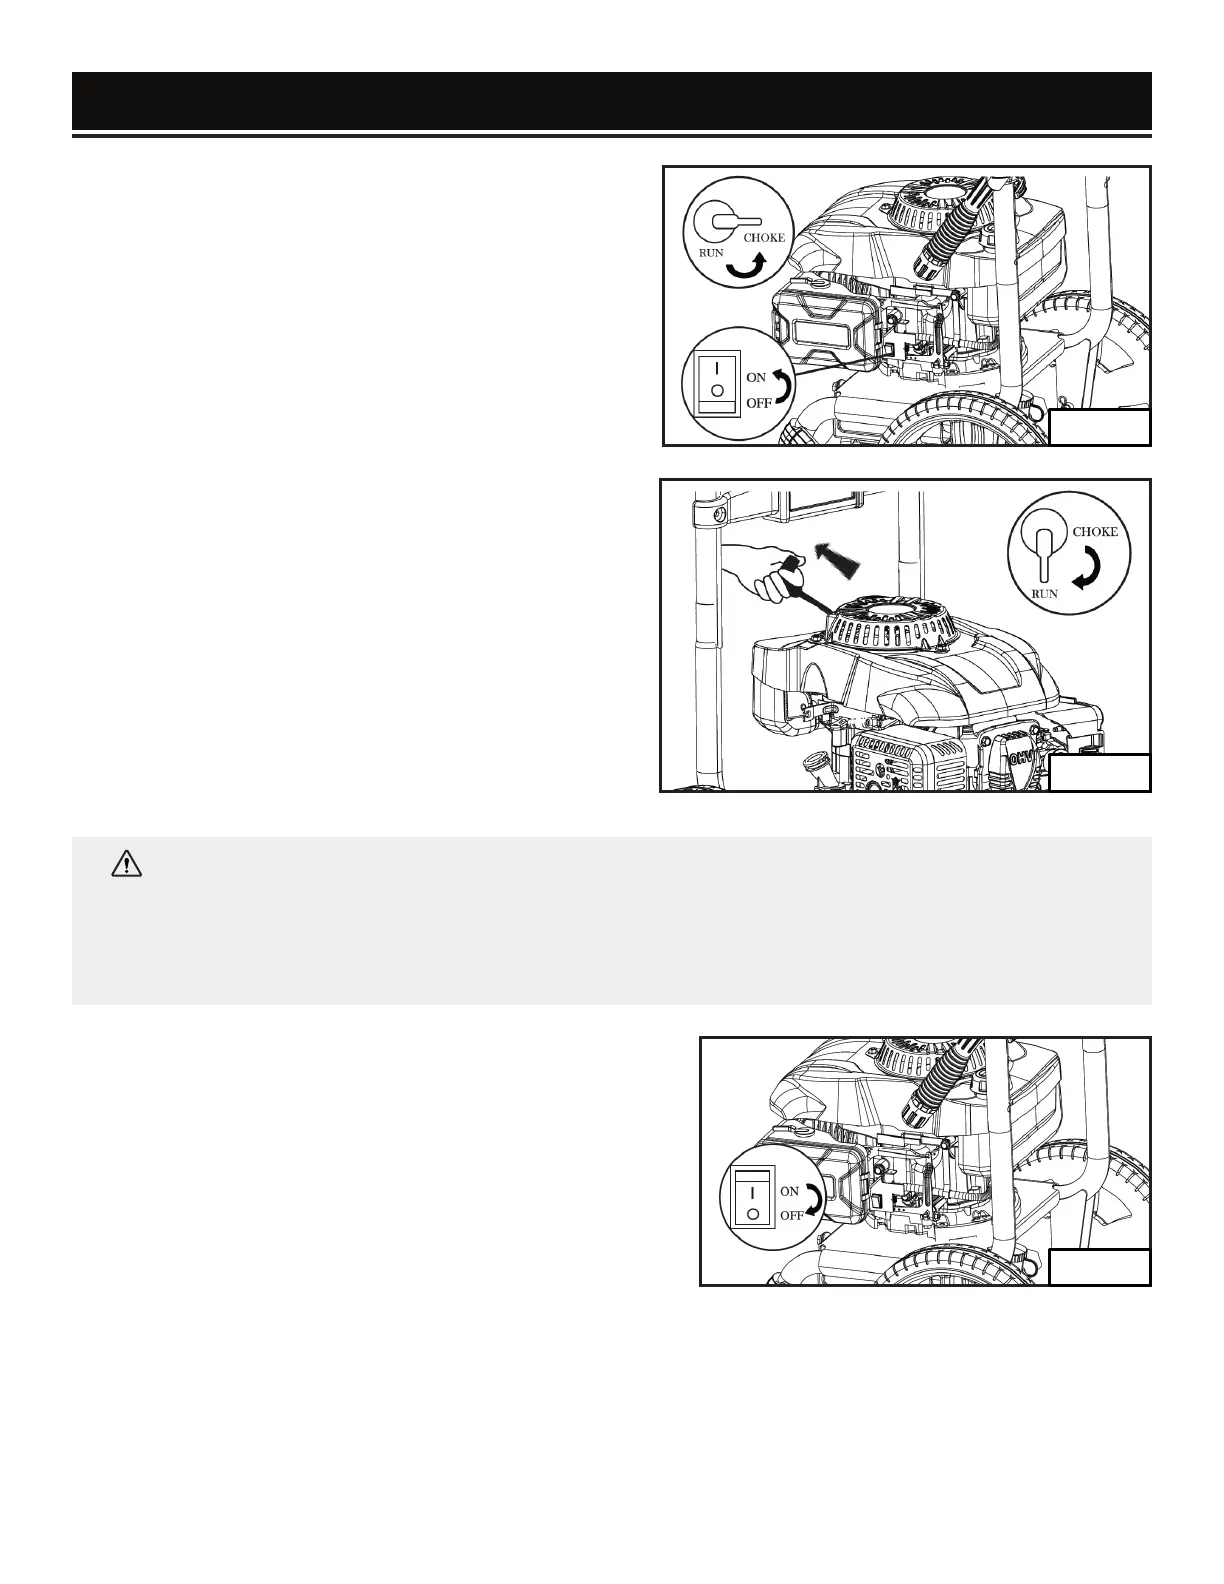
Fig. 13
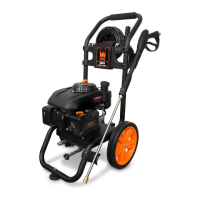
STARTING PRESSURE WASHER (FIG. 10 & 11)
1. Place pressure washer on a level surface. Turn on
water.
2. Purge the system’s pump of air by releasing the
safety and squeezing the trigger of the spray gun. At-
tach lance to spray gun.
3. Slide the choke lever to the “Choke” position (Fig.
10)
4. Turn the engine ON/OFF switch to the “ON” posi-
tion. (Fig. 10)
5. Holding the machine with your hand, pull the recoil
handle slowly until resistance is felt, then pull rapidly.
Squeeze the gun trigger and release the pressure after
every failed attempt to start the pressure washer in
order to reduce back pressure. (Fig. 11)
6. Let the engine run for several seconds. Then gradu-
ally slide the choke lever to the RUN position as the
engine warms up until the choke is fully slid to the
RUN position. (Fig. 11)
WARNING:
Pulling the pull cord of the recoil starter rapidly can pull your arm towards the
engine faster than you can let go, which could result in injury.
Always relieve pressure from spray gun before pulling starter cord, including every failed attempt to start
engine. To avoid recoil, pull starter cord slowly until resistance is felt, then pull rapidly.
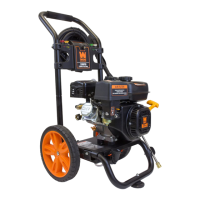
STOPPING PRESSURE WASHER (FIG. 12)
1. Turn the ON/OFF switch (Fig. 12 - 1) to the OFF position.
2. Turn the fuel valve to the OFF position.
3. Turn off water and squeeze the trigger handle to release
all water pressure.
PRESSURE RELEASE VALVE
If pressure or temperature within the pump exceeds
preset values, excess water will begin to spray out of the
Fig. 10
OPERATING YOUR PRESSURE WASHER
Fig. 11
Fig. 12
pressure release valve located next to the water inlet. This is perfectly normal and acts as a corrective
measure to ensure that the right amount of pressure is being used.
However, if water seems to always be leaking, its time for your pressure release valve to be replaced.
Please call our customer service phone line to order parts and learn about the replacement process.
14

 Loading...