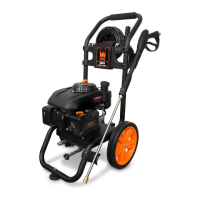
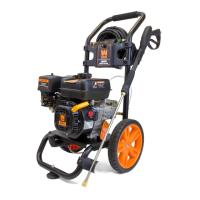
ATTACHING FOOT ASSEMBLY (FIG. 1)
1. Raise or tilt pressure washer so you can line up foot with
the hole located at the center of the frame.
2. Align the rubber foot (Fig. 1 - 1) with the hole in the
frame. Attach foot by inserting the bolt from the bottom up,
then attach the locking nut (Fig. 1 - 2). Tighten the nut with
the included wrech until there is a slight crush on the frame
tube. Do not over-tighten.
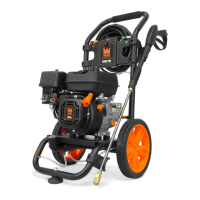
INSTALL HANDLE (FIG. 2)
Install upper frame (Fig. 2 - 1) onto the lower frame
(Fig. 2 - 2) by sliding the handle over the two upright tubes
on the lower frame and pressing down firmly until the
handle is seated and the two detent pins snap in place.
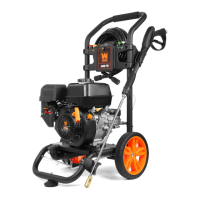
ATTACHING UPPER AND LOWER GUN HOOKS (FIG. 3)
1. Attach the upper gun hook (Fig. 3 - 1). Align the upper
gun hook with the holes. Attach using the included nuts
and bolts.
2. Attach the lower gun hook (Fig. 3 - 2). Make sure that
the gun hook is straight and correctly aligned before
tightening. Wrench tighten until the nut is snug. Do not
over tighten.
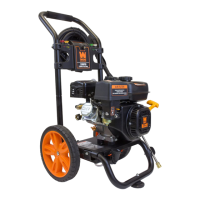
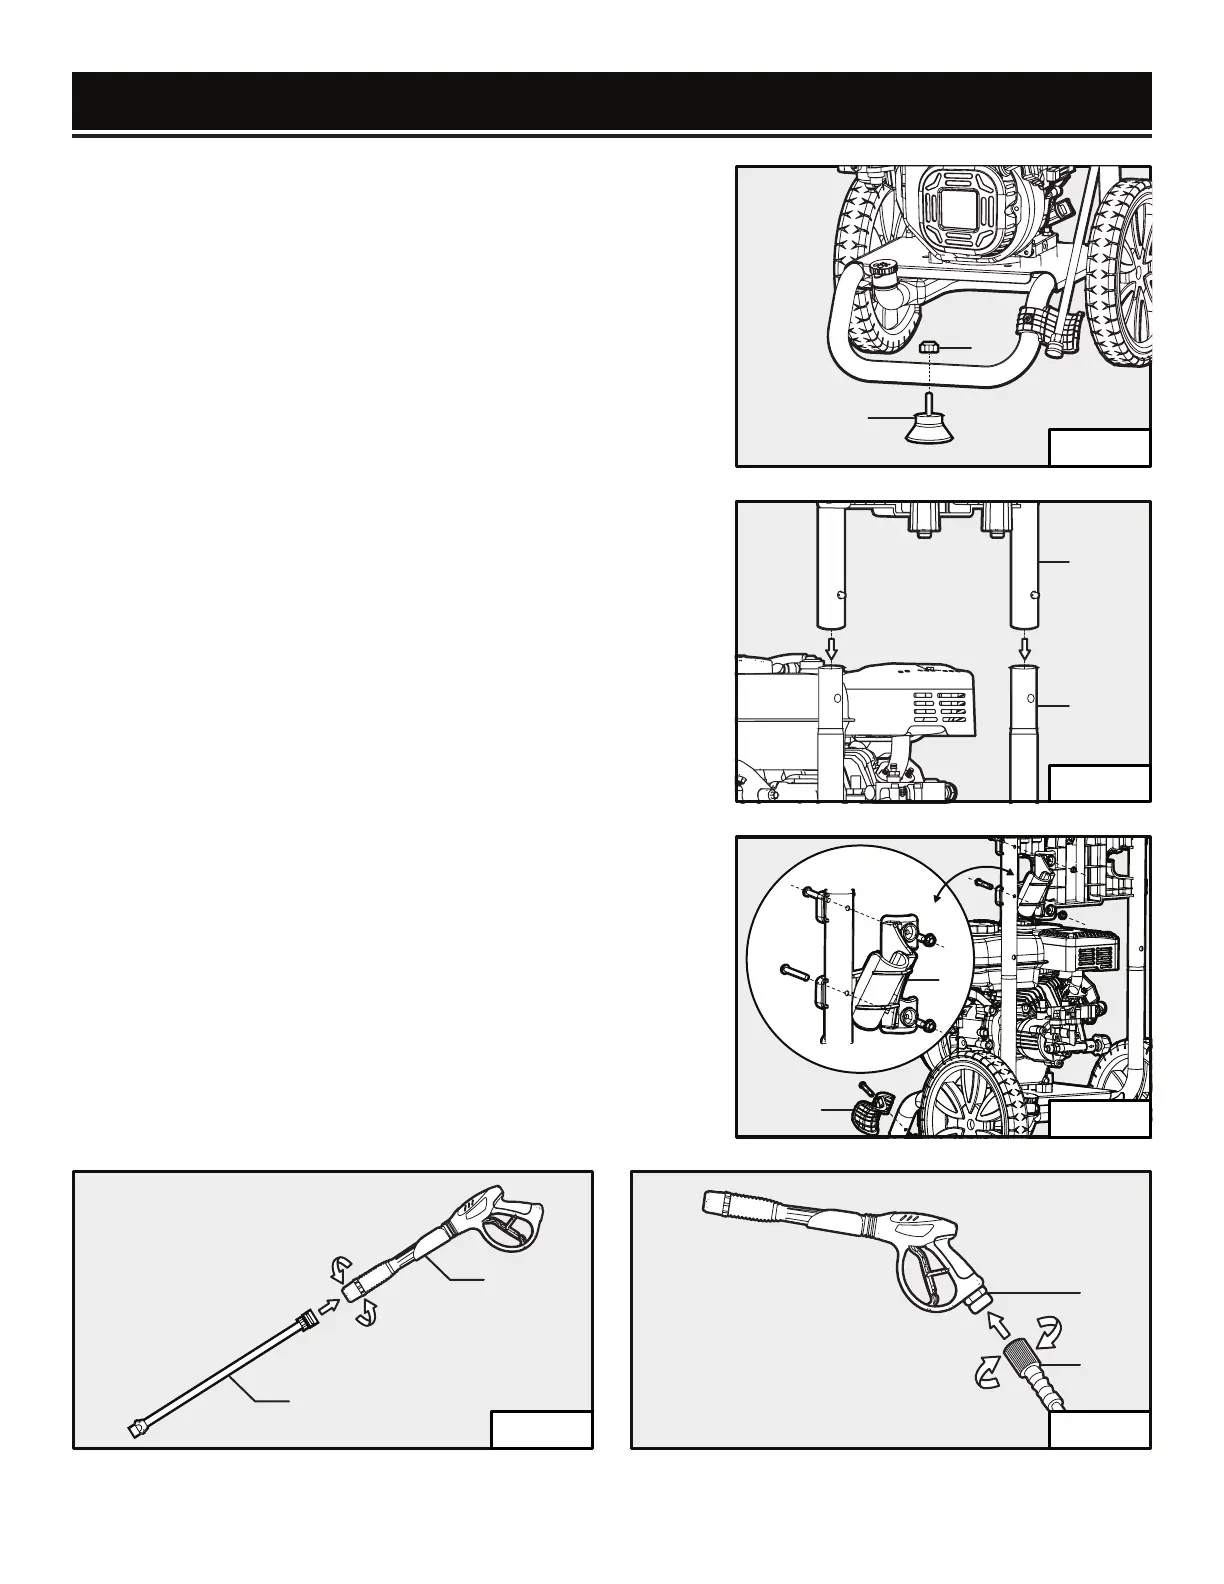
ATTACHING THE SPRAY GUN (FIG. 4 & 5)
1. Screw the spray wand (Fig. 4 - 1) and the trigger handle
(Fig. 4 - 2) together until they are secure.
2. Insert the inlet coupler of the spray hose (Fig. 5 - 1) into
the threaded fitting on the high pressure spray gun
(Fig. 5 - 2) and thread the black nut on by turning
clockwise until it is hand tight.
Fig. 1
Fig. 2
Fig. 3
Fig. 4 Fig. 5
1
2
2
1
1
2
2
1
1
2
PRESSURE WASHER PREPARATION
10

 Loading...