65
77
55
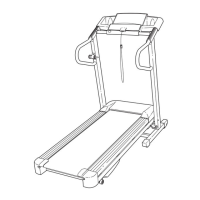
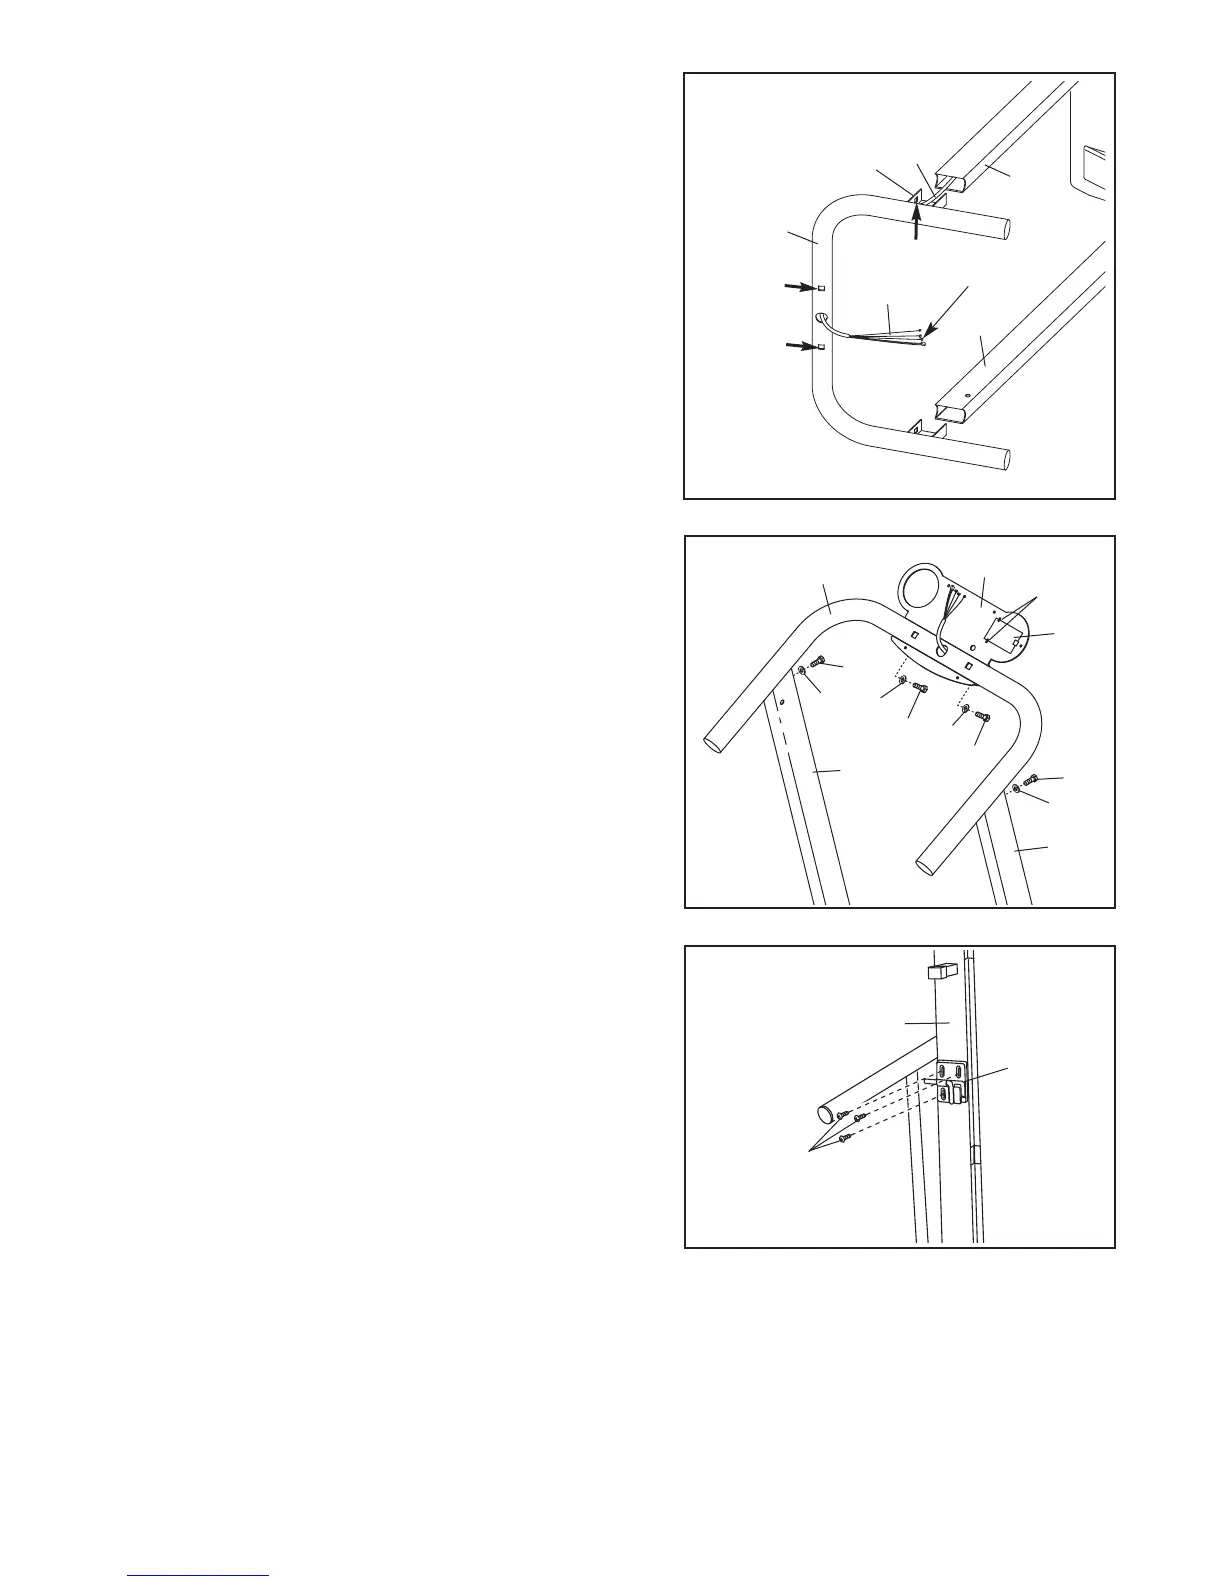
3. Hold the Handrail (16) near the Right Upright (6) and the
Left Upright (17) as shown. If there are plastic ties in the
t
hree holes in the Handrail indicated by the short arrows,
remove the plastic ties. Next, Insert the Wire Harness
(
22) into the indicated bracket on the Handrail and out of
the round hole in the center of the Handrail; if necessary,
use needlenose pliers to pull the Wire Harness out of the
hole. Be careful not to damage the Wire Harness.
T
hen, insert the brackets on the Handrail into the
Uprights.
Remove the tape from the connectors on the end of the
Wire Harness (22).
With the help of a second person, raise the treadmill to
the vertical position.
22
Connectors
22
6
17
16
Bracket
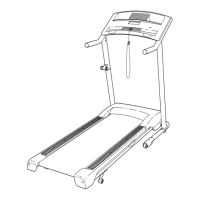
4. Loosely attach the Handrail (16) to the Uprights (6, 17)
with two Handrail Bolts (12) and two Washers (11).
Loosely attach the Console Plate (4) to the Handrail (16)
with two Console Bolts (79) and two Washers (11). Insert
the Battery Cover (8) into the Console Plate, with the
hinges in the position shown.
Have a second person raise the treadmill frame to the
vertical position (see drawing 1 of HOW TO FOLD THE
TREADMILL FOR STORAGE on page 11).
While the
frame is being held, tighten the bolts used in steps 1,
2, and 4. Make sure that no part of the treadmill rubs on
the treadmill frame when it is lowered and raised.
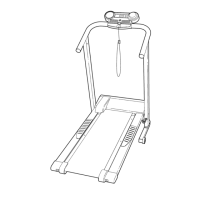
5.
Carefully raise the Frame (55) to the vertical position.
Attach the Storage Latch (77) to the Frame with three
3/4” Screws (65).
12
11
4
8
Hinges
17
79
11
6
16
11
12
6
79
11
3
4
5
 Loading...