2-5
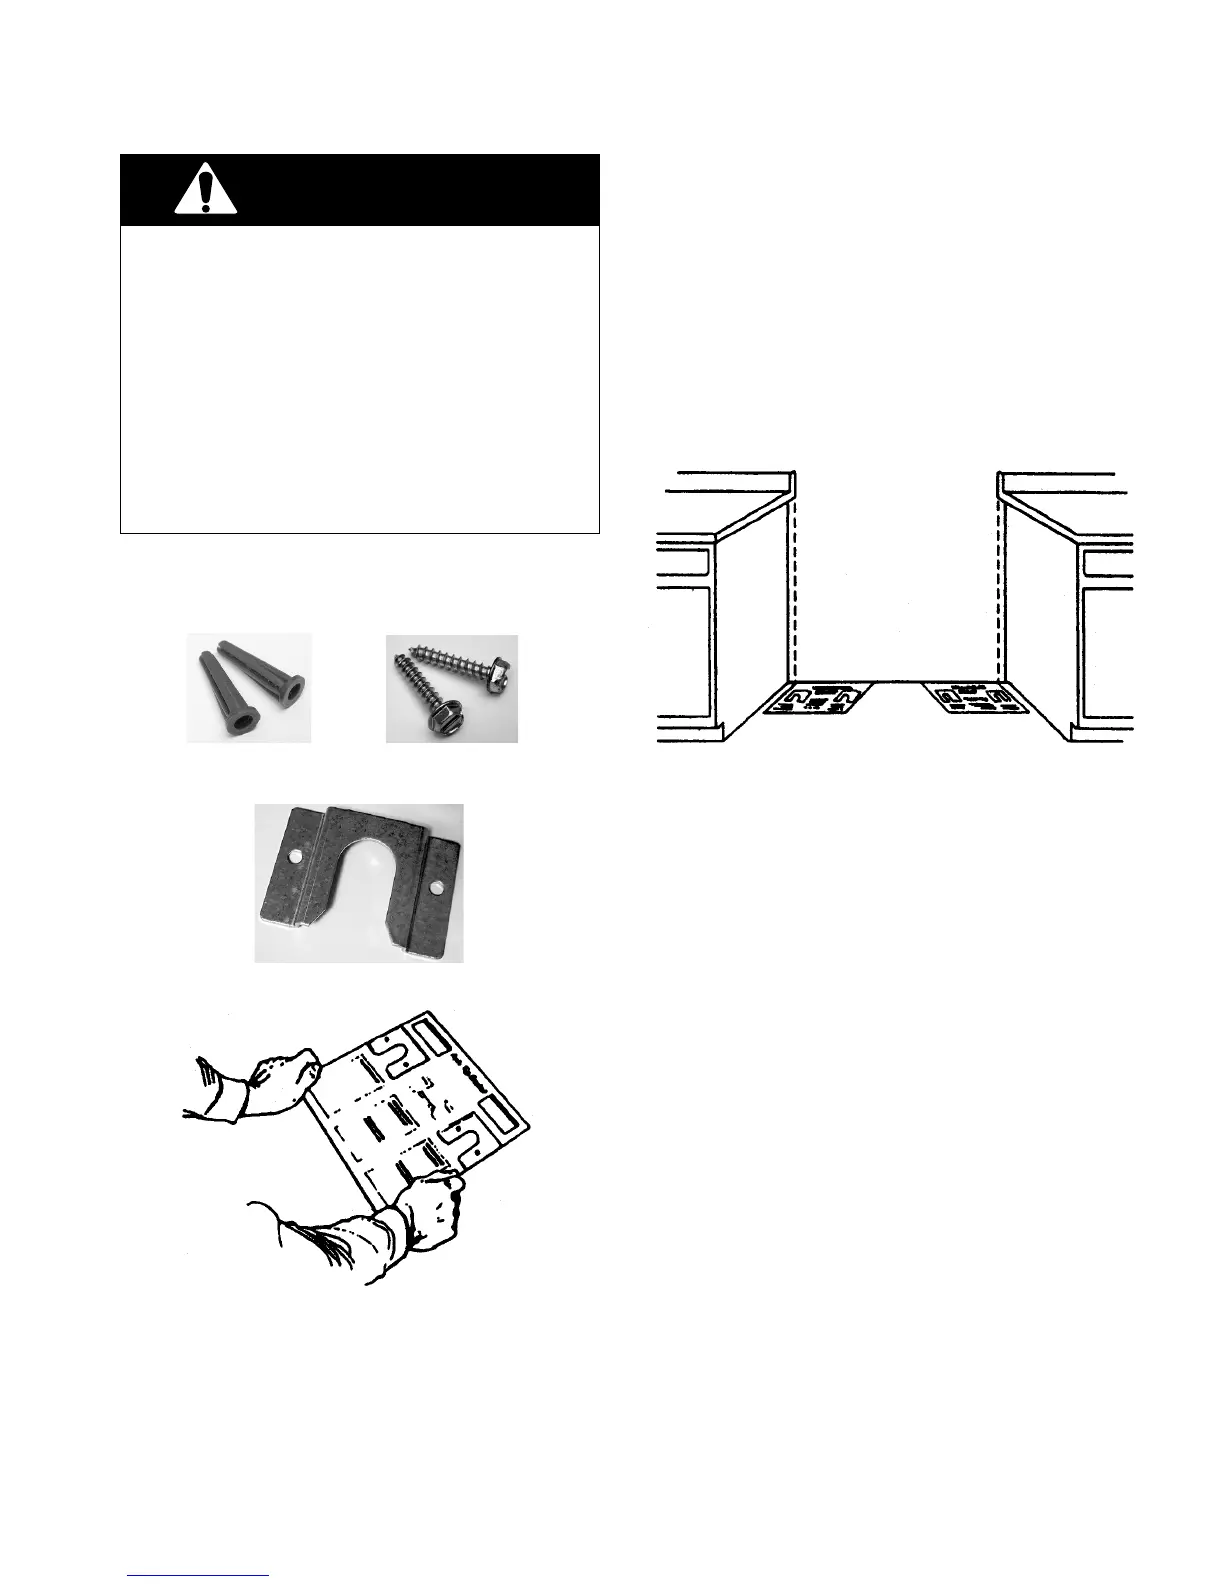
WARNING
INSTALLING THE ANTI-TIP BRACKET
PARTS SUPPLIED
(2) Plastic Anchors (2) Screws
(1) Anti-Tip Bracket
NOTE: The anti-tip bracket can be installed to
hold either the right or left rear leg of the range.
1. Determine which leg you wish to anchor to
the floor.
2. Place the Installation Instructions on the
floor in the range opening so that the top
edge is against the wall, molding, or cabi-
net, and the bracket template is in the
location where the anti-tip bracket will be
installed.
Installation Instructions
3. Tape the sheet to the floor.
Continued on the next page.
PERSONAL INJURY HAZARD
To prevent tipping, install range anti-tip
bracket.
Save the installation instructions. If the range
is moved to a new location, the anti-tip bracket
must be removed and reinstalled in the new
location.
Failure to follow these instructions could
result in serious injury.