6-1
DIAGNOSIS & TROUBLESHOOTING
• All units that have failed during the first few
days of use, should be checked for loose
connections, or miswiring.
• All checks should be made with a meter
having a sensitivity of 20,000 ohms per volt,
or greater.
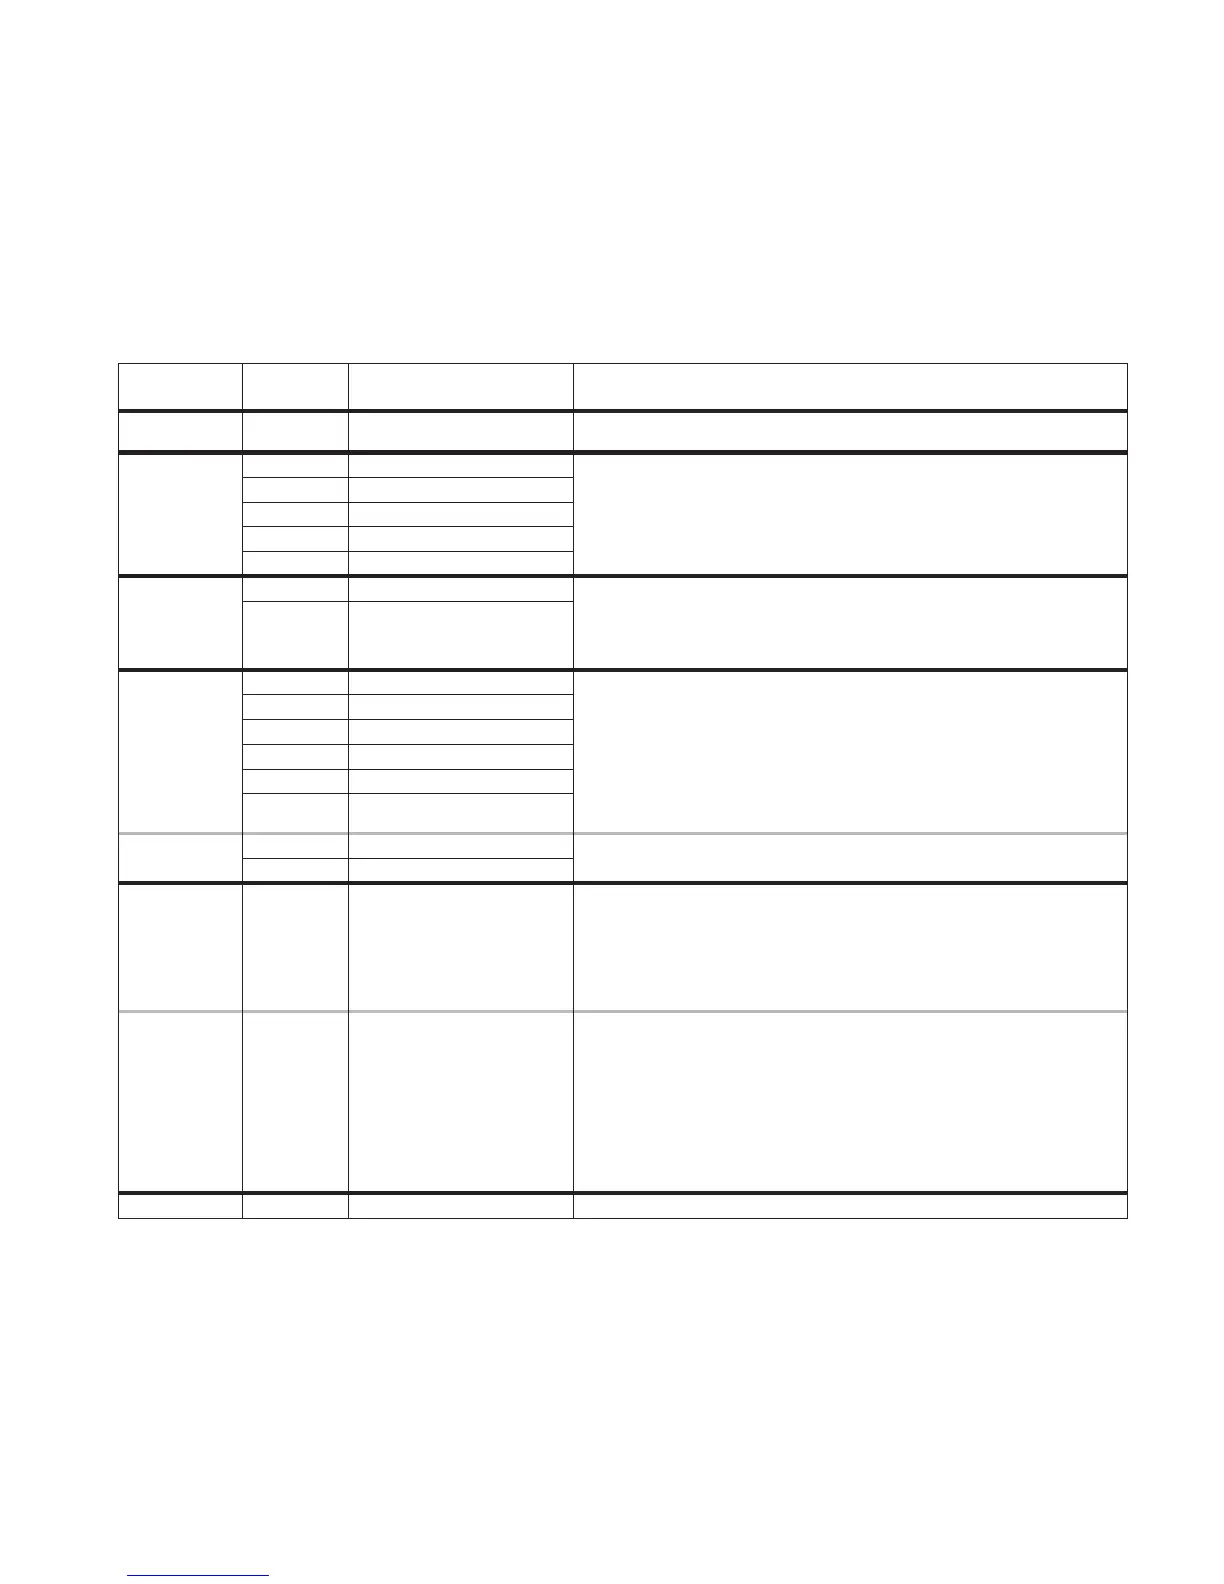
FAILURE/ERROR DISPLAY CODES
TECH SHEET 8522648, REV. A
• All diagnoses of this range must begin with a
normal check of the line voltage, blown fuses,
and failed components.
F1
F0
E0
E0
EEPROM communications
Factory default - not an error 1. No action required.
error
1. Verify failure if not displayed, using
CANCEL/OFF
key. Press key for 5 seconds until last
error code is displayed.
2. Disconnect power longer than 30 seconds.
3. Re-apply power and observe for longer than 1 minute.
4. If failure remains, disconnect power, replace control.
E1
EEPROM checksum error
E2
UL A/D error(s)
E4
Model ID error
E6
Latch signal mismatch error
F2
E0
Shorted key
1. Verify failure if not displayed, using
CANCEL/OFF
key. Press for 5 seconds.
2. Disconnect power.
3. If applicable, ensure membrane tail is seated in connector on back of control.
4. Re-apply power and observe for longer than 1 minute.
5. If failure remains, disconnect power, replace control.
E1
Key tail unplugged
F3
E0
Oven sensor opened - Top
1. Measure sensor value (between connector pins) between 1000 @ 32 F and 2697
@ 900 F (room temperature approx. = 1080 ). If measurement does not correlate to
real temperature, disconnect power, replace sensor and refer to steps 3-5.
Also measure from sensor connector to sensor casing for possible short.
2. Trace wires and connectors to sensor from control, then from sensor back to control. If
all connections are made and no wire damage, refer to step 3.
3. Disconnect power longer than 30 seconds.
4. Re-apply power and observe for longer than 1 minute.
5. If failure remains, disconnect power, replace control, then go back to step 4.
E1
Oven sensor shorted - Top
E2
Bake range over temperature
E3
Clean range over temperature
E4
Oven sensor opened - Top
E5
Oven sensor shorted - Top
F3
E6
Warming drawer sensor open
1. Same corrective action as for other F3 codes, with the exception that the warming
drawer resistance value at room temperature is approx. 100k .
E7
Warming drawer sensor shorted
F5 E0
Door switches do not agree
1. Disconnect power from unit.
2. Check wires and connectors from control to door switch, then from door switch to
control.
3. If no damage to wires or connector, replace door switch.
4. Re-apply power.
5. Press CANCEL PROGRAM and start the clean mode, and observe for one minute to
ensure that operation is normal.
F5 E1
Door latch not operating
1. Verify error code by pressing and holding CANCEL/OFF key for 5 seconds. Momentarily
(less than 5 sec.) press CANCEL key again to remove error code display.
2. Program and start the Clean mode. Observe to see if door locks. If it does not, inspect
the locking mechanism from the solenoid to the latch pawl and door to find the cause
of the problem. If the door is not locking, then 1 minute from the start of the Clean, the
F5 E1 code will again be displayed. Press CANCEL key to remove error code display.
3. Once any mechanical problems with the latch mechanism have been corrected, program
and start a Clean cycle (after, if necessary, clearing F5 E1 error code) to ensure proper
operation of the door lock. Immediately cancel the Clean mode to observe proper
operation of door unlock.
F8 E0
N/A N/A
Ω
Ω
Ω
Ω
°
°
4-DIGIT
DISPLAY
3-DIGIT
DISPLAY
SUGGESTED
LIKELY FAILURE
CONDITION
CORRECTIVE ACTION PROCEDURE