11
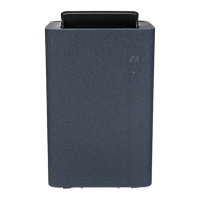
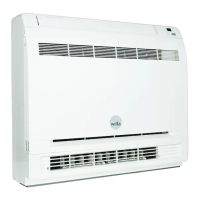
CHILL 12 CONNECTED · AC2B-12000C
EN
INSTALLATION
CHOOSE YOUR LOCATION
• If tipped more than 45°, allow the unit to set upright for at least 24 hours be-
fore start up.
• Place the unit on a rm, level surface in an area with at least 50cm of free space
around it to allow for proper air circulation.
• Do not operate in close proximity to walls, curtains, or other objects that may
block air inlet and outlet. Keep the air inlet and outlet free of obstacles.
• Never install the unit where it could be subject to:
– Heat sources such as radiators, heat registers, stoves or other products that
produce heat.
– Direct sunlight
– Mechanical vibration or shock
– Excessive dust
– Lack of ventilation, such as a cabinet or bookcase
– Uneven surface
WARNING!
• Install the unit in rooms which exceed 10 m².
• Do not install the unit in a place where inammable gas may
leak.
ATTACH THE EXHAUST HOSE
The air conditioner requires being vented outside so that the exhaust air can
escape the room which coming from the appliance contains waste heat and mois-
ture.
Do not replace or extend exhaust hose which will result in decreased efciency,
even worse shut down the unit due to low backpressure.
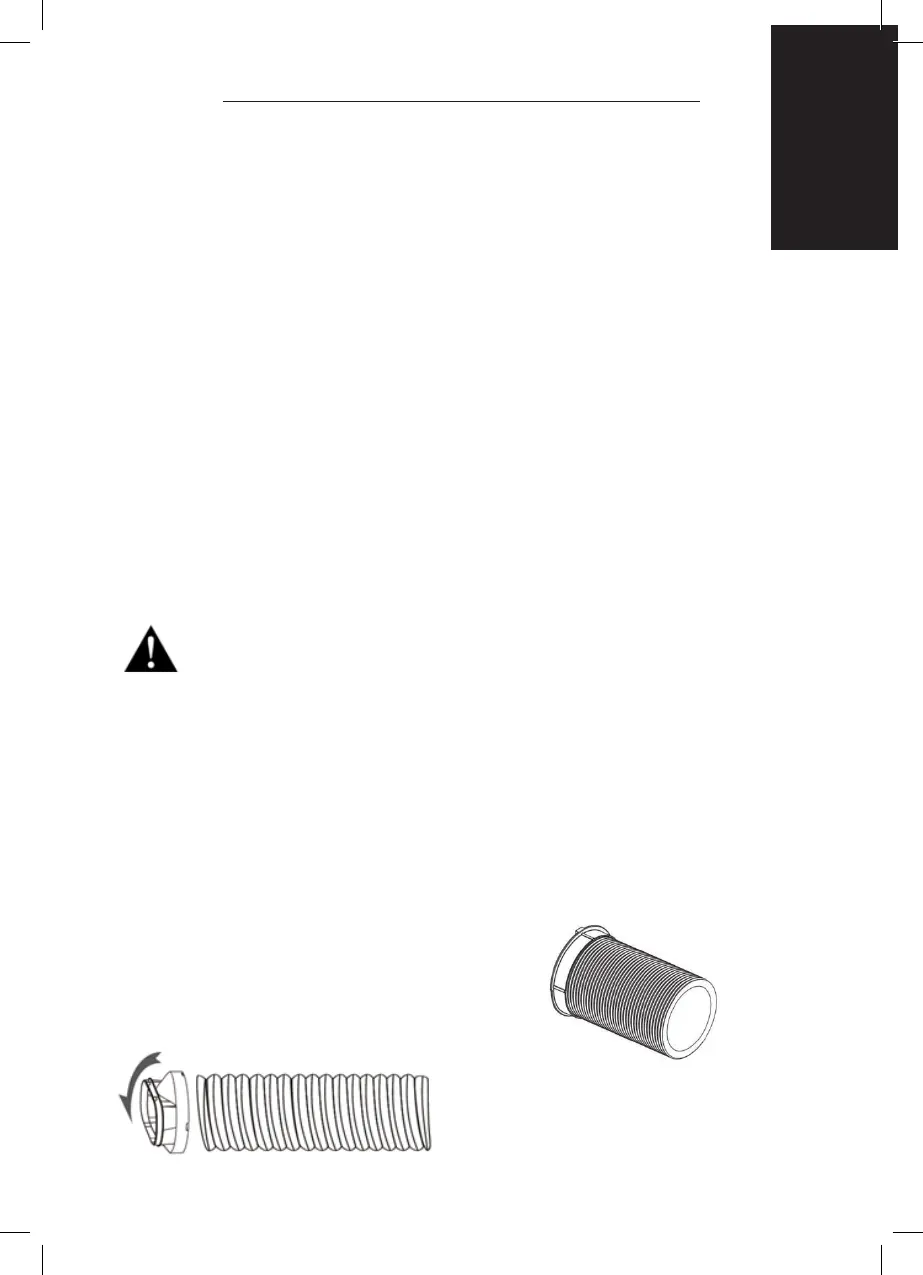
Step 1: Connect the hose connector to one end of
the exhaust hose.
Step 2: Connect the windows kit adapter to the
other end of the exhaust hose.
Accessories:
1. Exhaust hose
2. Hose connector
3. Window kit adapter
4. Remote control
5. Window bracket
6. Drainage hose