16
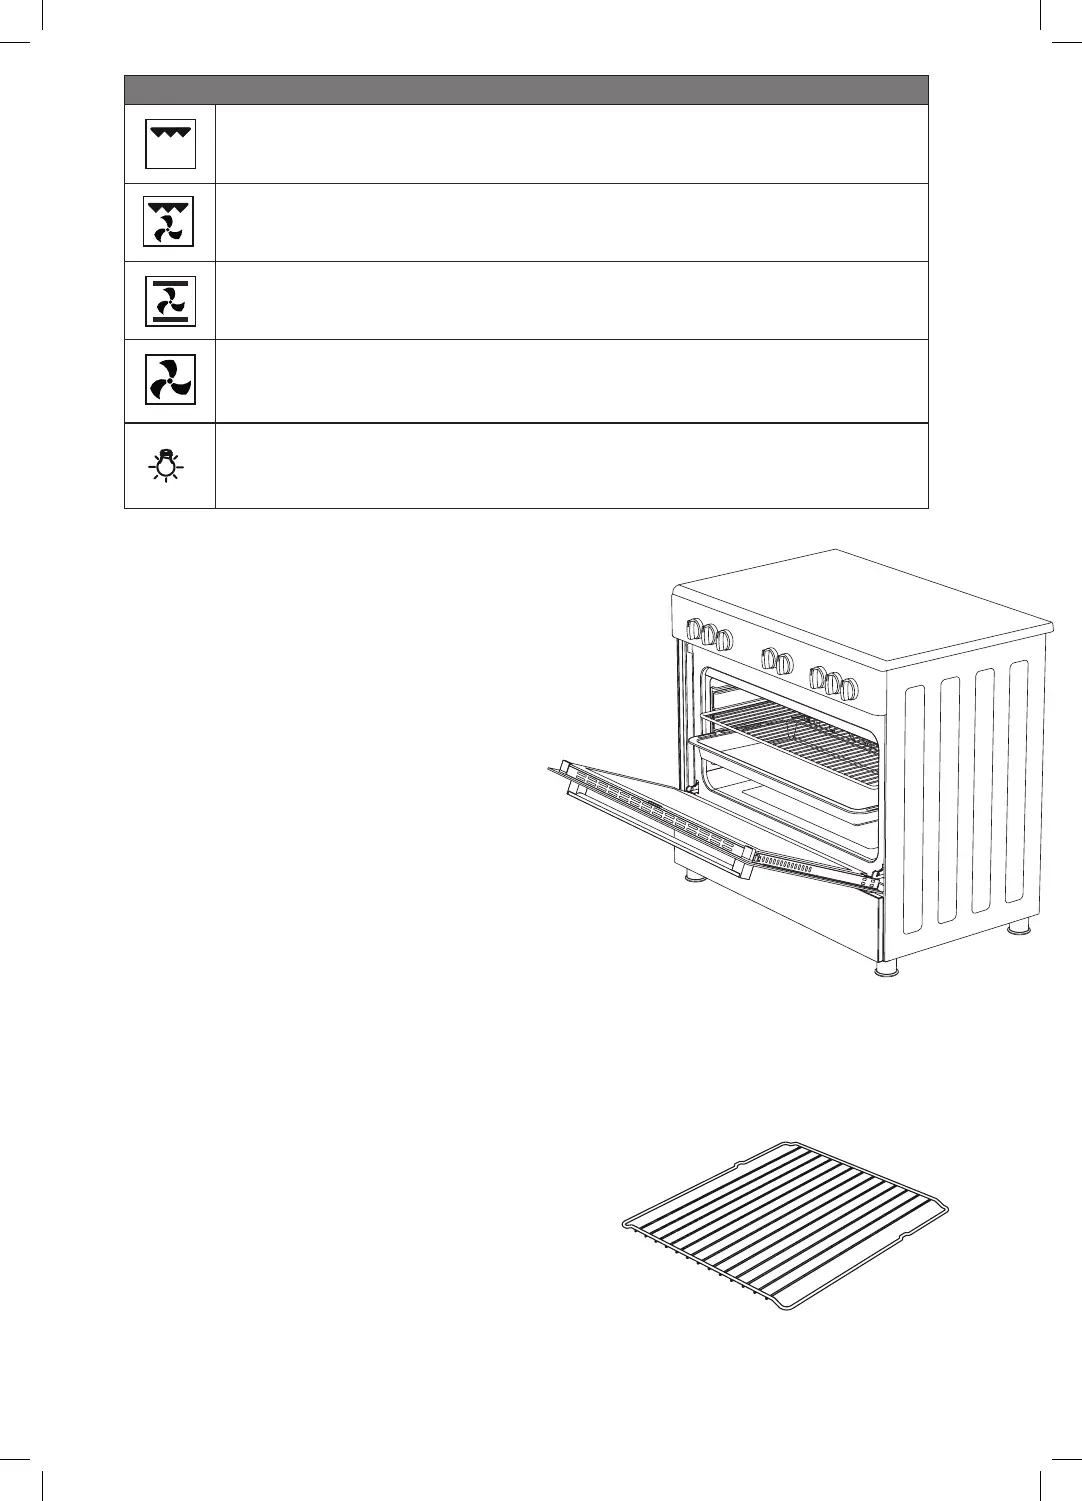
Oven Shelf Positions
1. On the wall of the inner cavity there are 4
different shelf guide slots in the oven. You
can place the shelf at different heights to
achieve the best cooking performance
depending on the heat of the heating
elements and the size of food. If only the
top heating element is on, we suggest
that you place the shelf on guide 3 (make
sure that there is a minimum distance of
30 mm between the food and the top
heating element).
2. Always monitor the food during
operation to ensure that you are not
overcooking it.
3. For heavy food, use a baking pan rather
than the oven shelf.
Guide 4
Guide 3
Guide 2
Guide 1
Replacing the Anti-tilting Oven Shelf
• Insert the shelf between the two side rails.
• To remove, slide the shelf out and when it hits the shelf
stop, angle the shelf up slightly and remove.
NOTE: your model may have a different number of shelves to
illistration
Function Description
Grill
The oven's light will turn on.
This function is great for browning and fast finishing of meals.
Grill with Fan
The oven’s light will turn on and the top grill will switch on. This function will turn element grill
full on whilst the fan circulates the heat.
Lower and Upper Heating Element with Fan
The oven’s light will turn on and the bottom and top element will switch on. This function will
have the full fan and heating elements to give you an even bake, roast or cook.
Fan
This is a function that just activates the fan to circulate air around. This acts as a mechanism to
help defrost food.
Lamp
This will turn on when any function is selected.