32
al e x i a V in s Ta l l aT i o n a n d Ca r e g u i d e
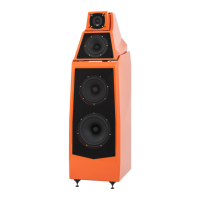
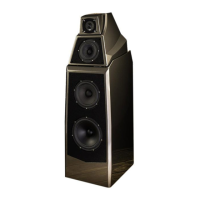
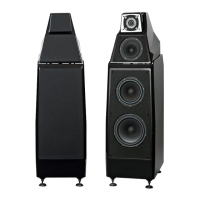
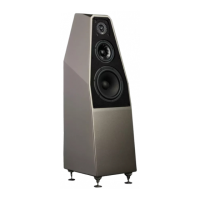
Authentic Excellence
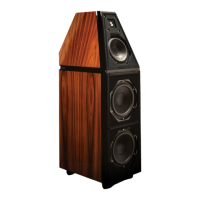
5. Taking care to observe the location of the Woofer Module relative to the masking tape
used during the WASP documentation, return the Alexia V Woofer Module to the pre-
cise location marked on the ground in an upright position.
6. Re-install the Upper Array atop the Woofer Module.
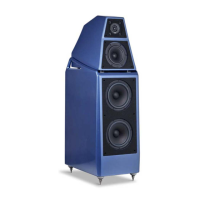
Section 4.2—Leveling Alexia V
1. Alexia V comes equipped with a built-in bubble level found on the top of the Woofer
Module. Look at that bubble level and determine if the Alexia V is level or which side of
the enclosure is lower than the rest making the enclosure uneven.
2. To find out which spike is lowest, grasp the Alexia V enclosure and gently rock it back
and forth. This will identify the spike that is out of level from the other three.
3. Adjust the Acoustic Diodes spike/nuts shorter and/or longer until the bubble shows
the speaker is level.
4. You may rotate the spike tips in place by using the supplied 7/16” wrench and
tightening the nut with 3/4” wrench when finished leveling. Note: All the nuts should
be snug when finished leveling to get the best performance from the Acoustic
Diodes. Do not over-tighten.
5. Repeat process on the other loudspeaker.