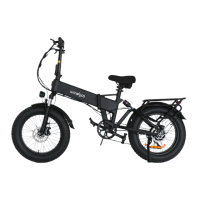
07
Charge Your E-Bike
Before using the electric bike, you must fully charge the battery.
1. Ensure the battery is off, by rotating the key to align with the off icon.
2. Remove the rubber cover on the charging port on the opposite side of the battery from the
key switch.
3. Plug the charger into the battery's charging port. With the battery on or off the bike, place
the charger in a flat, secure place, and connect the DC output plug from the charger to the
charging port on the side of the battery.
4. Plug the charger into a power outlet, charging should initiate and will be indicated by the
LED charge status lights on the charger turning red. Once fully charged, the charging indica-
tor light turning green.Unplug the charger from the wall outlet first and then remove the
charger output plug from the battery charging port.
Display and Setting
Display Control
TRIP:This figure shows distance data for a single trip. Data is automatically cleared when the
bike is powered off.
km/h
TRIP
+
_
Speed
Battery Level
00
0
1
Multifunctional
Display area
“ ” Power button
"E1" - Motor Hall failure
"E2" - Motor phase failure
"E3" - Controller failure
"E4" - Undervoltage fault
"E5" - Handlebar failure
"E6" - Communication failure
"E8" - Communication failure
1.Re-plug the motor hall wire to see if it is not plugged in properly
2. Replace the motor
1.Re-plug the throttle cable to see if it's not plugged in properly
2.Replace the throttle gas pedal
1. Re-plug the brake line to see if it's not plugged in properly
2. Replace the brakes
Please charge the battery.
Replace the controller.
1. Re-plug the phase wire to see if it's not plugged in properly or if the wires are
connected together and short-circuited.
2. Replace the motor.
1. Re-plug the meter communication line to see if it is not plugged in properly.
2. Replace the meter or controller or communication connection line.
Error Code Possible Causes
 Loading...