–7–
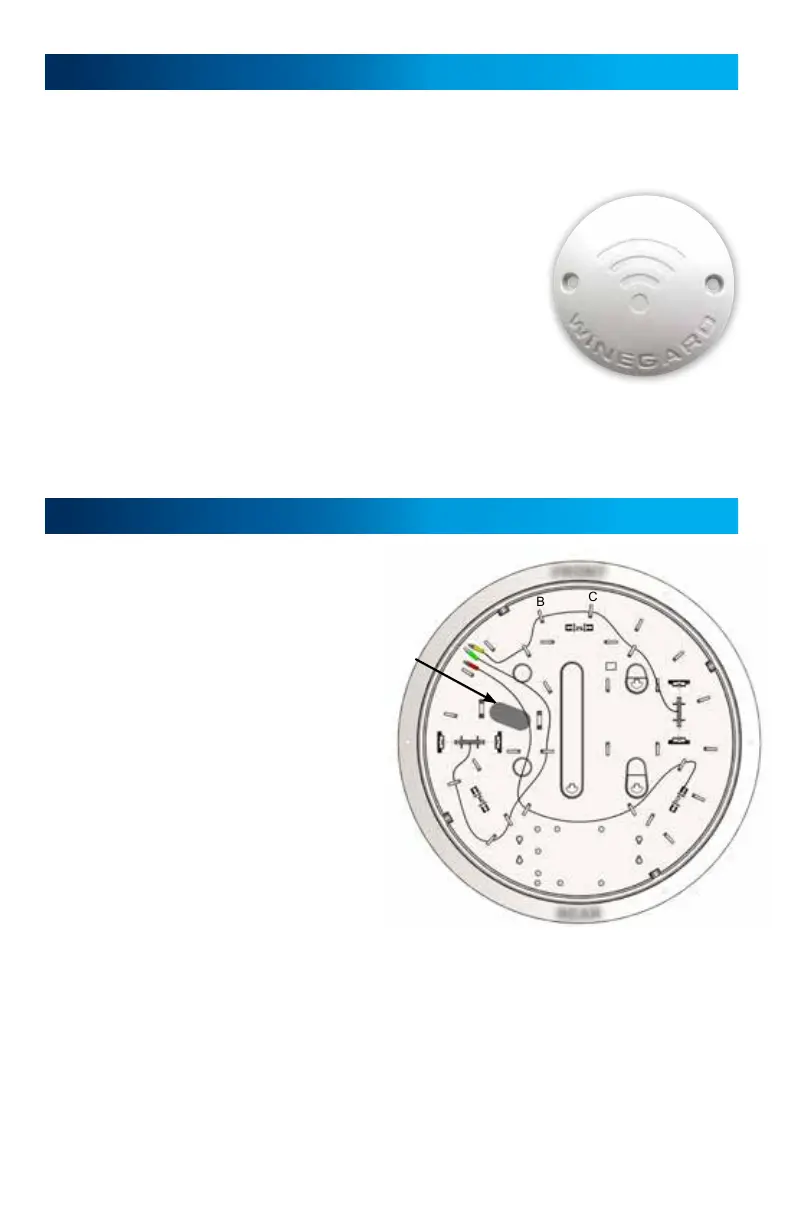
Figure 2
Gateway Ceiling Mount Installation (recommended) cont.
> If installing the Winegard
®
Gateway
™
now, please review the Winegard
Gateway installation manual followed by reviewing the Power Supply
Installation on page 8 of this manual.
> If installing the Gateway at a later time continue to
Step 10.
Step 10 – Zip tie (provided) the prewire power cable
along with the 4G LTE and WiFi cables (Yellow, Green,
and Red) to the notch on the backside of the white
prewire hole cover shown in figure 2. Make sure all
the cables are inside the ceiling and screw the white
prewire hole cover with 2 white screws (provided)
into the ceiling.
Continue to the Power Supply Installation section of this manual.
Gateway In Dome Mount Installation
Step 11– Using a hole saw, drill a 1"-
1½" diameter hole through the roof
of the vehicle. Do not drill into the
ceiling and be careful not to damage
any wiring between the roof and
ceiling. Do not exceed 1½".
Step 12– Pull the Yellow, Green, and
Red Cables into the dome from the
Cable Pass Thru hole. Secure the
Yellow cable into the A, B, C, and
D clips. Do the same for the Green
cable into the E, F, G, and H clips.
Continue clipping in the Red cable
into the I, J, and K clips. See figure 3.
Step 13 – Next, using the provided cable tie, zip tie the Gateway prewire
power cable, around 3 inches from the white connector, to tab O in figure 1
on page 6. With scissors, clip off the excess cable tie after the power cable is
secured. Route this cable into the hole drilled into the roof of the vehicle all
the way to the predetermined location of the Gateway wall plate/power supply.
The Winegard Gateway will use this power cable. The bare wires of this power
cable should be routed to where the On/Off switch will be for the Winegard
Gateway extender.
A
B
C
D
E
F
G
H
I
J
K
1
2
3
Figure 3
F
R
O
N
T
C
A
B
L
E
P
A
S
S
T
H
R
U
R
E
A
R
 Loading...