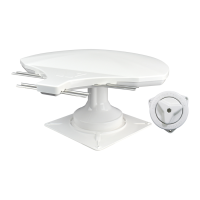
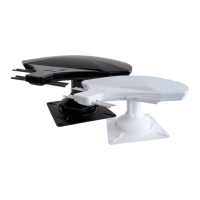
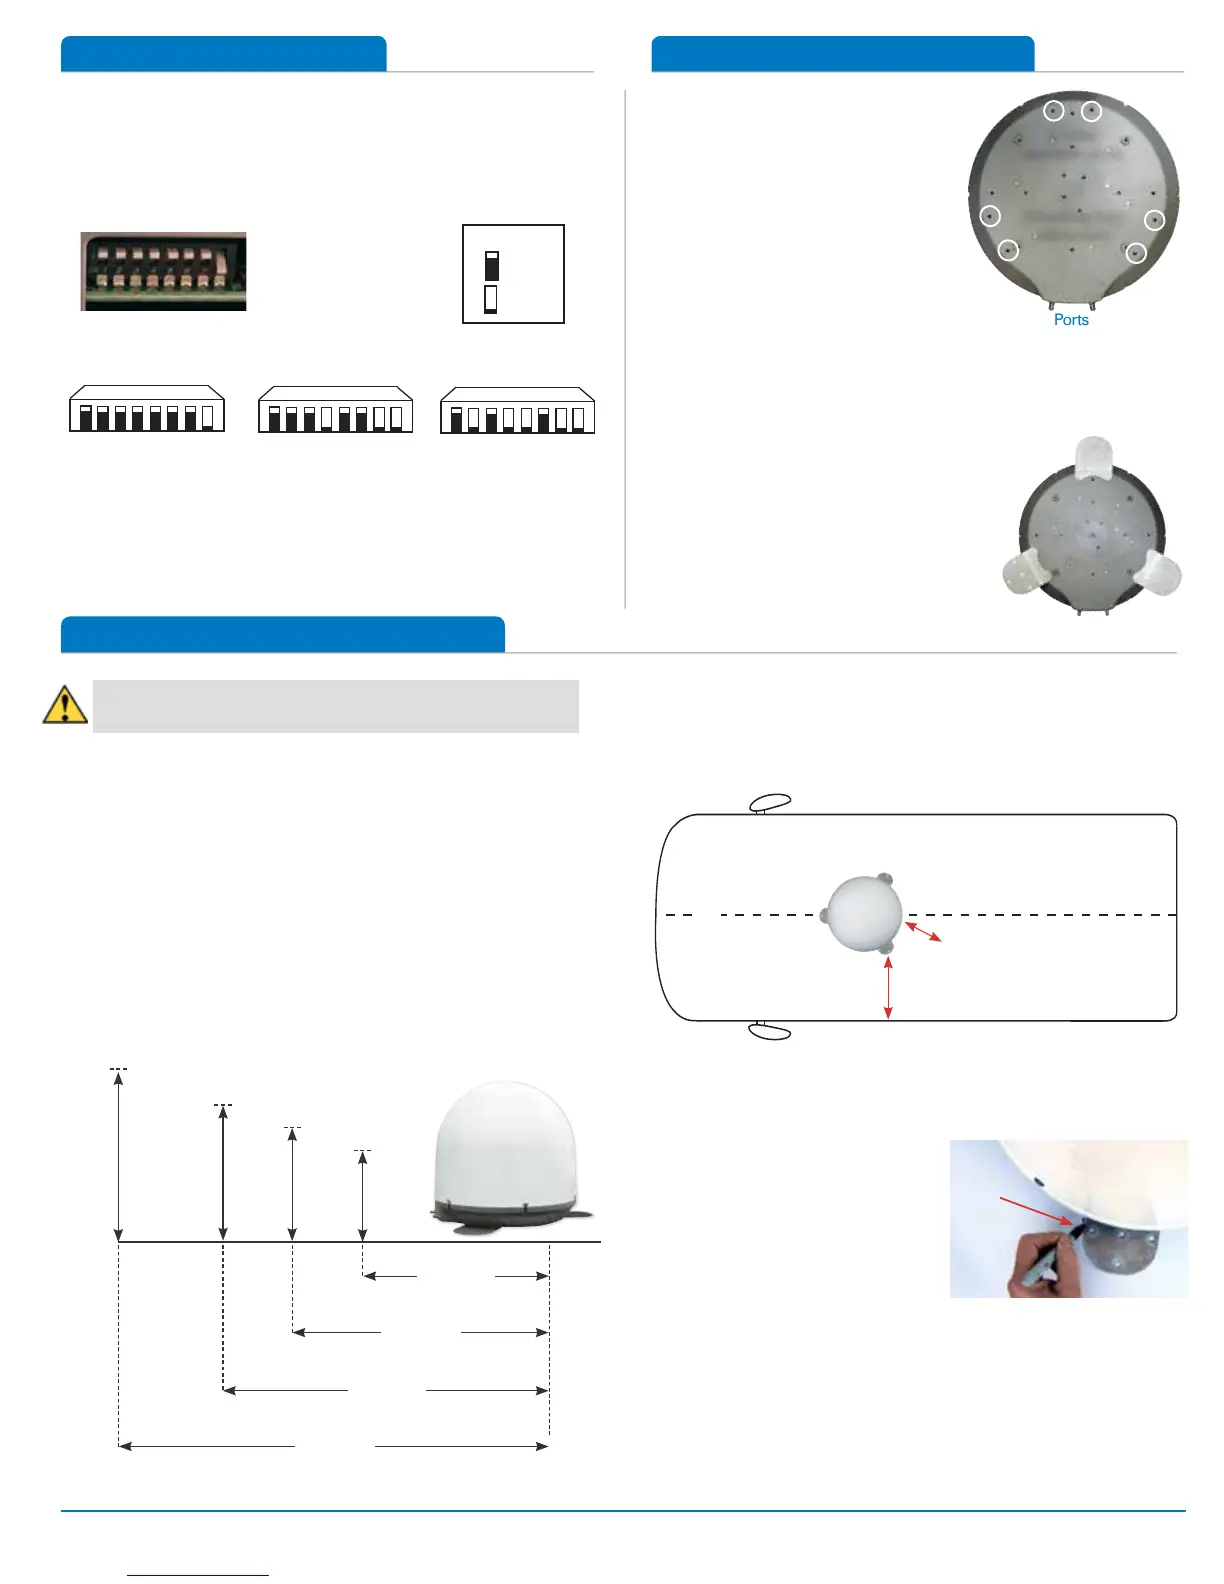
RoadTrip T4 In-Motion Antenna 2
DISH
1 2 3 4 5 6 7 8
DIRECTV
1 2 3 4 5 6 7 8
Bell TV
1 2 3 4 5 6 7 8
(factory preset
for DIRECTV)
0 = Up
1 = Down
Key
16.7 in.
22.9 in.
29.0 in.
15 in.
38.2 in.
8 in.
12 in.
10 in.
Obstruction Height
Min. Distance to be Maintained from Antenna
Front of Vehicle
Cable connections must
face back of vehicle
At least 12”
Mount on or parallel to centerline of coach
Mark
around
foot
Ports
Quick Reference Guide
The RoadTrip
®
T4 antenna switch settings are preset for
DIRECTV. If you have a DISH or Bell TV receiver, you must
change the numbered switches found on the electronics box
under the dome.
Installing Unit on Roof of Vehicle
Do not attempt to install the antenna in the rain or
under any wet conditions. Install in dry conditions only.
1) For best performance and to reduce signal acquisition
time, park the vehicle on a level surface that is free of
obstructions such as trees or large buildings. Make sure
you have a clear view of the southern sky.
2) Select a level spot on your roof for installation. Level the
base front-to-back and side-to-side. If the base is not level,
the antenna may require more time to locate the correct
satellite or may not locate the correct satellite.
3) Ensure proper distance to other rooftop equipment is
maintained. Be sure no roof-mounted equipment is blocking
the satellite “line of sight”.
5) Position the antenna with cables exiting toward the rear of
the vehicle. To ensure proper installation, check that the
distance from the edge of the roof to any foot is at least
twelve inches.
6) Place the unit on the roof in its
permanent location, and
mark around each base foot.
7) Clean the roof area where the
base feet will attach to the roof;
do not erase your marks.
8) Check with your vehicle
manufacturer for approved sealant, and put approved
sealant in the areas marked for the base feet. Place the
base feet on top of the sealant.
9) Before using the supplied mounting screws, check with
your vehicle manufacturer for any special screw
requirements. Screw down with four screws for each foot.
After all base feet are secured to the roof, put sealant around
the edge of feet and over screws.
4) After selecting a location for the antenna, make sure that the
centerline of the antenna is on or parallel to the centerline
of the vehicle; the centerline of the antenna runs through
the point between the two feet where cable connections
are located.
Installing the Mounting Feet
1) Remove the RoadTrip
®
T4 dome
screws with a Phillips screwdriver,
and remove the dome.
2) Locate ports on dome. Insert
the two threaded posts on a
mounting foot through the two
holes opposite the ports, and
thread a hex nut onto each post
(see image).
3) Locate the other holes for the
remaining two mounting feet; once installed, the mounting feet
should be equally spaced around the base (see image). Insert the
two threaded posts on the other two mounting feet through the
corresponding holes in the base, and thread a hex nut onto each post.
4) Using a 3/8” socket wrench, tighten all
hex nuts holding the mounting feet to
the base.
5) Place the dome back onto the base.
6) Align the holes in the dome with the
holes in the base. Insert a dome screw
through each aligned hole. Tighten.
2 Holes
opposite ports
Mounting feet
placement

 Loading...