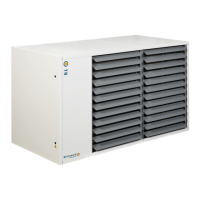
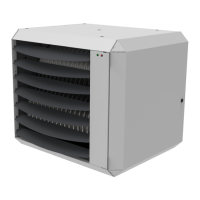
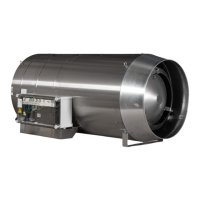
Instructions condensing Air heaters type XR version XR-GB-4001-a
Page 14/27
1. Check the components on possible damages.
2. Determine where the flue terminal will be positioned.
3. Make a hole for the flue terminal. Ensure that no saw dust or dust gets into the appliance.
4. Carefully insert the flue terminal the outside. Attention: do not tum the cap.
5. Fix the terminal horizontally using an air level
6. Mark the holes and drill the holes in the outside wall for the fixation of the terminal.
7. Fix the terminal with screws. Eventually seal the fixation with kit.
8. Fix the shield on inner wall.
9. Fit the gasket and the twin-tube connection. Make sure that the gasket is not damaged. Ensure
that the flue tube and the air inlet tube are not exchanged; the flue tube is the pipe in the centre of
the flue terminal.
10. .Check that all steps have been carried out correctly.
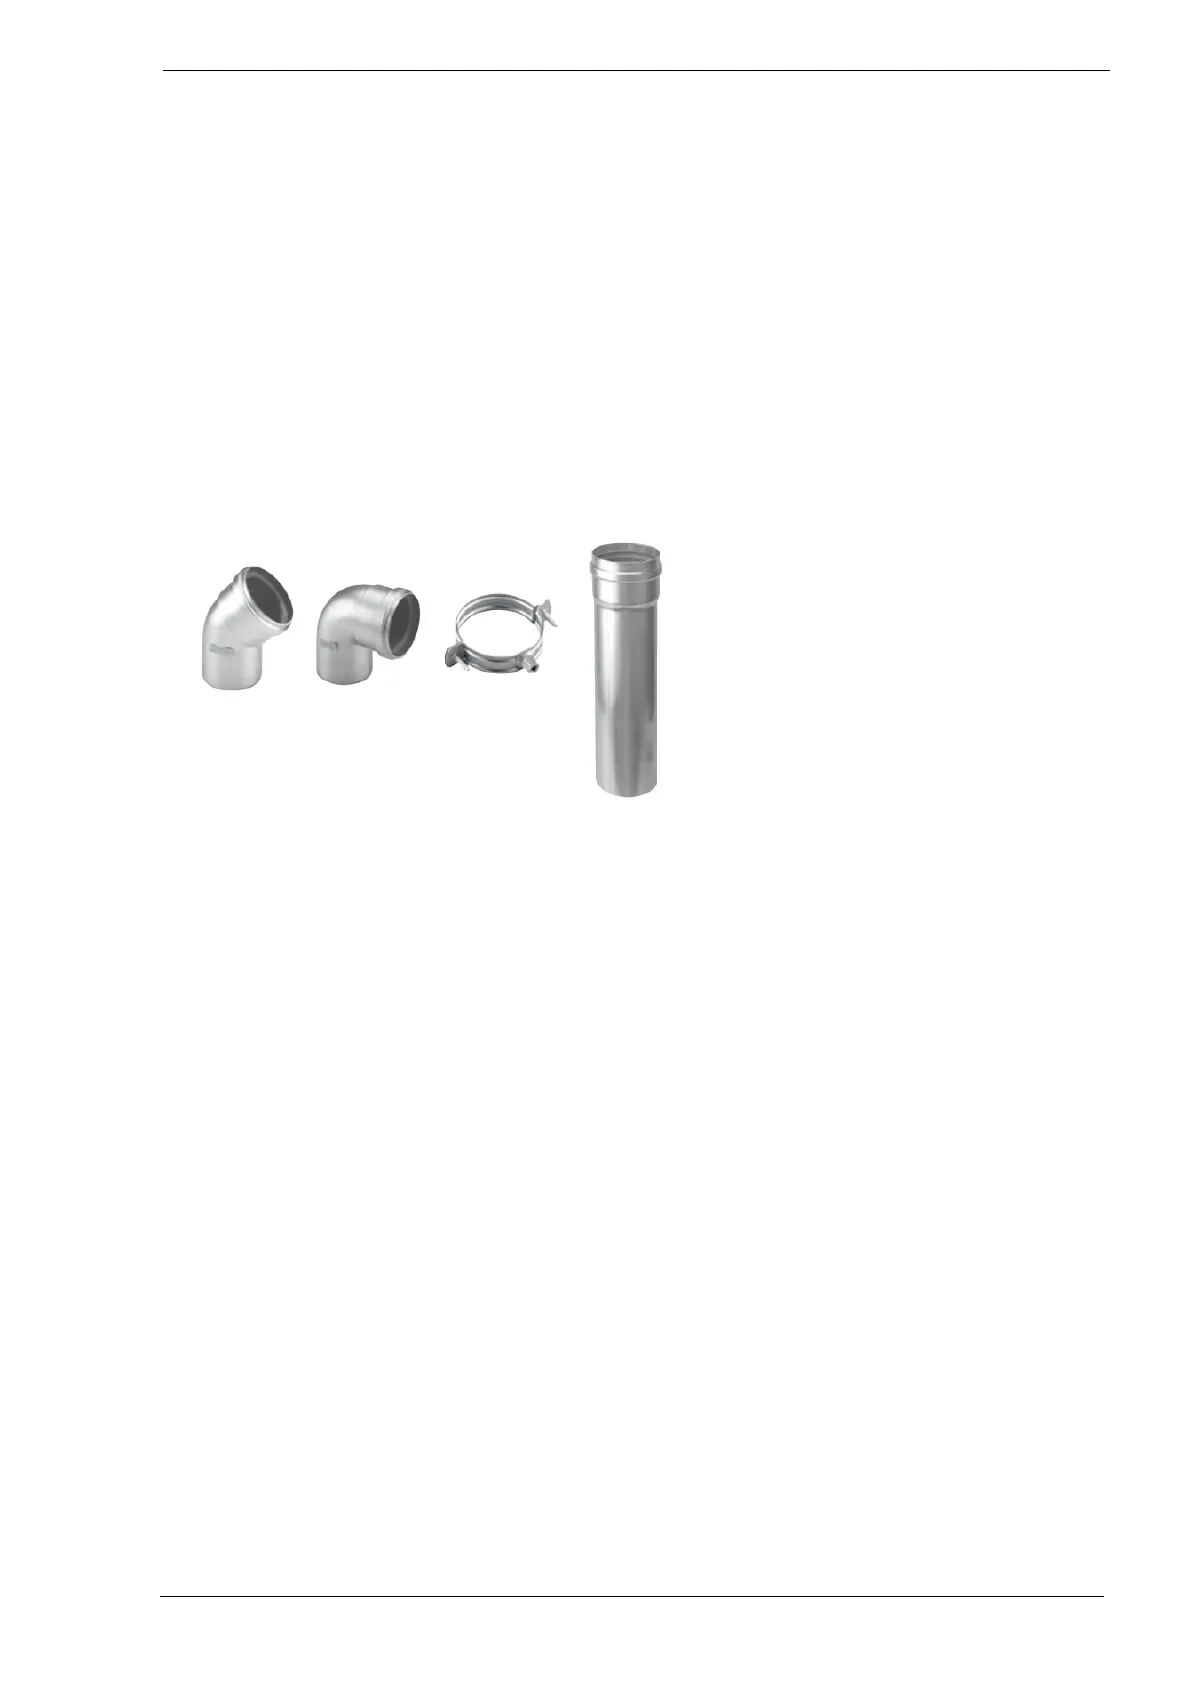
4.6.1 Installation from the flue system parts
These basic instructions are for the flue material that go with this heater.
Elements system ALU FIX thick wall
General
• Distance to conbustionable materials around the flue parts minimal 40mm.
• Use the brackets that go with the flue system.
•
Different manufacturers have different connections systems from the flue pipes. It is not
allowed to combine systems from different manufacturers
• The female sockets should have an depth of minimal 40 mm.
• Install without mechanical force on the parts.
• Inclination towards the appliance of 3 degrees (50 mm per meter) to allow the condensate to flow
to the heater.
Sealings
• If the flue parts need to be cut, Clean and round the edges. Sharp edges will damage the seal.
• Follow the instructions from the manufacturer when the connections need to be fixed.
• Do not drill or screw in the parts.!
• Do not try to seal with kit, foam or tape.
• Lubricate the connections only with allowed lubricant from the manufacturer. Maximum 1% of
soap or water is allowed.
• ATENTION! Do not use grease, Vaseline or oil
Fixation
• Fix every elbow on or near the socket.
- Exception when connecting the appliance: when the flue pipes before and after the elbow
are shorter than 0.25m, then the 2nd element after the elbow needs to be fixed with a
bracket.
• Horizontal and non-vertical flue pipes:
- Maximum distance between brackets 1 m.
- On tensile joints, (following the manufacturer’s instructions) Maximum distance between
brackets 2 m.
- The distance between the brackets should be spread out equally.
• Vertical piping:
- Maximum distance between brackets 2 m.