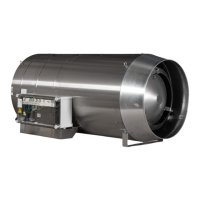
Instructions condensing Air heaters type XR version XR-GB-4001-a
Page 9/27
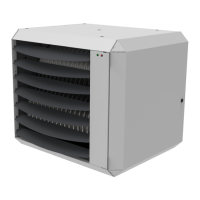
4 Installation
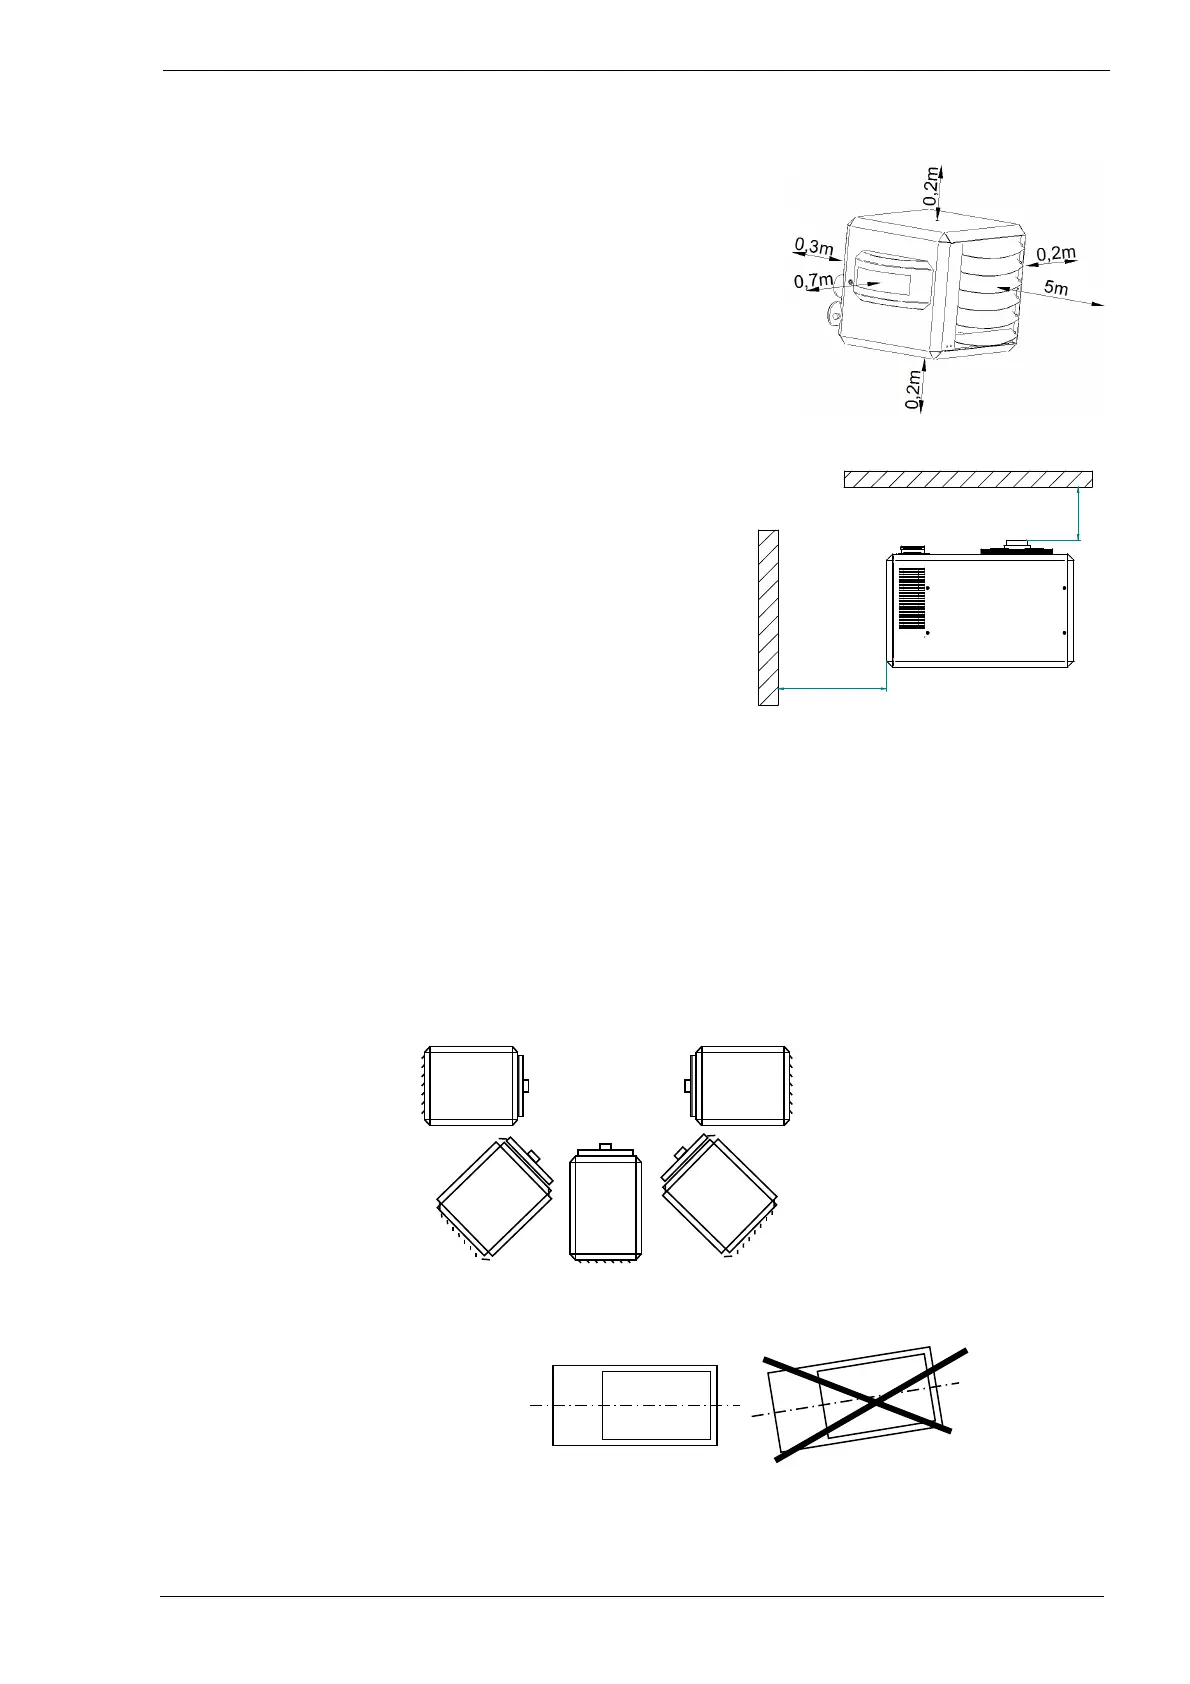
4.1 Positioning
• Check that the support is solid enough.
• The heater is designed as free hanging. The heater
should be able to blow the warm air free from any ducting
or obstacles. Also the air intake should be free.
• Keep sufficient distance between the heater and any
obstruction , in connection with safety and access for
service and maintenance. See the drawings in this
chapter. Pay particular attention to any flammable
materials. Please take into account the possibility to
open the door of the heater for the necessary service
and maintenance work . Make sure the air flow to
and from the heater is unhindered. Any obstacles
should be a minimum of 5 metres away from the
front of the heater.
• When the heater is installed other than horizontal,
Always re-adjust the CO2 setting from the gas valve.
• The heaters are provided with M10 threaded
sockets as fixing points (see the dimension
diagram).
• Use preferably the Winterwarm suspension kits.
• Make sure that after fitting, there is no mechanical tension on any connecting gas or electric
supplies.
• If the heater is installed with the air stream vertical downwards the maximum suspension
height is 8 meters. Otherwise the warm air will not reach the floor.
Attention:
See the application-restrictions in this manual (Chapter 2) for further installation restrictions.
4.2 Positioning the heater
Horizontally Horizontally upside down
TR10 - 50
At an angle down At an angle down
0 - 90° 0 - 90°
TR10-50
Vertically
horizontal but not with an
inclination.
Min 650 SERVICE
min 300