Gas Range (GR) Series
Gas Range (GR) Series
Installation Information
2-8
#822634 - Revision A - January, 2013
Preparation
Before moving the range, protect any finished flooring
and secure oven door(s) closed to prevent damage.
To lighten the load or to fit through a door way, the oven
door(s) can be removed. Only remove if necessary. Do
not remove griddle or any other component. Door
removal should only be done by a certified installer or
service technician.
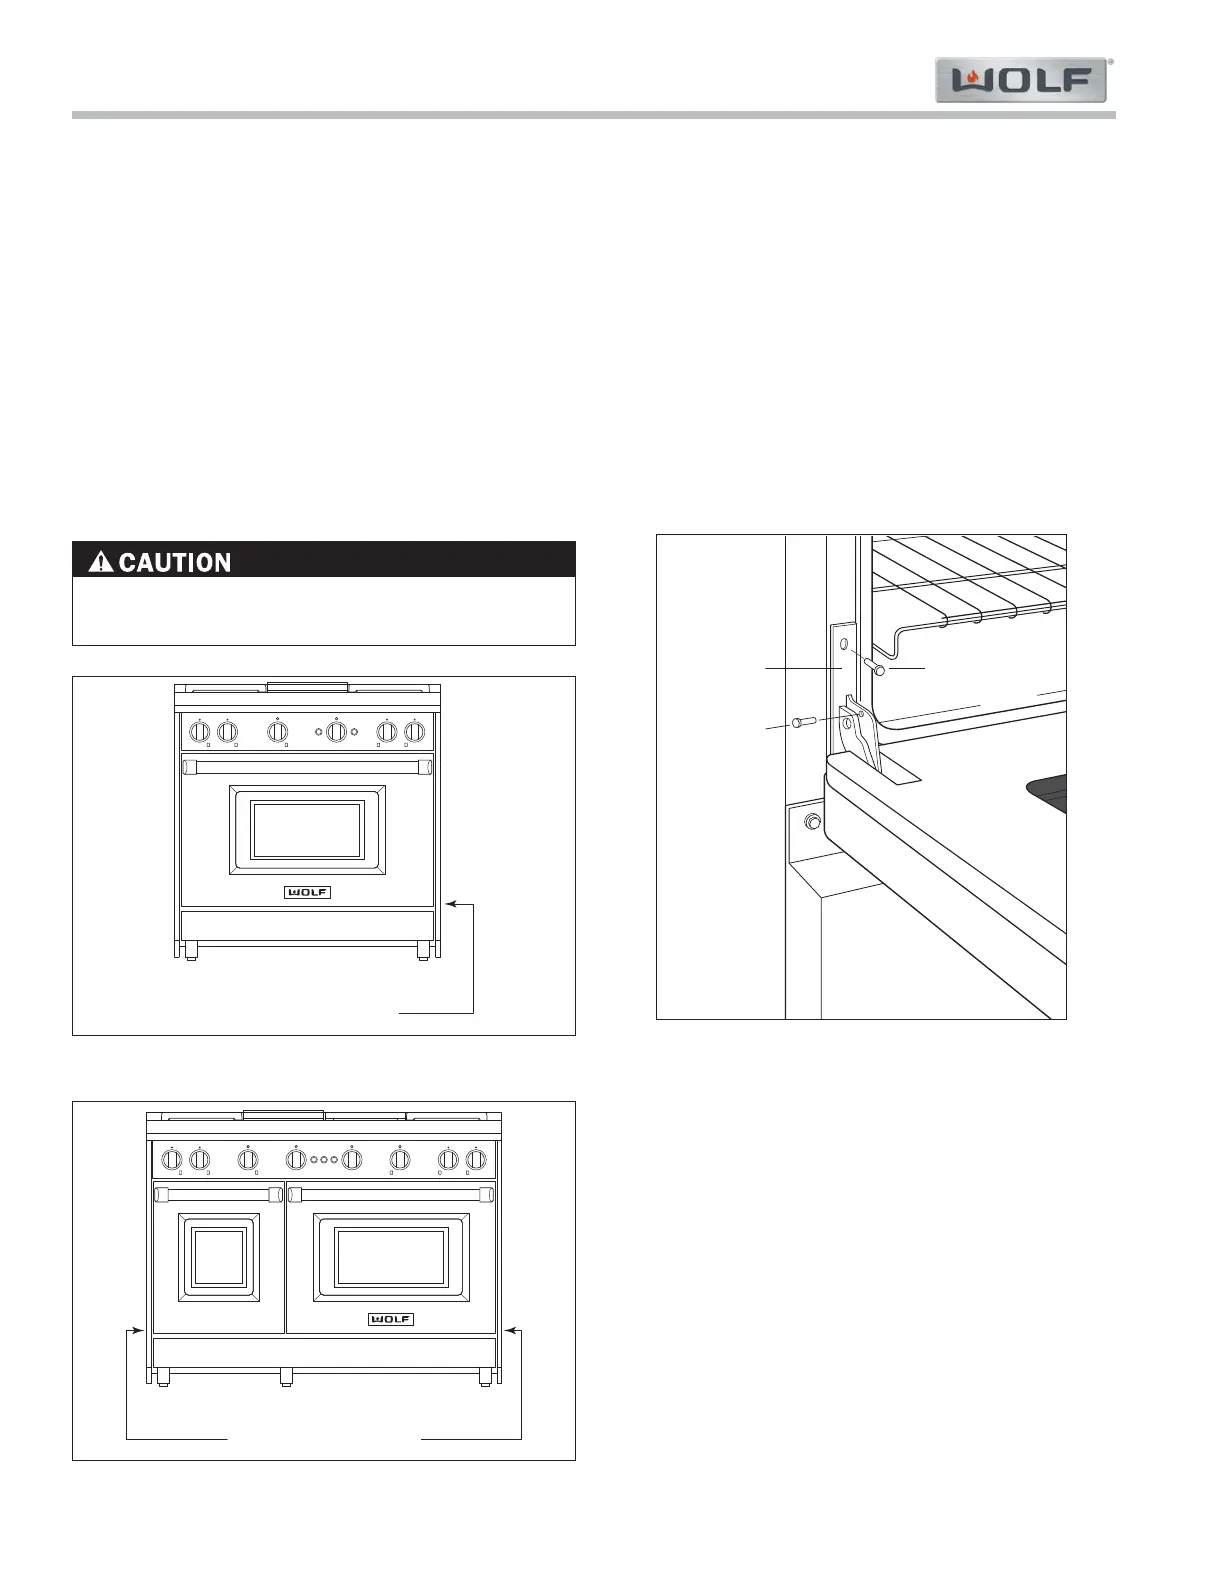
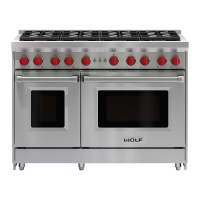
For removal, a hinge pin will be inserted into the appro-
priate hinge shown in Figures 2-3 and 2-4 below. The
pin(s) are located inside the oven door. For single oven
ranges, the hinge pin must be inserted in the right
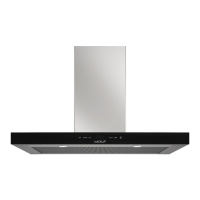
hinge. For double oven ranges, the pins must be placed
in the outer two hinges.
Failure to insert the hinge pin in the appropriate
hinge arm will cause damage to the range.
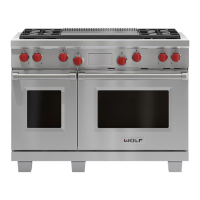
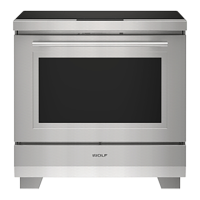
Figure 2-4. Double Oven Ranges (48” & 60”)
Oven Door removal (See Figure 2-5)
1. Insert the hinge pin into the appropriate hinge.
2. Remove the lower kickplate assembly to access the
lower hinge retainer mounting screws.
3. Open the oven door and remove both upper and
lower hinge retainer mounting screws. The oven
gasket may have to be moved slightly to access the
bottom screws.
4. Move the hinge retainer plate forward slightly. The
hinge retainer plate will remain on the door hinge
after the mounting screws have been removed.
5. Carefully close the oven door to approximately 60°,
then lift the door up and out. A slight rocking
motion may be required for removal.