Do you have a question about the Wolf GR Series and is the answer not in the manual?
Specifies pressure requirements for Natural Gas and LP Gas supply lines.
Instructions for checking gas connections for leaks using a detergent solution.
Emphasizes using a grounded 3-prong outlet and proper polarity for safe operation.
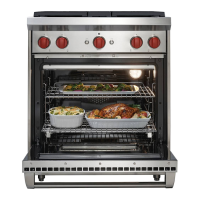
Provides dimensions and clearances for installing a 30" gas range.
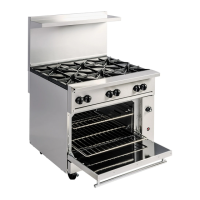
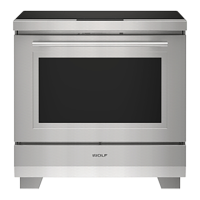
Details dimensions and clearances for installing a 36" gas range.
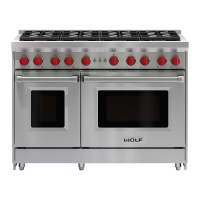
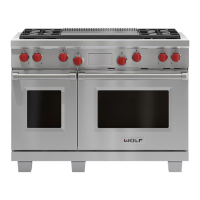
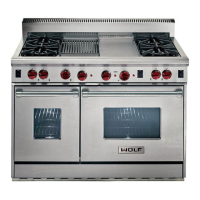
Outlines dimensions and clearances for installing a 48" gas range.
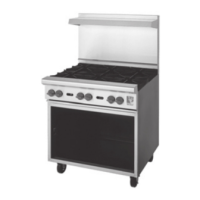
Provides dimensions and clearances for installing a 60" gas range.
Step-by-step guide on how to safely remove the oven door for installation.
Instructions for securing the anti-tip bracket to the wall or floor for safety.
Details on adjusting legs/casters and engaging the anti-tip bolt for stability.
This document provides installation and maintenance information for the Wolf Gas Range (GR) Series.
The Wolf Gas Range (GR) Series is a domestic cooking appliance designed for use with either natural gas or liquid propane (LP) gas. It features an electrical ignition system and is certified by the Canadian Standards Association (CSA) for both gas types. The range requires a regulated gas supply and a 110-120 V AC, 60 Hz electrical supply with a 15 amp circuit breaker for its ignition system. It is equipped with an anti-tip device for safety, which must be properly installed and engaged. The oven door(s) can be removed for easier installation or to lighten the load, and the range has rear casters and adjustable front legs for leveling.