13
5-in-1 Multi Sander
EN
185*95mm
Finishing
sanding paper
33 3
125mm Random
orbit H&L
sanding paper
33 3
140*90mm
Detail H&L
sanding paper
33 3
76*30mm Fin-
ger H&L
sanding paper
33 3
100*50mm
Contour H&L
sanding paper
33 3
We recommend that you purchase your accessories from the same
store that sold you the tool. Refer to the accessory packaging for
further details. Store personnel can assist you and offer advice.
OPERATING INSTRUCTIONS
NOTE: Before using the tool, read the instruction
book carefully.
INTENDED USE
This machine is intended for dry sanding of wood, plastic,
filler and coated surfaces. The sander is not to be used for
plaster or spackle.
ASSEMBLY AND OPERATION
ACTION FIGURE
ASSEMBLY
Fitting &Replacing the Sanding Plate
Note: Read and understand the instructions before
assembling or changing sanding plates.
Note: Open the Hyperlock lever completely when
attaching or removing a sanding plate.
Note: When assembling the finishing plate/detail
plate, first check the assembling direction.
WARNING!The sanding plate must be
attached before starting the sander.
WARNING! Avoid pinching hands and
fingers when using the hyperlock™.
WARNING! Do not touch the bottom fan
after use to avoid high-temperature
burns.
See Fig.A1-A8
Fitting the Sanding Paper See Fig.B1-B6
Attaching the Dust Bag
Caution:
To prevent the possibility of dust or a
foreign body being thrown into your face or eyes,
never attempt to use your sander without the dust
bag properly installed.
See Fig. C
Charging the Battery Pack
See Fig.
D1,D2,D3
Installing the Battery Pack See Fig. E
OPERATION
Switching On/Off See Fig. F
Using the Variable Speed Dial (Speed settings
1-6)
- The Variable Speed Dial can be used to set the
optimum speed according to the sanding plate used
and the respective application.
See Fig. G
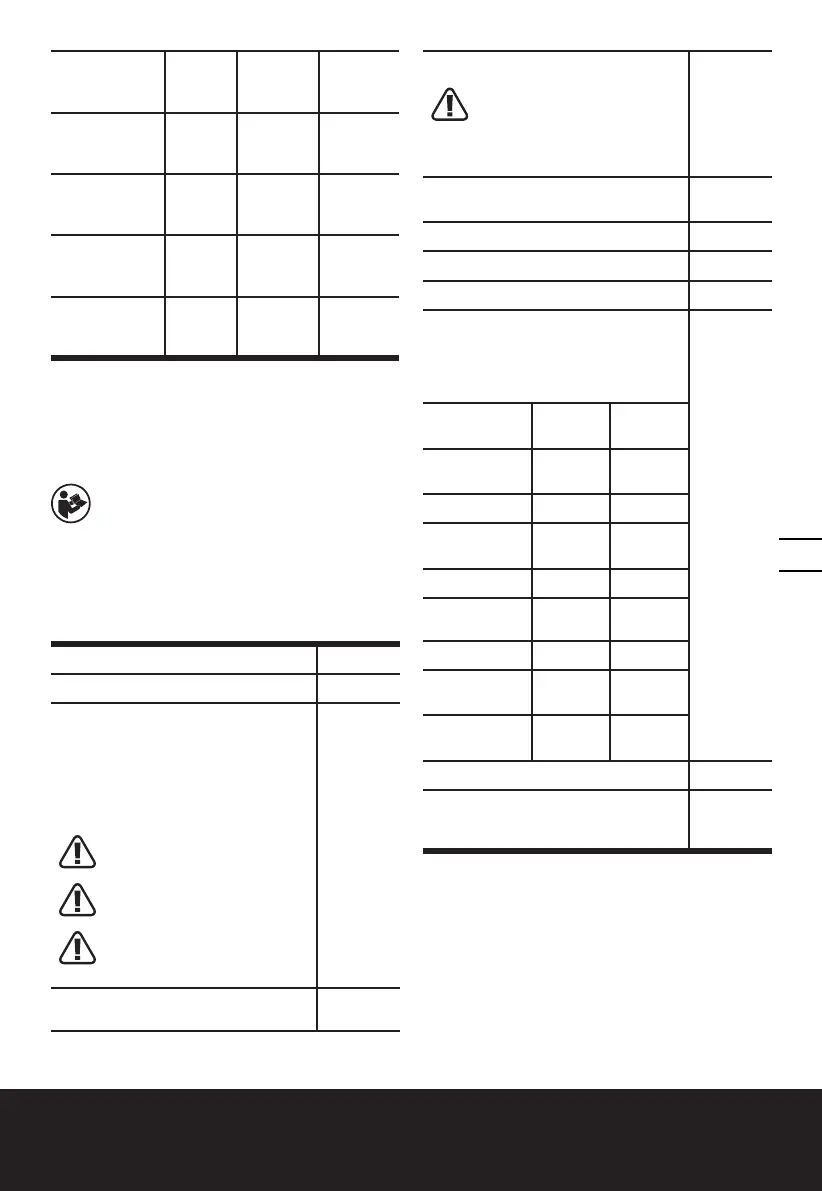
Application
Sanding
paper
Speed
Sanding down
varnishes
180…400 3-6
Sanding paint 40…120 4-6
Touching up
paintwork
120…240 1-5
Sanding wood 60…240 1-6
Machining veneer 180…240 3-5
Derusting metal 40…120 4-6
Sanding metal and
steel
120…240 4-6
Sanding curved
surface
60…240 1-6
Removing the Battery Pack See Fig. H
Emptying the Dust Bag
-For more efficient operation, empty dusts bag
every 5-10 mins.
See Fig. I1-I2
WORKING HINTS FOR YOUR
MULTI SANDER
If your power tool becomes too hot, especially when
used at low speed, set the speed to maximum and run
it with no load for 2-3 minutes to cool the motor. Avoid
prolonged usage at very low speed. Always use sand
paper that is suitable for the material you want to sand.
Always ensure the work-piece is firmly held or clamped to

 Loading...