3
If external AC Power is available
Normal Operation Mode: Controls
The remote comes On automatically when the Freedom Inverter/
Charger
is connected to a charged battery or external AC power. The following
buttons are used:
Normal Operation Indications
The Freedom Remote shows AC IN (status), DC VOLTS, DC AMPS
(charger or inverter current), and INCOMING AC BREAKER AMPS
setting plus CHARGE, INVERT and BATTERY STATE. The display is
updated once per second.
AC IN On
Power Up Indications and Default Values
When power is first applied to the remote, there is a delay of up to four
seconds, while the remote and the Freedom Inverter/Charger establish
communications.
Installation
During installation of the Freedom Remote, the Freedom
Inverter/
Charger may have power applied to it. If using a 458 Series, the
AUXILIARY SWITCH (jumper) on the inverter must be in the Off
position. Refer to the owner’s manual for position details. The Freedom
Remote may be mounted up to 50 feet from the Freedom Inverter/
Charger. Cut a hole in an appropriate location using the mounting
template supplied. Route the data cable from the remote to the inverter.
Routing the data cable away from AC and DC wires will minimize the
potential for interference. Plug the data cable into the Freedom Re-
mote and the Freedom Inverter/Charger. Secure the Remote Control
Panel using the supplied screws.
Introduction
Congratulations! You have purchased a powerful electronic instrument.
In order to understand, use, and install it, PLEASE read this manual.
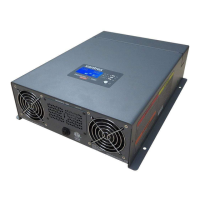
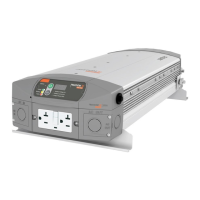
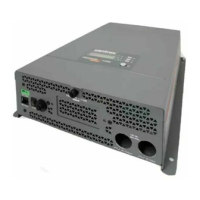
In this manual, “Freedom” will refer to the Freedom
Inverter/Charger
while “458” or “458 Series” will refer to both the Freedom 458 Series
Inverter/Charger and the Freedom Marine Series Inverter/Charger.

 Loading...