Xerox 8264E User Maintenance and Cleaning Guide 14
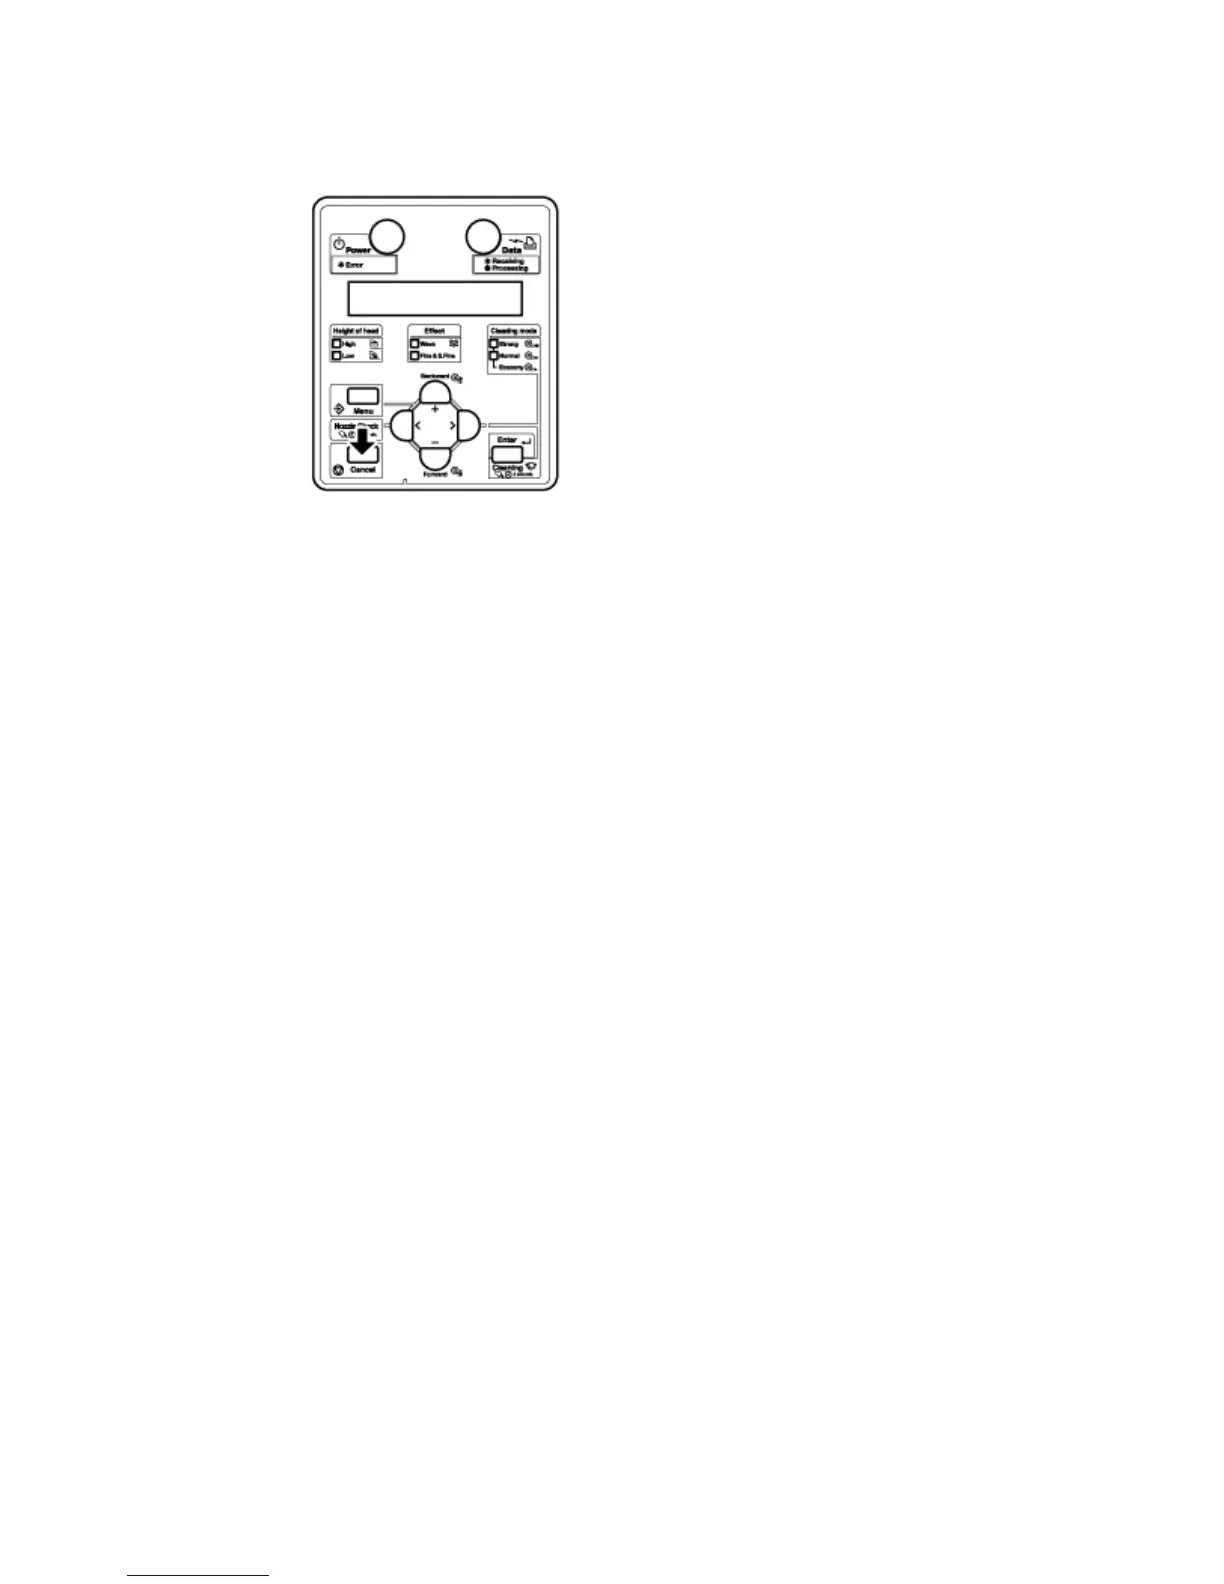
10. Press the [Cancel] key several times. "Ready to Print" displays in the control panel.
Cleaning around the print head is complete.
Replacing the Flushing-box Sponges
This section explains how to replace the flushing-box sponges.
1. Replacement frequency
Replace the flushing-box sponges in the following situations.
a. When the flushing-box sponge becomes deformed
b. When smears of ink appear on the media
c.. One month after the last replacement
2. Type
Note:
For types and details of the flushing-box sponge, refer to Options/Supply List.
3. Replacing steps
Follow the steps below to replace the flushing-box sponges.
1. If the printer is turned ON, make sure of the following.
--- Printing or other operations are not in progress.
--- "Ready to Print" is displayed in the control panel.
2. Open the front cover.
3. Remove the flushing-box sponge from each flushing-box using a pair of tweezers.
 Loading...


