Unpacking and Installation, TWTA Octagon CPU
MNC-0300-003 8 of 22 Revision N
5. Tighten all mounting screws with the appropriate size Allen wrench.
6. Use a sequential tightening procedure. Refer to Table 1. Proceed as
follows:
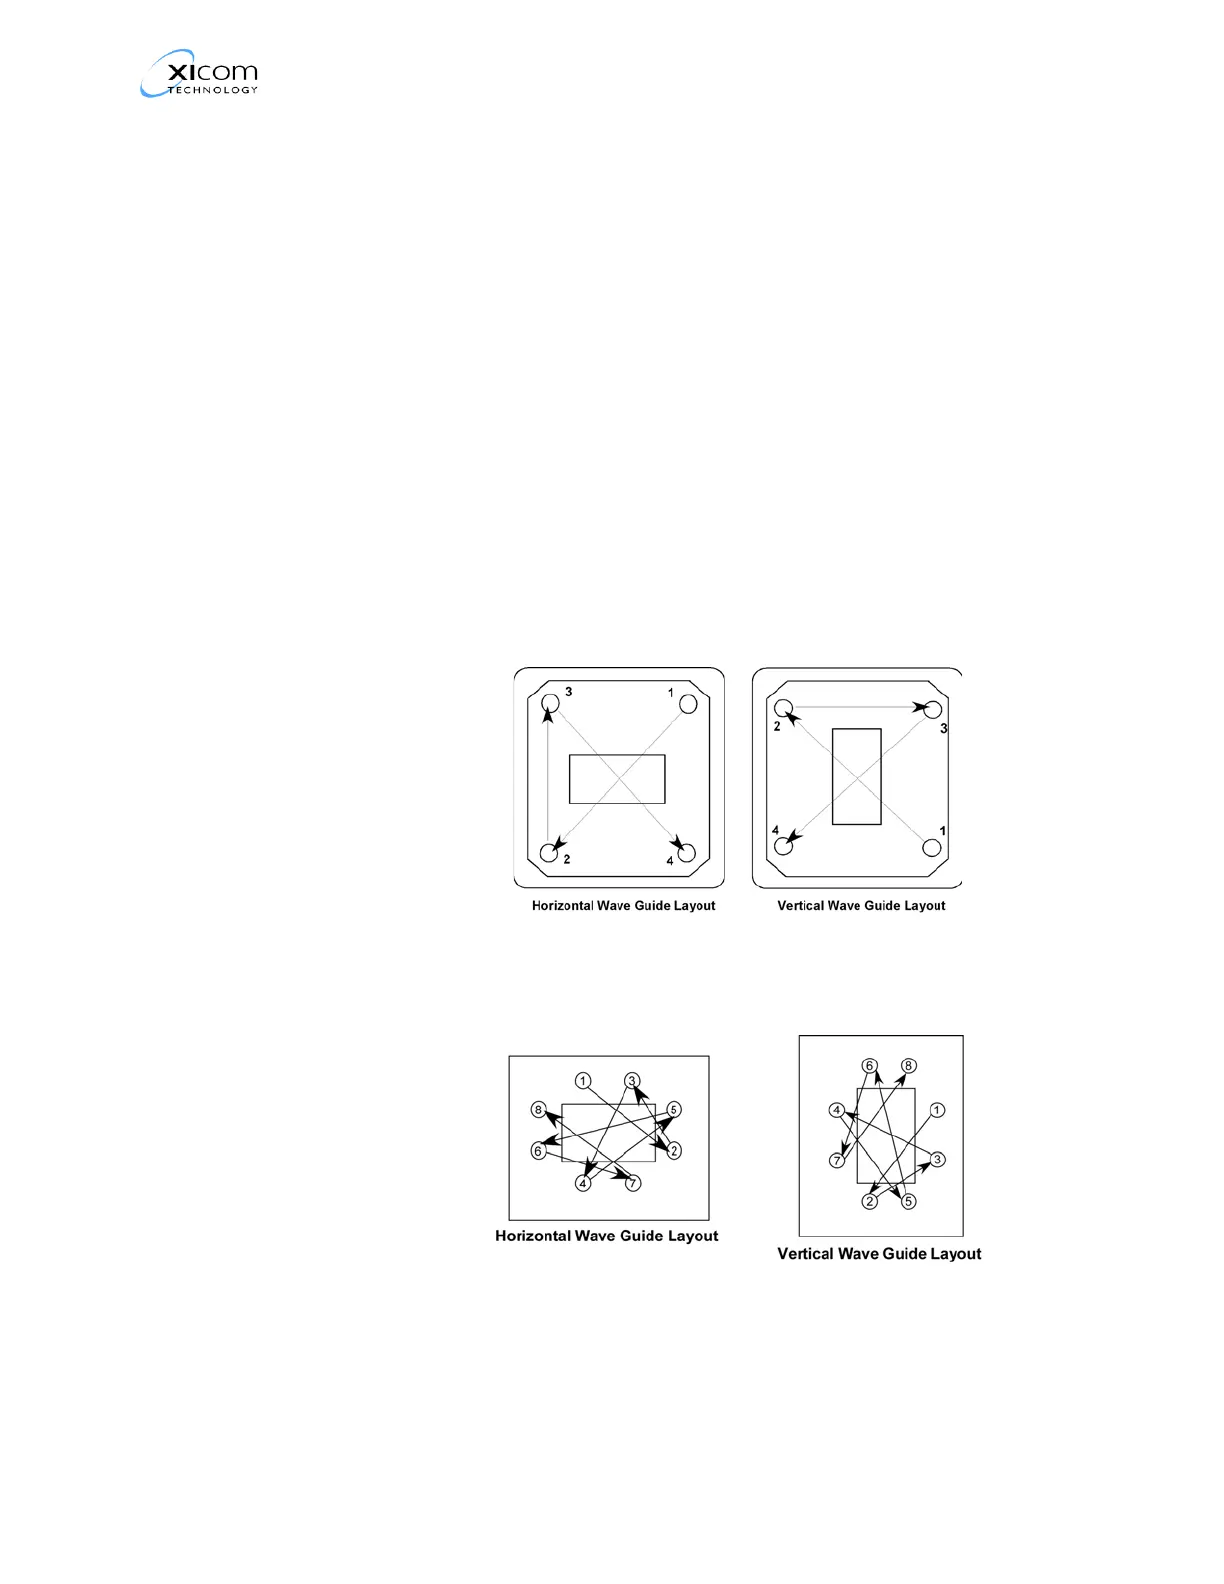
• Partially tighten one of the screws (#1).
• Move the tool to the screw that is diagonally opposite to the screw
tightened in step 1 (#2) and partially tighten that screw.
• Move clockwise to the next screw to be tightened (#3) and partially
tighten that screw.
• Move to the screw diagonally opposite screw #3 and partially
tighten that screw (#4).
• If required, repeat this process for the remaining screws (#5-#6, #7-
#8).
• When you reach the first screw tightened in this step (#1) increase
the torque on the screw and repeat the process until the screws
have all been tightened to the correct torque.
Figure 1, Typical 4 Screw Mounting Flange Tightening Sequence
Figure 2, Typical 8 Screw Mounting Flange Tightening Sequence