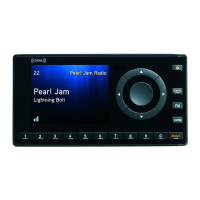
16
Vehicle Installation
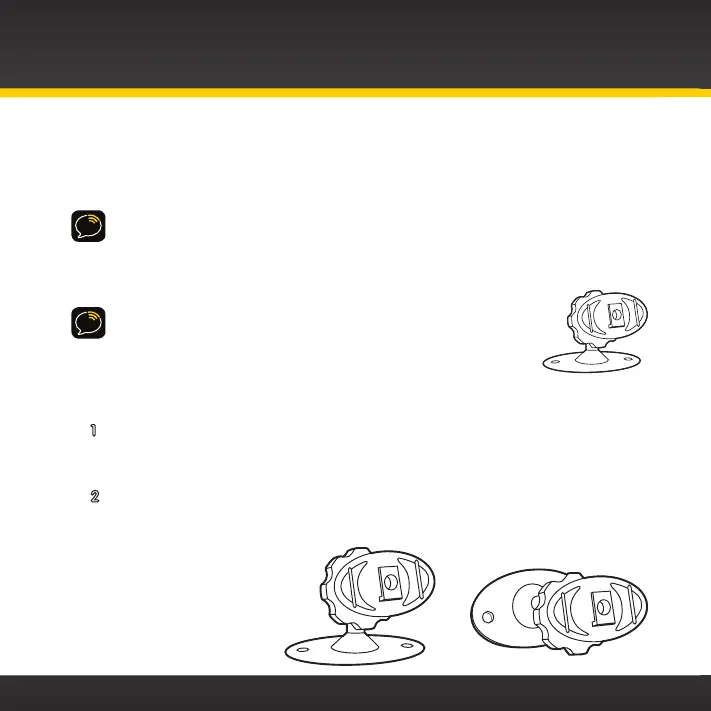
Step 2: Install the Dash or Vent Mount
Depending on your situation, you can either choose to use the Dash Mount or the
Vent Mount.
IMPORTANT! When you install the chosen mount, do not attach the dock to the
mount. All cables should be attached to the dock prior to connecting the dock to
the mount.
Installing the Dash Mount:
CAUTION! The adhesive used on the Dash Mount may be difficult
to remove. Do not install this mount on leather surfaces (contact
your vehicle dealer if you are unsure about your dash surface), and
make sure the air temperature is at least 60ûF (15ûC) during
installation. If it’s not at least 60ûF, turn on the heater in your
vehicle to bring the temperature up to 60ûF.
1 Locate a flat surface for the Dash Mount. Make sure there is ample
room for the PowerConnect Vehicle Dock and onyX Radio when
installed.
2 Set the orientation of the Dash Mount before adhering it. Loosen the
knob and adjust the adhesive foot for the location you selected in
“Step 1: Choose a Location for Your Radio” on page 14:
•Option 1 & Option 3
should be oriented
as I.
•Option 2 should be
oriented as II.
I II
 Loading...