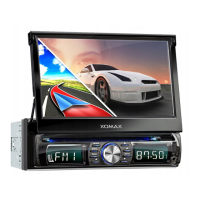
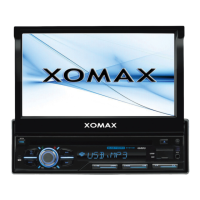
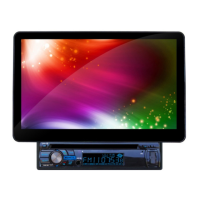
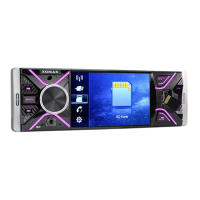
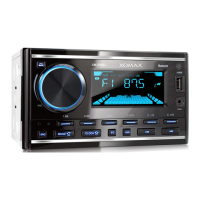
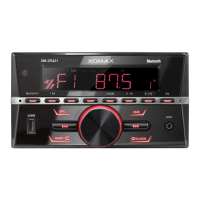
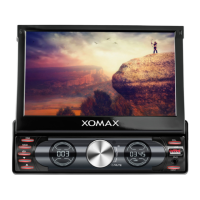
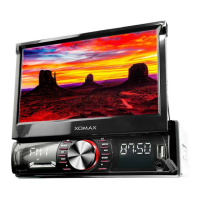
This document serves as an installation manual for various XOMAX multimedia units, including models XM-DTSB931, XM-DTSBN932, XM-DTSBN933, XM-VRSUA737, XM-VRSUA739, XM-VRSUN740, XM-VRSUN741, XM-VRSU742, XM-VRSU743, XM-DDA711, XM-DA712, XM-VDA713, and XM-VA714. It provides essential safety instructions, installation guidelines, connection schedules, and troubleshooting tips to ensure proper setup and operation of the device.
Function Description
The XOMAX multimedia units are designed to be integrated into vehicles, offering a range of features for entertainment and navigation. These units typically include functionalities such as radio reception, audio/video playback, and potentially navigation capabilities (for "Navi models"). The manual details the physical installation process, electrical connections, and basic operational considerations.
Important Technical Specifications
The manual highlights several critical technical specifications and requirements for the XOMAX units:
- Power Supply: The unit requires a 12 Volt on-board power supply. The minus (-) terminal must be connected to the ground (GND) (negative). Incorrect wiring can pose a fire hazard.
- Fuses: When replacing fuses, it is crucial to ensure the new fuse has identical properties, especially the amperage, as the original.
- Temperature: The unit is designed to operate within an internal vehicle temperature of not more than +40°C. Operation outside this range (too cold or too hot) should be avoided until the cabin temperature normalizes.
- Speaker Compatibility: The unit is designed for connection with 4 speakers. Speakers should have an impedance of 4-8 Ohm and sufficient wattage. Connecting damaged speakers can impair the unit.
- Installation Angle: For flawless performance, the integration angle of the unit should be approximately +/- 30 degrees.
- ISO Plug Configuration: The manual provides detailed pin assignments for the ISO plug, including Socket A (power supply) and Socket B (loud speakers).
- Socket A (Power Supply):
- A1, A2, A3, A6: Spare
- A4: (+12Volt) steady plus (yellow)
- A5: (+) electric antenna (blue)
- A7: (+12Volt) ignition plus (red)
- A8: (-) minus / ground (black)
- Note: Some vehicle manufacturers may interchange A4 and A7. Incorrect connection can lead to the unit not turning on when ignition is off and loss of saved settings.
- Socket B (Loud Speakers):
- B1: (+) rear right (violet)
- B2: (-) rear right (violet/black)
- B3: (+) front right (gray)
- B4: (-) front right (gray/black)
- B5: (+) front left (white)
- B6: (-) front left (white/black)
- B7: (+) rear left (green)
- B8: (-) rear left (green/black)
- Speaker cables should never be connected to each other or to the vehicle body.
- Antenna Types: The manual discusses three types of antennas for radio reception:
- Type 1 (Passive Antenna): Recommends replacing existing antennas with larger, more efficient ones if reception is poor. Shark fin or rod antennas under 5 cm are deemed insufficient.
- Type 2 (Active Antenna): Requires phantom power if the vehicle does not provide current for the active antenna.
- Type 3 (Active Antenna with Diversity System): Requires phantom power with an integrated diversity system if the unit does not provide current or diversity support. Phantom power is distinct from an antenna amplifier.
- CD/DVD Drive (for applicable models): These models are Class 1 Laser Products, indicating safe operation under normal conditions. Users are warned not to open the cabinet or modify the unit due to active laser components.
Usage Features
The manual outlines several usage features and precautions:
- Touchscreen Usage: Users should avoid pressing the touchscreen too hard to prevent image distortions, malfunctions, or damage. Only fingers or appropriate styluses should be used.
- Remote Control: Troubleshooting for non-functional remote controls includes checking for battery film removal, replacing empty batteries, and ensuring the infrared receiver (labelled IR) on the control panel is not blocked. The functionality can be tested by pointing the IR transmitter at a camera.
- CD/DVD Handling (for applicable models):
- Avoid soilings, scratches, and dust, as these can impair playback and damage optical lenses.
- Do not label discs with inappropriate stickers or markers.
- Never bend discs.
- Store discs in appropriate sleeves.
- Do not expose discs to direct sunlight.
- Avoid touching the mirror surface of discs to prevent fingerprints and soilings.
- Safety During Driving: The unit should not be handled while driving. Users should stop and park the vehicle in a safe place before operating the unit.
- Loudness Control: Set the loudness to a level that allows external noises, especially traffic warning signals, to be heard. Excessive loudness can damage hearing.
Maintenance Features
The manual provides guidance on maintaining the unit:
- Cleaning: The unit should be kept clean, and dust should be removed regularly with a soft, dry cleaning rag. Major soilings can be removed with a wet cleaning rag, but chemical or alcohol-containing detergents should be avoided to prevent damage to the unit's varnish.
- Moisture Protection: To prevent fire or electric shock, the unit should not be exposed to moist environments (e.g., adverse weather conditions, inappropriate wet cleaning).
- Repair: Users are explicitly warned not to open or attempt to repair the unit themselves due to the risk of electrocution and voiding the warranty. All repair operations should be left to professional technicians. The warranty becomes invalid if the warranty seal is flawed.
- Ventilation: Vent holes must not be occluded to prevent heat generation and accumulation, which could lead to fire.
- Recycling:
- Old Units: Electronic devices should be separated from domestic waste at the end of their service life and handed over to municipal collection points free of charge.
- Batteries: Empty batteries, especially those containing pollutants like mercury (Hg), lead (Pb), or cadmium (Cd), must be disposed of at municipal collection points. The manufacturer's store also accepts empty batteries purchased from them.