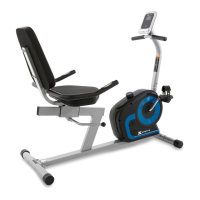
SB2.5 Recumbent Bike
7
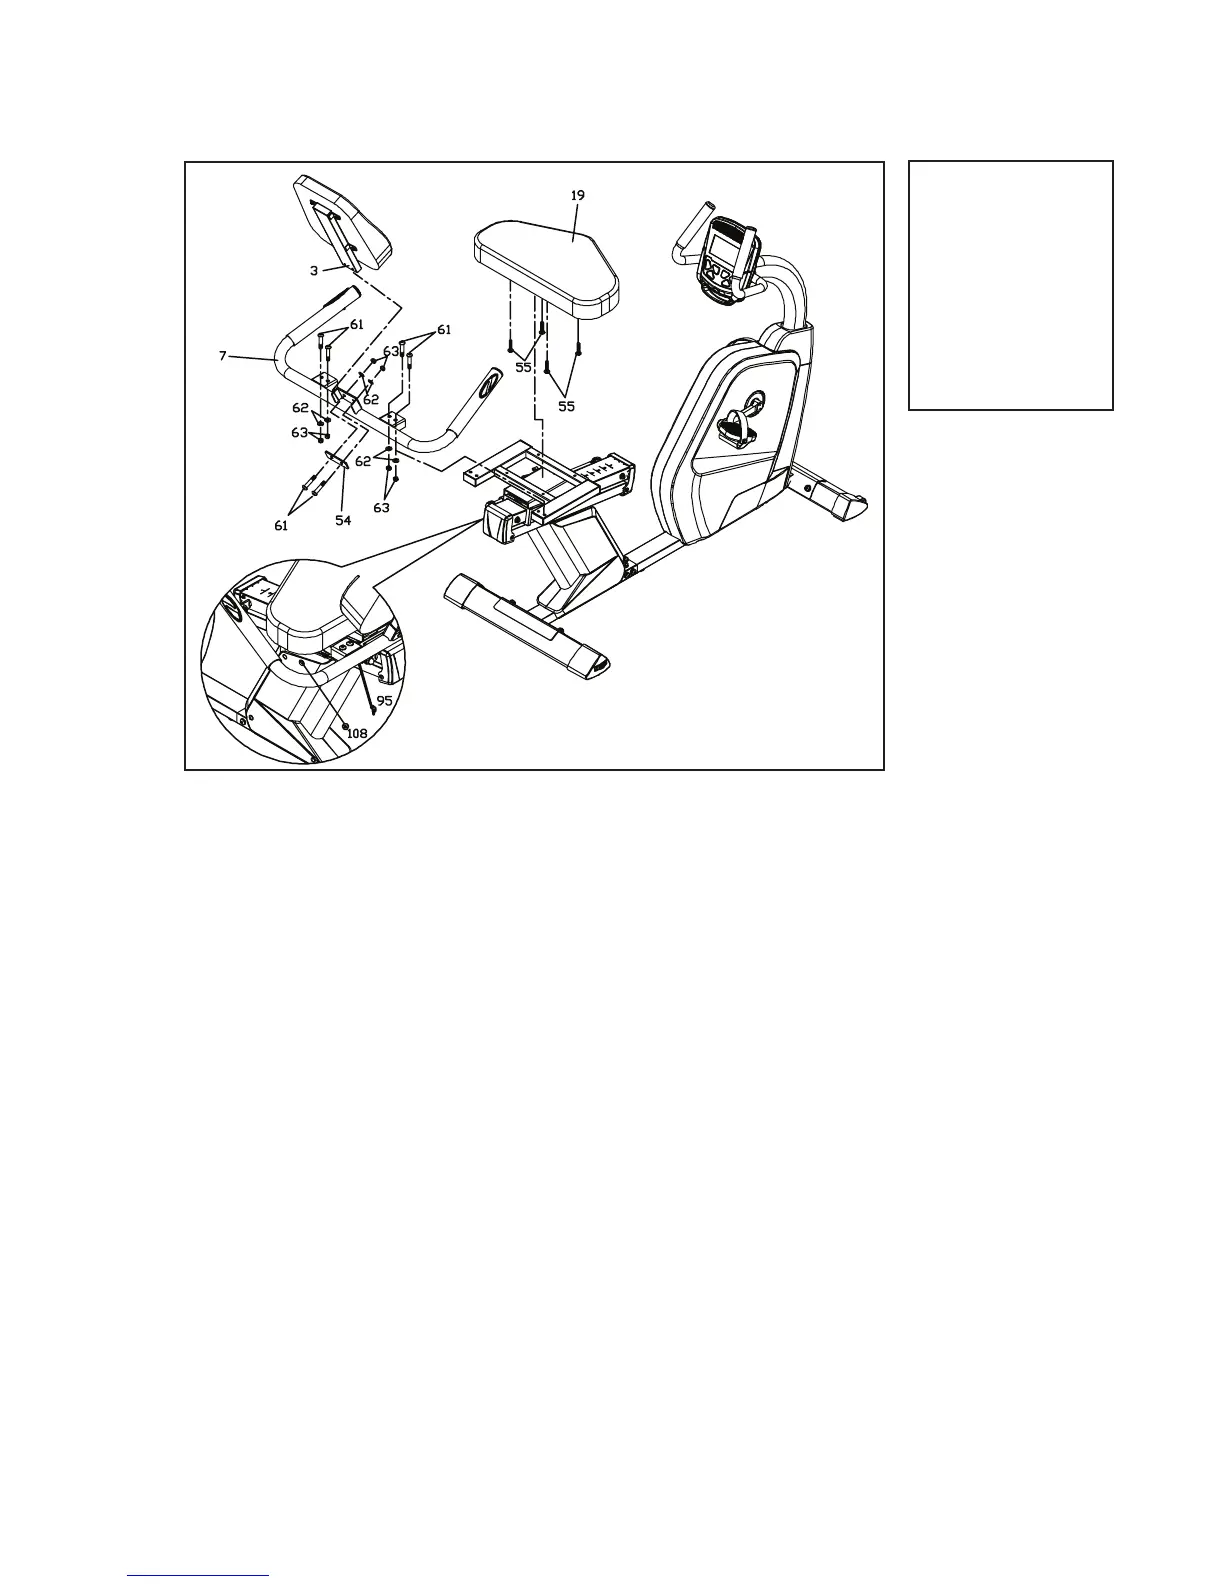
Seat & Rear Handlebars
3
Hardware Step 3
#55. M6 x 35mm
Phillips Head Screw
(4 pcs)
#61. 3/8” x 1-3/4”
Button Head Socket
Bolt (6 pcs)
#62. 3/8”
Flat Washer (6 pcs)
#63. 3/8” x 7T
Nyloc Nut (6 pcs)
1. Secure the Seat (19) on the sliding seat carriage with four Phillips head
screws (55).Tighten with the Combination M5 Allen Wrench & Phillips
Head Screw Driver (68). Install Seat Handle Bar (7) on the sliding seat
carriage by using M6 L Allen Wrench (92) with four Button Head Socket
Bolts (61), going through the Seat Handle Bar (7), four Flat Washers
(62), and four Nyloc Nuts (63). Tighten with the 14/15mm Wrench (69).
2. Install Seat Back Bracket (3) on the Seat Handle Bar (7) with by
using M6 L Allen Wrench (92) two Button Head Socket Bolts (61) going
through the Seat Back Mounting Plate (54), then two Flat Washers (62),
and two Nyloc Nuts (63).Tighten with the 14/15mm Wrench (69).
3. Connect the hand pulse connector (108 and 95) as shown in the inset
picture below.
 Loading...