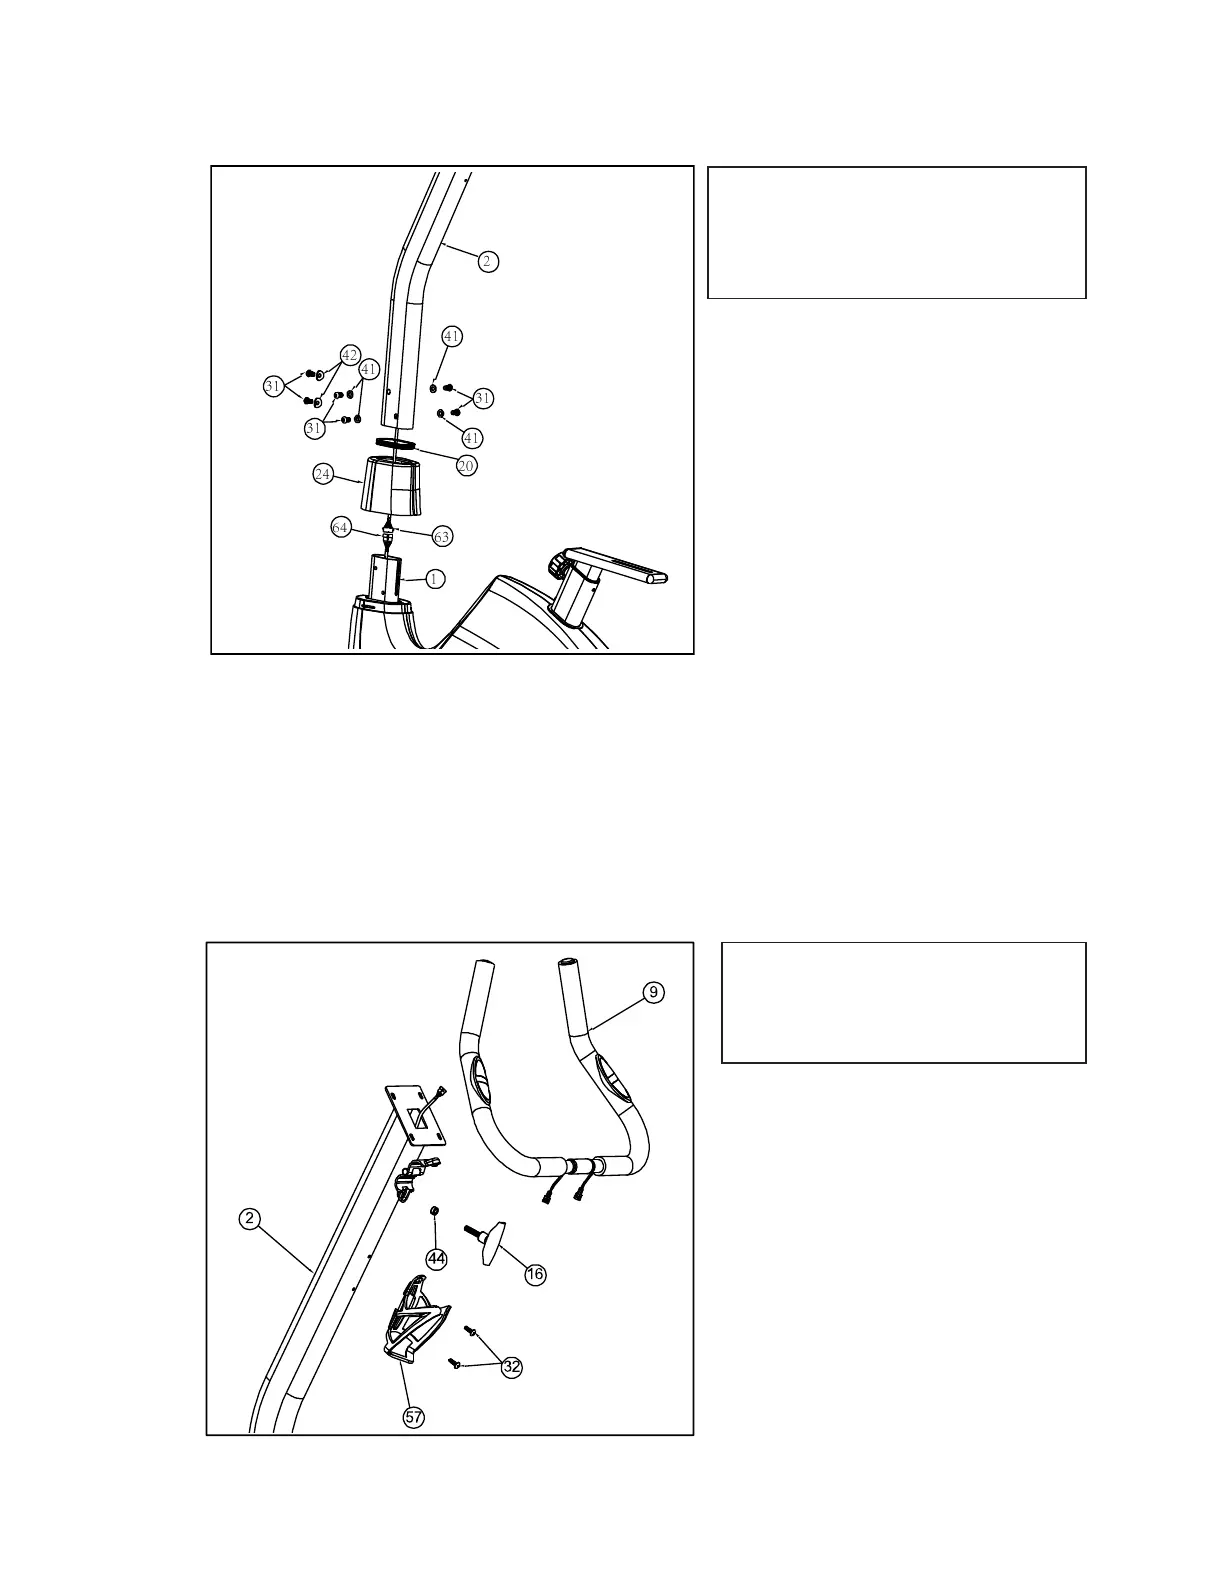
#31. Button Head Socket Screw
M8*15mm (6 pcs)
#41
.
Flat Washer φ8*21*2t (4 pcs)
#42
.
Cup Washer φ8*21*2t (2 pcs)
3
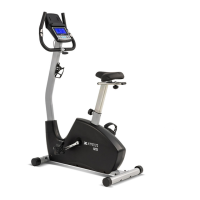
1.
Put the O-Ring (No.20) onto the
Console Mast Cover (No. 24).
2.
Run the lower Computer Cable
(No. 63) through the Console
Mast Cover (No. 24) and the O-
Ring (No.20). Connect the
Computer Cables (No. 63 & No.
64) together.
3.
Secure the Console Mast (No. 2) to
the Main Frame using 6 Button
Head Socket Screw (No.31), 4 Flat
Washers (No. 41), and 2 Cup
Washer (No. 42).
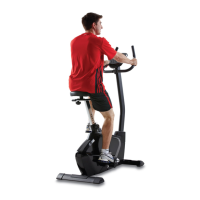
4
1. Secure the Drink Bottle Holder (No.
57) to the Console Mast (No.2)
using 2 Philips Head Screws (No.
32).
2. Secure the Handle Bar (No.9) using
the Handlebar Adj. Knob (No.16)
and 1 Block (No.44).
 Loading...