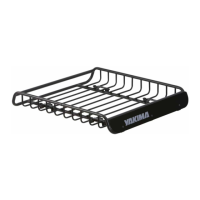
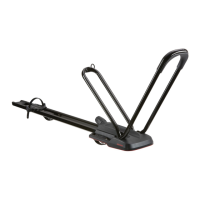
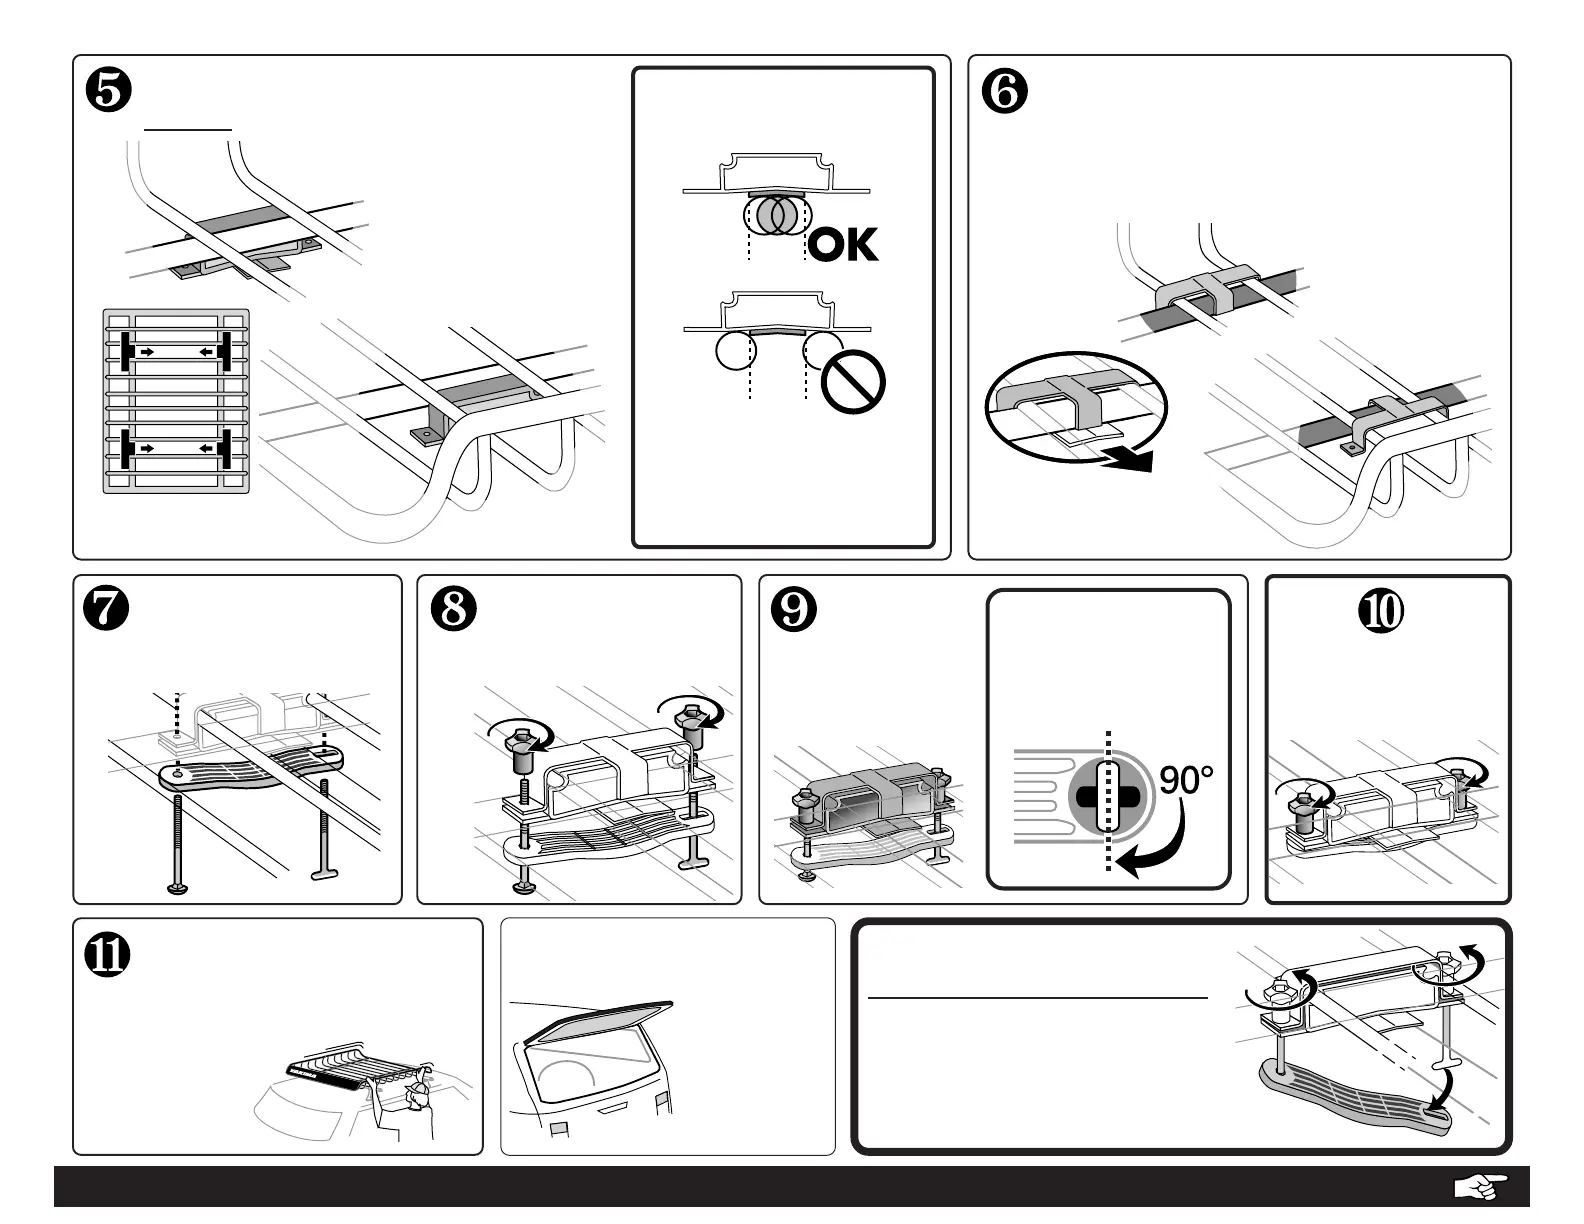
ATTACH THE KNOBS:
Engage the threads of
the bolts.
✓CHECK INSTALLATION:
Make sure installation is secure
by tugging at basket.
On some
vehicles, hatch
interference is
unavoidable.
TO REMOVE THE BASKET, DO NOT
DISASSEMBLE THE HARDWARE.
• Loosen the knobs until barely
attached.
• Unlock the T-bolts and let curved
brackets swing freely.
• Remove basket.
USE CAUTION WHEN
OPENING YOUR HATCH.
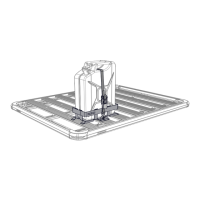
T-BOLT IS LOCKED
when the “T” of the
bolt is turned inside
the hole:
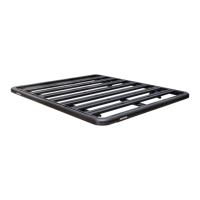
TIGHTEN
THE KNOBS.
SECURE THE
BASKET TO
THE BARS.
Lock the T-Bolts.
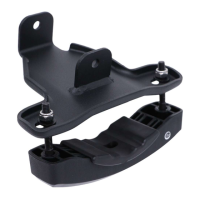
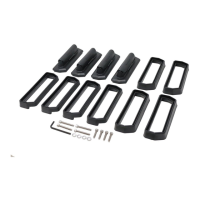
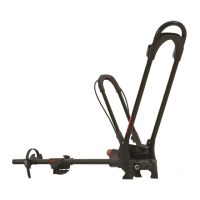
POSITION THE SUPPORT BRACKETS
ABOVE YOUR VEHICLE’S CROSSBARS.
• Place the brackets
OUTSIDE of the basket
frame.
• Tabs on brackets must
face INBOARD.
It may be necessary to move
the bracket to a new
position, or to adjust the
basket position.
KEEP BAR
BELOW TAB!
•CONTINUE TO BACK PAGE FOR IMPORTANT LOAD LIMITATIONS...
POSITION THE COVER BRACKETS.
Position cover bracket onto installed
support brackets.
Hooked tab should cover the larger
support bar.
Arrow points inboard
to center of vehicle.
ATTACH BOLTS.
Insert bolt into round hole,
and T-bolt into slotted hole.
The basket should NOT
SLIDE on the bars.
Tighten knobs if
necessary.