11
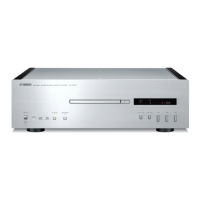
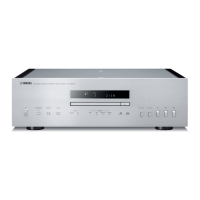
CD-1330
CD-1330
3
5
4
5
CB152
Plate side (L)
プレートサイド(L)
Hook
フック
OPERATION (9)
P. C . B .
Hook
フック
Plate side (R)
プレートサイド(R)
Front panel ass'y
フロントパネルASSY
OPERATION (8) P.C.B.
OPERATION (6) P.C.B.
CB205
CB162
3
Lid
リッド
1
1
Top cover
トップ カ バ ー
2
Lid
リッド
Flatblade screwdriver
マイナスドライバー
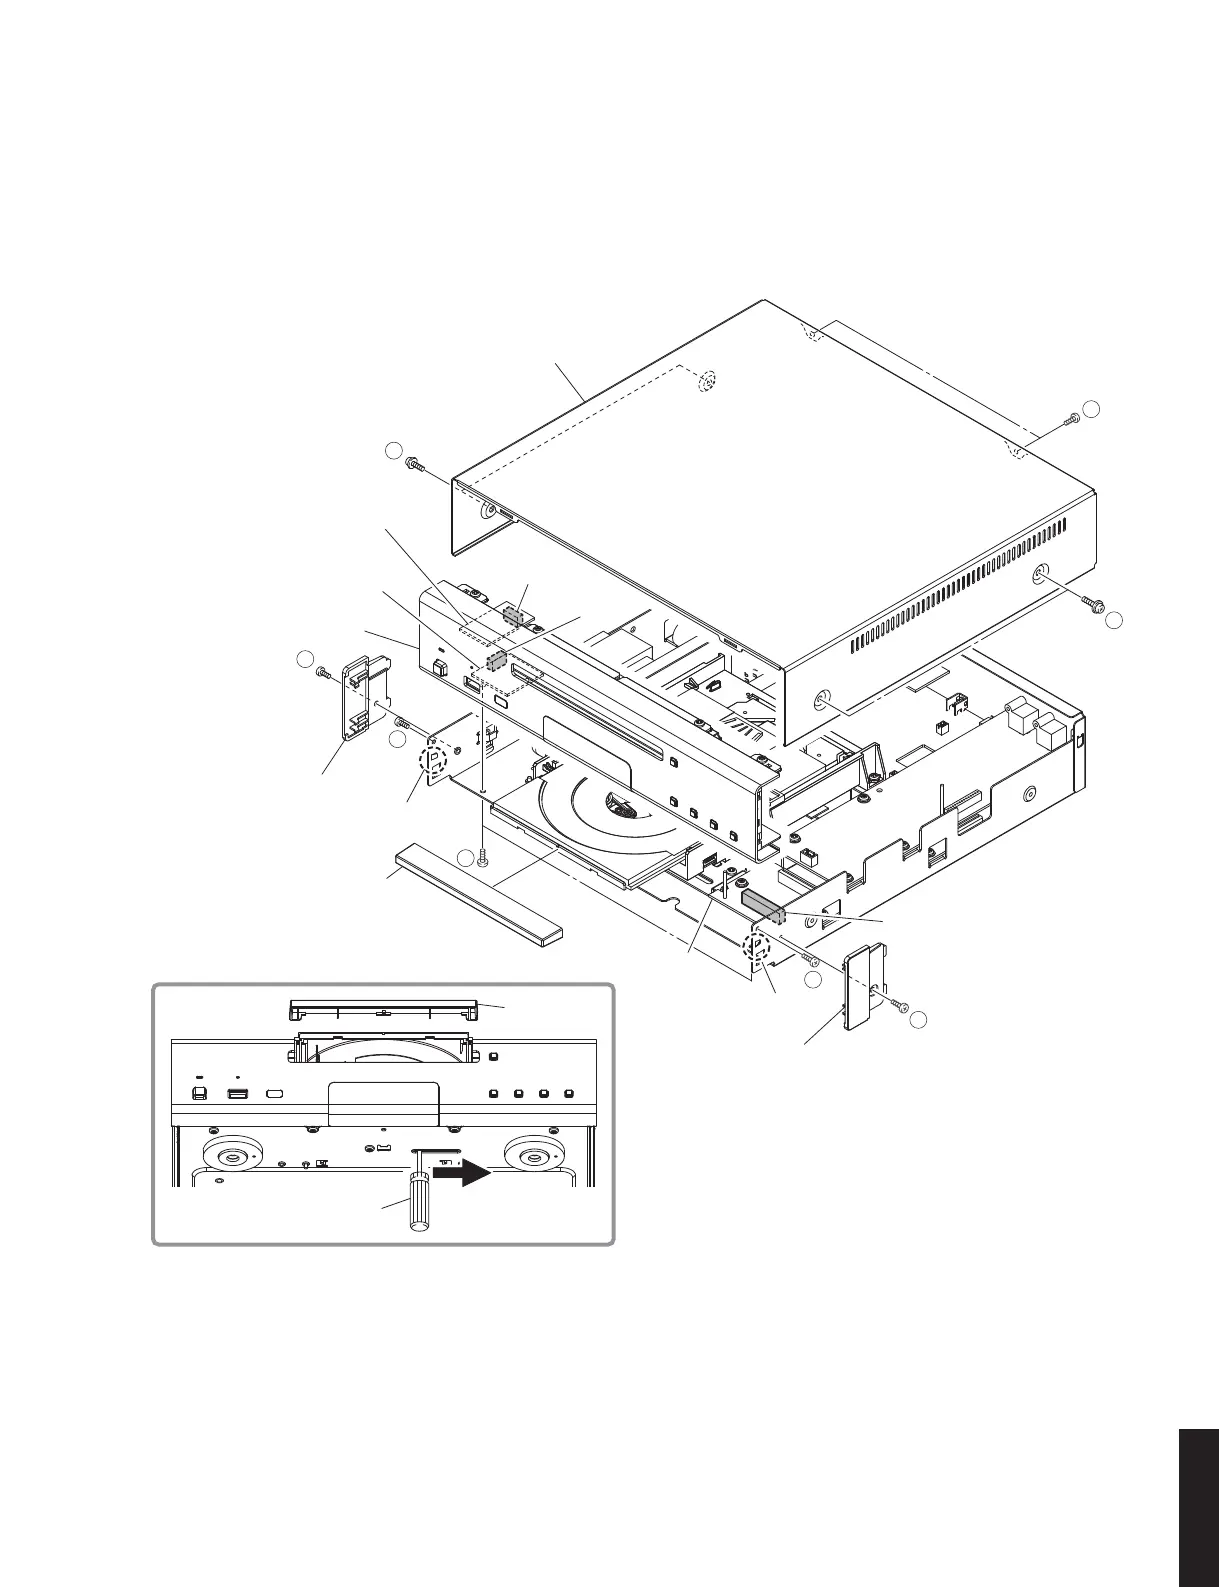
■ DISASSEMBLY PROCEDURES /
分解手順
(Remove parts in the order as numbered.)
Disconnect the power cable from the AC outlet.
1. Removal of Top Cover
a. Remove 4 screws (
➀
) and 2 screws (
➁
). (Fig. 1)
b. Remove the top cover. (Fig. 1)
(番号順に部品を取り外してください。)
AC 電源コンセントから、電源コードを抜いてください。
1. トップカバーの外し方
a. ①のネジ 4 本、②のネジ 2 本を外します。(Fig.1)
b. トップカバーを取り外します。(Fig.1)
Fig. 1
2. フロントパネル ASSY の外し方
a. ディスクトレイを開けてリッドを取り外し、ディスク
トレイを閉じます。(Fig.1)
b. ③のネジ 2 本を外し、プレートサイド(L、R)を取り
外します。(Fig.1)
c. ④のネジ2 本、⑤のネジ 2本を外します。(Fig.1)
d. CB152、CB162、CB205 を外します。(Fig.1)
e. フック 2 箇所を外し、フロントパネル ASSY を取り外
します。(Fig.1)
2. Removal of Front Panel Ass’y
a. Open the disc tray, remove the lid and close the disc
tray. (Fig. 1)
b. Remove 2 screws (
➂
) and then remove the plate side
(L and R). (Fig. 1)
c. Remove 2 screws (
➃
) and 2 screws (
➄
). (Fig. 1)
d. Remove CB152, CB162 and CB205. (Fig. 1)
e. Release 2 hooks and then remove the front panel
ass’y. (Fig. 1)
 Loading...