 Loading...
Do you have a question about the Yamaha DBR Series and is the answer not in the manual?
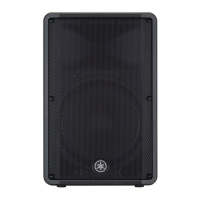
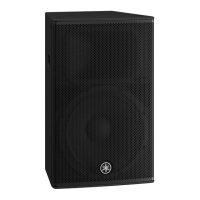
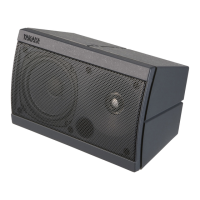
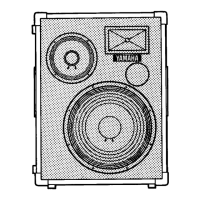
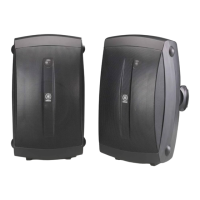
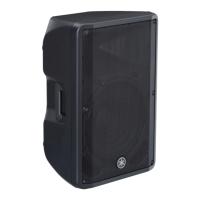
| Type | Powered Speaker |
|---|---|
| Amplifier Class | Class-D |
| Inputs | XLR, 1/4" TRS, RCA |
| Outputs | XLR |
| Enclosure Material | Plastic |
| Mounting Options | Pole mount |
| Coverage angle | 90° x 60° |
| I/O Connectors | XLR, 1/4" TRS, RCA |
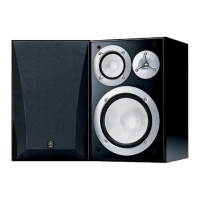
| Woofer Size | 12" |
| Tweeter Size | 1.4" |
| Protection | Overcurrent protection |