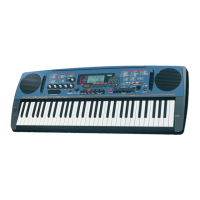
75
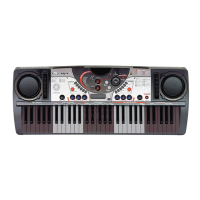
DIGITAL SAMPLING
The DJX also features some simple but powerful sample editing tools.
These include setting the end point for a sample, and creating sample
loops.
Setting the End Point
In this section, you’ll learn how to set the end point of a recorded sample.
The end point determines how much of a sample is played back each time
you press a key. Three different resolutions — Coarse, Mid, and Fine — are
provided to let you move around within the sample data when searching
for the desired or best end point.
Keep in mind that setting
the end point to a position
earlier than the actual end
of the sample does not
change the actual length of
the sample or delete any of
the sample’s data — it
simply changes how the
sample plays back.
1 Enter the Sampling mode.
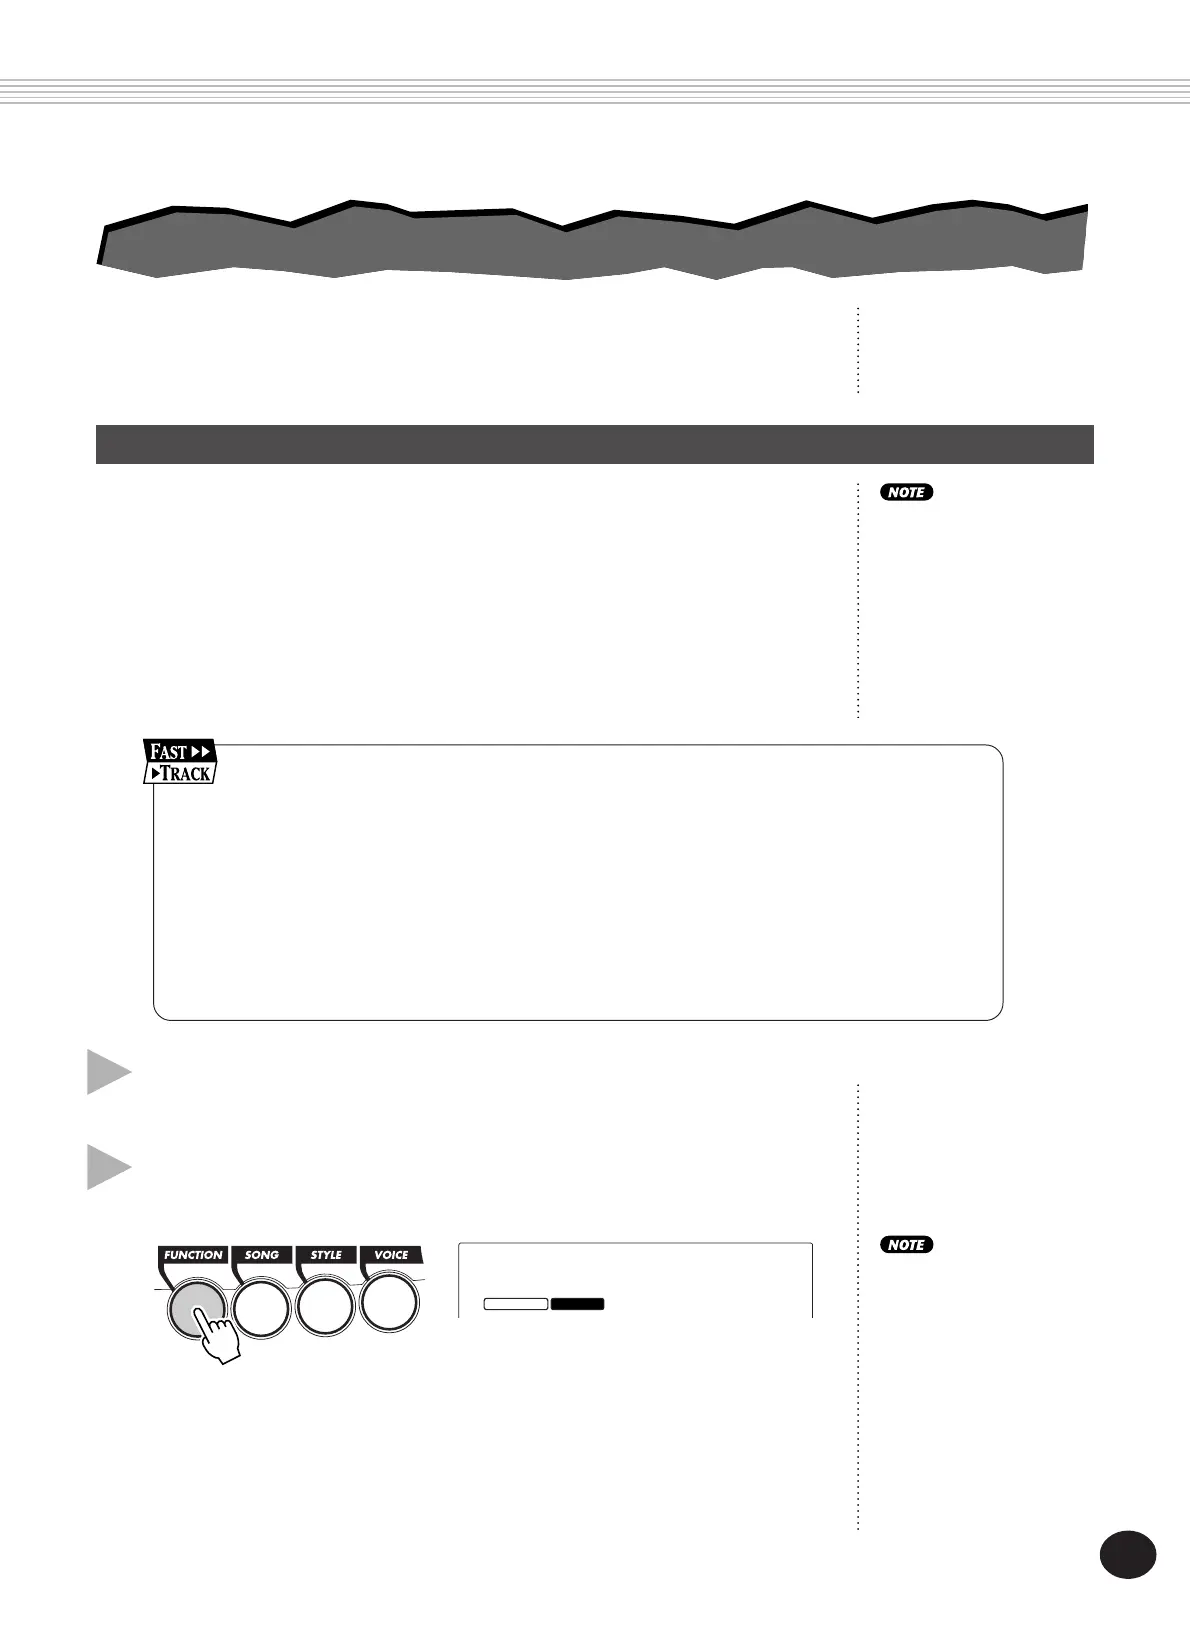
2 Call up the Sample Editing functions. (Press the FUNCTION button.)
3 Select the desired sample (wave). (Play any key in the sample’s range.)
4 Set the sample for “one shot” play.
5 Adjust the end point. Use different editing resolutions if necessary.
6 Exit from the Sampling mode.
1 Enter the Sampling mode.
Press the RECORD button (DIGITAL SAMPLING).
2 Call up the Sample Editing functions.
Press the FUNCTION button.
The Sample Editing functions include:
Wave Sel
FUNCTION RECORD
• Wave Select
• Loop / One Shot
• End Point Coarse (1/16)
• End Point Mid (1/256)
• End Point Fine (1/4096)
You can select from among these by using the OVERALL
▲
/
▼
buttons.
SAMPLE EDITING
SAMPLE EDITING
The Sample Editing
functions cannot be selected
if samples have not yet
been recorded. (The error
message “No Data”
appears in the display.)