Introduction
5
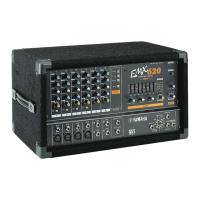
EMX620—Owner’s Manual
Introduction
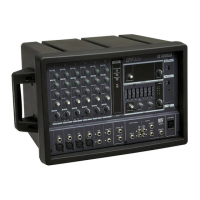
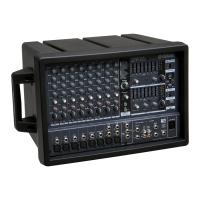
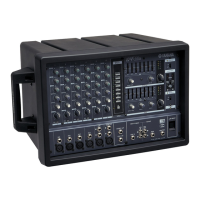
Thank you for purchasing the Yamaha EMX620 Powered Mixer. In order to take full
advantage of the EMX620 and enjoy long and trouble-free operation, read this owner’s
manual carefully, and keep it in a safe place for future reference.
Features
• The EMX620’s six input channels support a wide
range of audio sources, including microphones,
instruments, and line-level devices. Input chan-
nels 1 through 4 feature lo- and hi-impedance
balanced inputs, with +15 V phantom powering
for use with condenser-type microphones on the
lo inputs, input channel 5 features two line-level
inputs, while input channel 6 features two
hi-impedance inputs for connecting instruments
such as electric-acoustic guitar and electric bass
directly.
• The built-in power amplifier offers a maximum
output of 200 W with a 4
Ω
speaker system,
135 W with an 8
Ω
speaker system, and a limiter
circuit prevents sounds distortion and speaker
damage.
• The 7-band graphic equalizer on the main output
allows you to tailor the sound for each particular
venue and reduce the risk of feedback by attenu-
ating troublesome frequencies.
• Also built-in is a digital effects processor, offering
three different programs for adding reverbera-
tion or ambiance to vocal or instrument sounds,
and remote on/off control using an optional
footswitch.
• External effects can be patched into the system
via the EFFECT OUT and AUX IN jacks, with
effects return level control.
• Separate outputs are provided for connecting
powered monitor speakers, headphones, or a ste-
reo recorder (cassette, DAT, or MD).
Contents
Front & Rear Panels.................................. 6
Control Panel ............................................ 6
Input/Output Panel................................... 9
Rear Panel ................................................ 11
Hookup Example...................................... 12
Basic Operation....................................... 13
Connecting Sources ................................. 13
Monitoring............................................... 13
Using the Built-in Effects........................... 13
Troubleshooting...................................... 14
Specifications..........................................15
General Specifications .............................. 15
Input Specifications.................................. 16
Output Specifications............................... 16
Dimensions .............................................. 16
Block & Level Diagrams............................ 17


 To Next Page