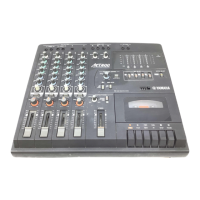
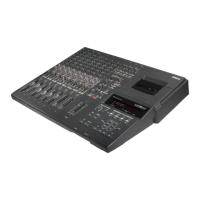
RECORDING THE RHYTHM GUITAR
Record the rhythm guitar on track 3 to synch with the
drums on track 1 and the bass guitar on track 2. Record-
ing preparations and operations are the same as when
recording the bass guitar. If effects are being used, con-
nect them just before the input jack.
PING-PONG < PING-PONG RECORDING >
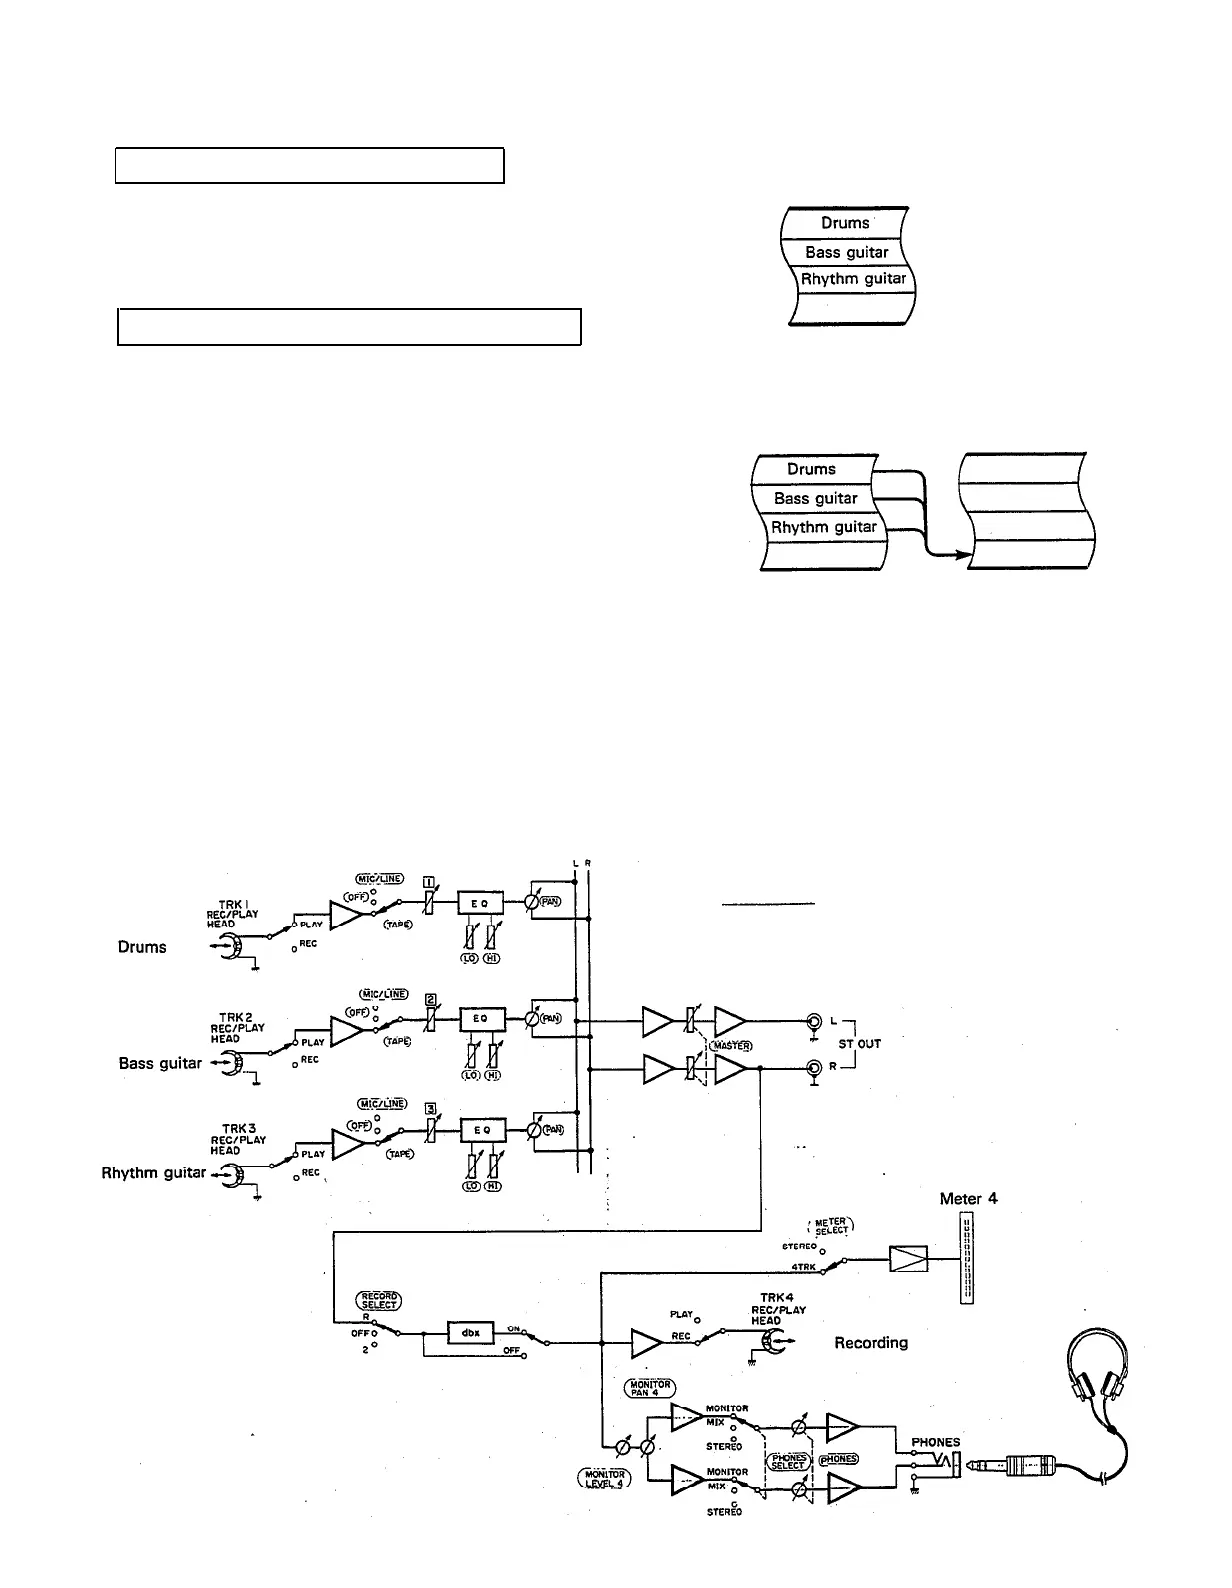
Track 1
Track 2
Track 3
Track 4
After the rhythm section has been recorded on tracks
1
— 3, only track 4 remains as an empty, spare track.
Since there are three more parts to be recorded, more
tracks will be needed.
The ping-pong technique (sometimes called bouncing, or
track transfer, or collapsing tracks) shown here allows
you to re-record these three tracks onto one track, thus
freeing up tracks for other recording operations. You can
also add other new parts during the ping-pong process.
As long as there are empty tracks, you can ping-pong
from one or more tracks to another as many times as
you like.
However, each time a track is ping-ponged onto another
track, some degradation in sound quality occurs. Most
noticeable is a loss of high frequency sounds, or “tre-
ble”. Therefore, it’s best to plan for only 1 or 2 ping-pong
operations to preserve the sound quality of the instru-
ments you record. Now, let’s get started.
— Signal Path during Ping-pong Recording —
Track 1
Track 2
Track 3
Track 4
Recording signal to the input
Signal displayed by the meter
Monitor signal
25