22
GUIDED TOUR
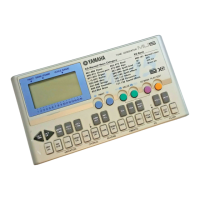
Changing Some of the Settings — Part Controls
You can make changes to each individual Part by using the Part controls.
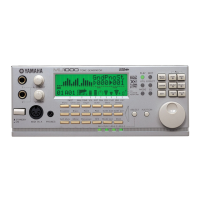
These are always displayed in the Play mode, giving you at-a-glance con-
firmation of the various basic settings of the MU90R. Let’s take a look at
the Play display again:
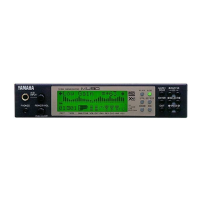
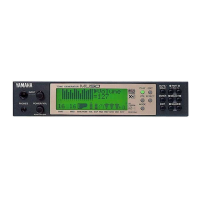
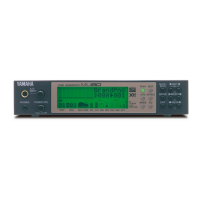
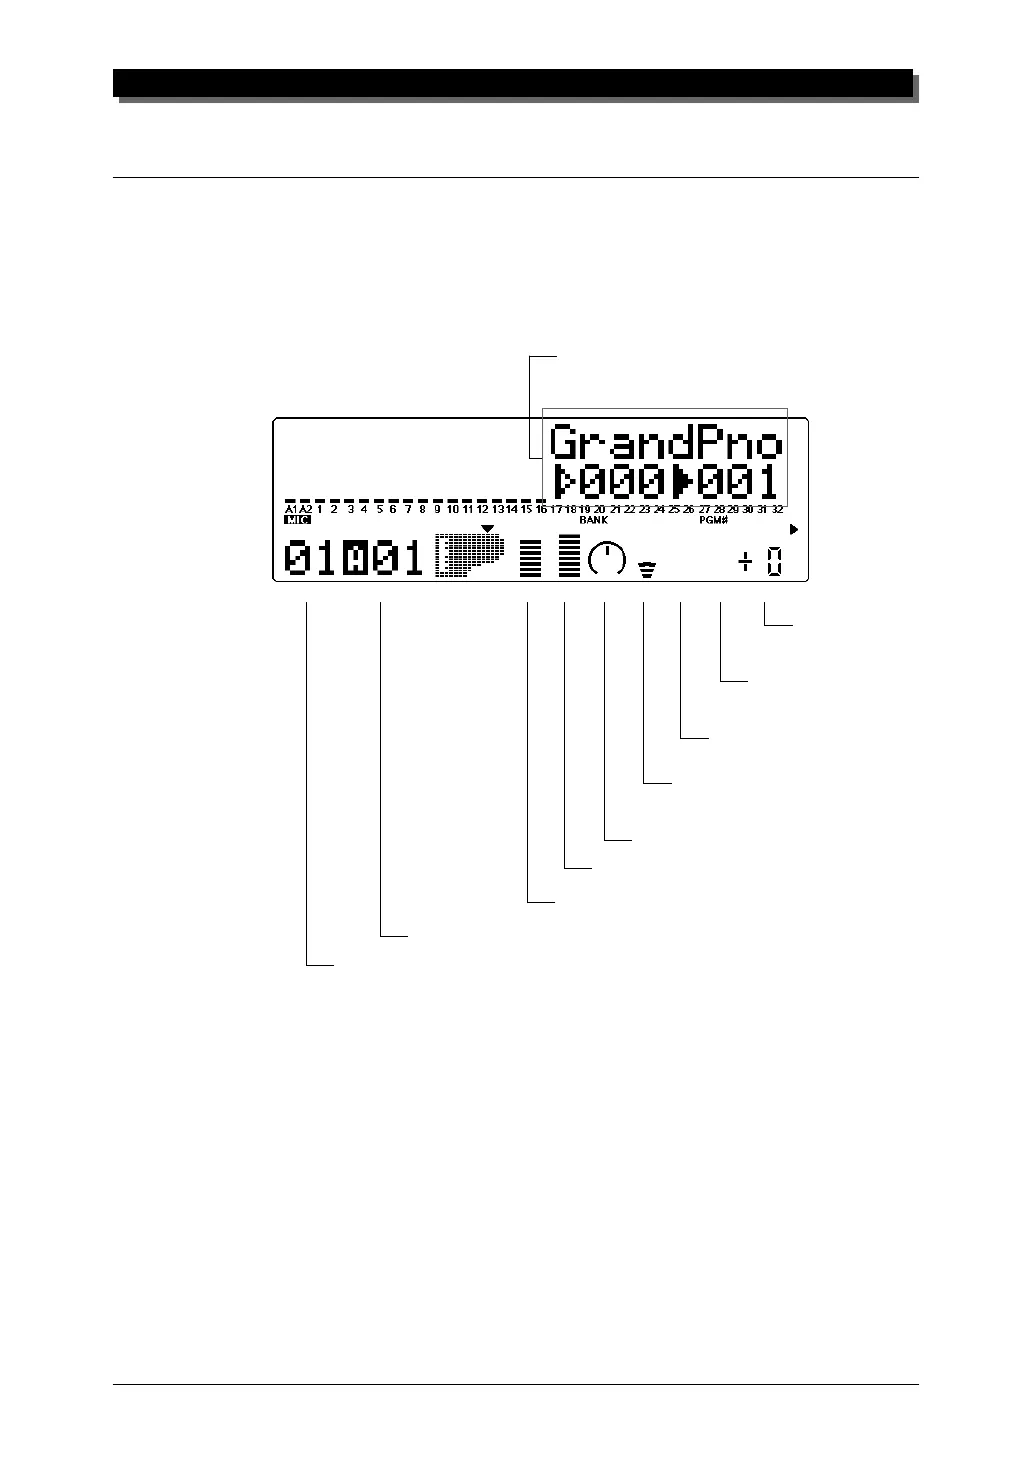
PART MIDI
BANK/PGM#
VOL EXP PAN REV CHO VAR KEY
Each of these settings can be made independently for each of the Parts. For
example, each Part could have a different Volume setting, or a different Pan
setting. Try going through the brief sections below and making some
changes in the Part controls yourself.
Selecting Another Part and Changing its MIDI Channel
Here we’ll select Part 2 and change its MIDI channel to 1, so that it
matches the MIDI channel of Part 1. This allows you to play the Voices of
both Part 1 and Part 2 over MIDI channel 1.
Voice name, bank number and program number
for the selected Part.
Note Shift setting
for the selected
Part.
Chorus Send setting for the
selected Part.
Variation Send setting
for the selected Part.
Pan setting for the selected Part.
Expression setting for the selected Part.
MIDI receive channel for the selected Part.
Volume setting for the selected Part.
Part number.
 Loading...