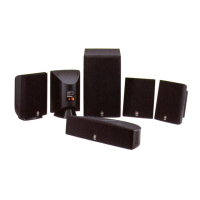
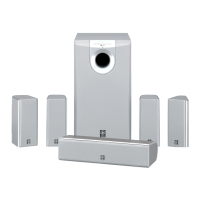
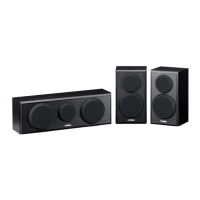
NS-P440/NS-P446
7
NS-P440/NS-P446
Connector
Driver
Base
1
1
2
2
Rear Panel Ass'y
3
3
Rubber Sheet and Cloth
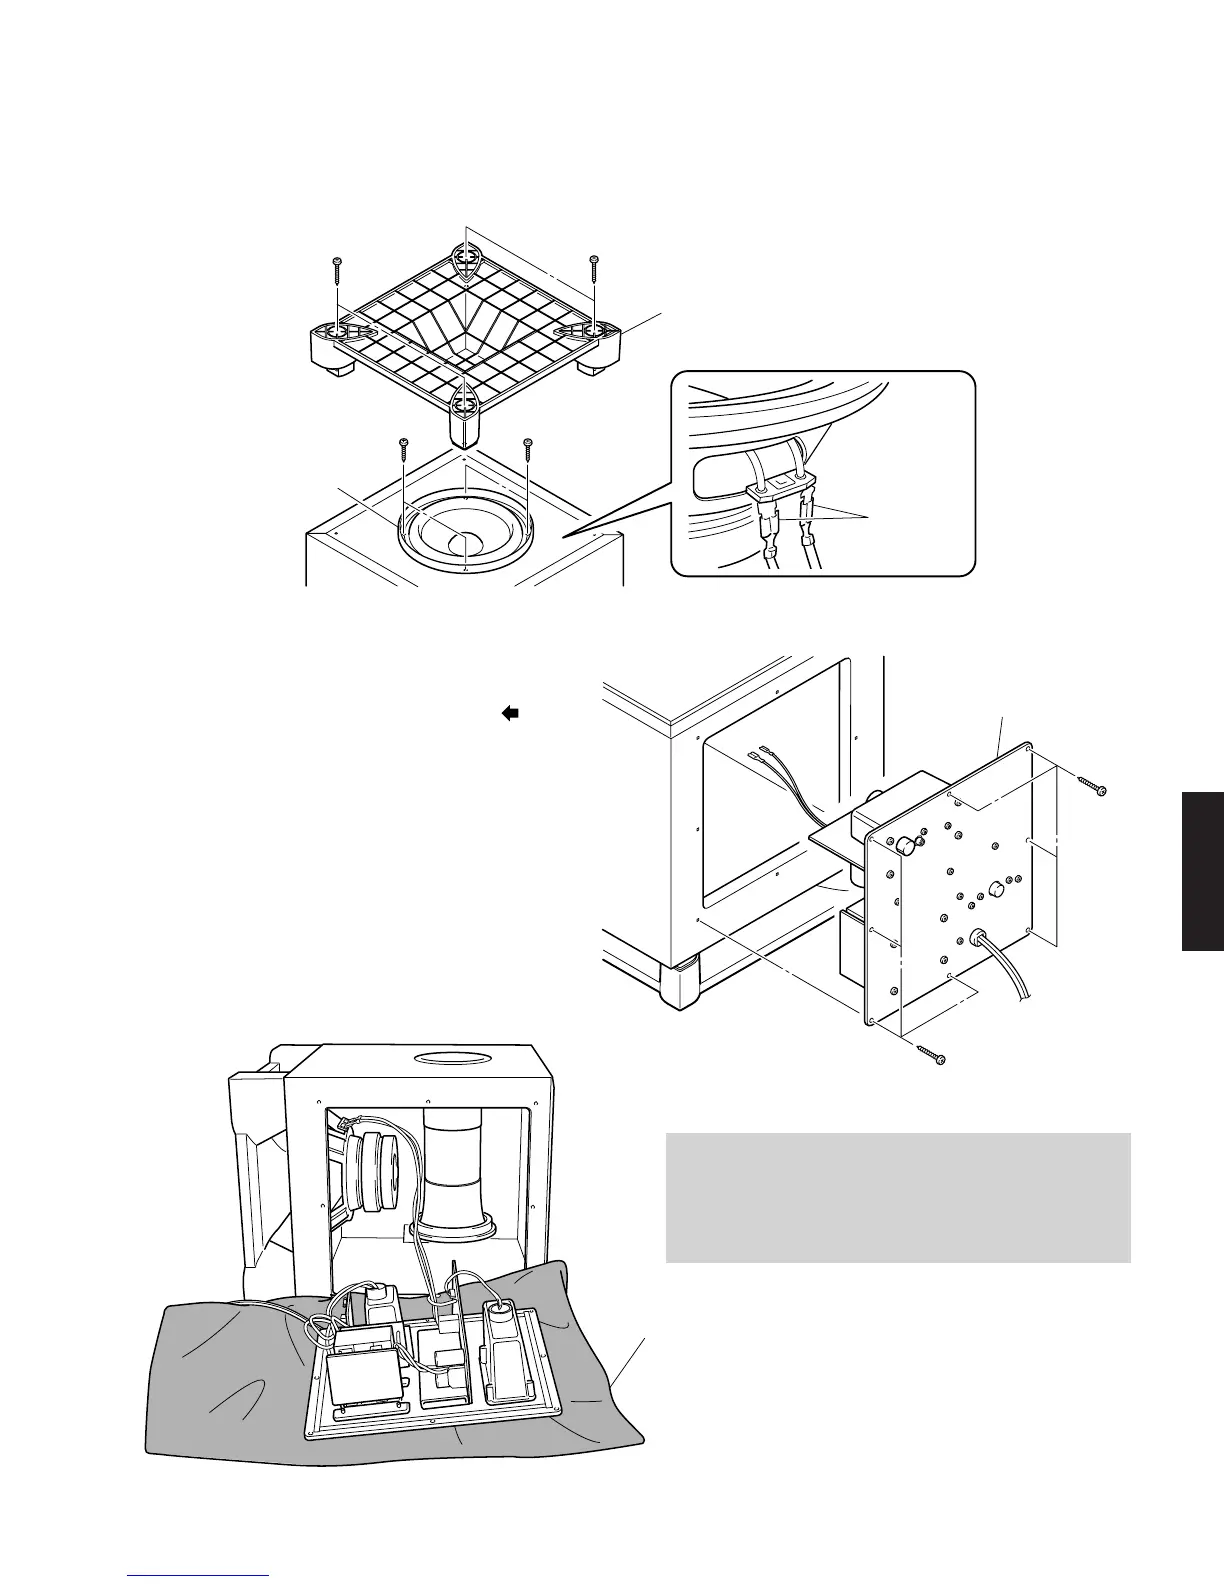
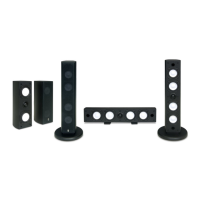
■ DISASSEMBLY PROCEDURES
Fig. 2
Fig. 1
2. Removal of Rear Panel Ass'y
a. Remove 8 screws (3). (Fig. 2)
* Screws (3) are identified with arrow marks ( ).
b. Pull out the rear panel ass'y. (Fig. 2)
1. Removal of Driver
a. Remove 4 screws (1) and then remove the Base. (Fig. 1)
b. Remove 4 screws (2) and then remove the Driver. (Fig. 1)
c. Disconnect the connector connected to the terminal of the
Driver. (Fig. 1)
When Checking the P.C.B.:
• Connect all the connectors removed during disassembly
back to the original positions.
• Spread the Rubber Sheet and Cloth for insulation purpose and
place the Rear Panel Ass'y on them. (Fig. 3)
Fig. 3
(Remove parts in the order as numbered.)
Disconnect the power cable from the AC outlet.