Playing with Quick Sampling
PSR-I500 Owner’s Manual
35
Quick Guide
This operation lets you restore the default samples.
However, keep in mind that this deletes the samples
you’ve assigned to each Sample Zone. If you want to
save your samples before restoring the default ones,
see the next section (“Saving Samples to a USB
Flash Drive”).
1
Press the [QUICK SAMPLING] button to
enter the Quick Sampling mode.
2
Press the appropriate key in the Sample
Zone to which the sample to be cleared
has been assigned.
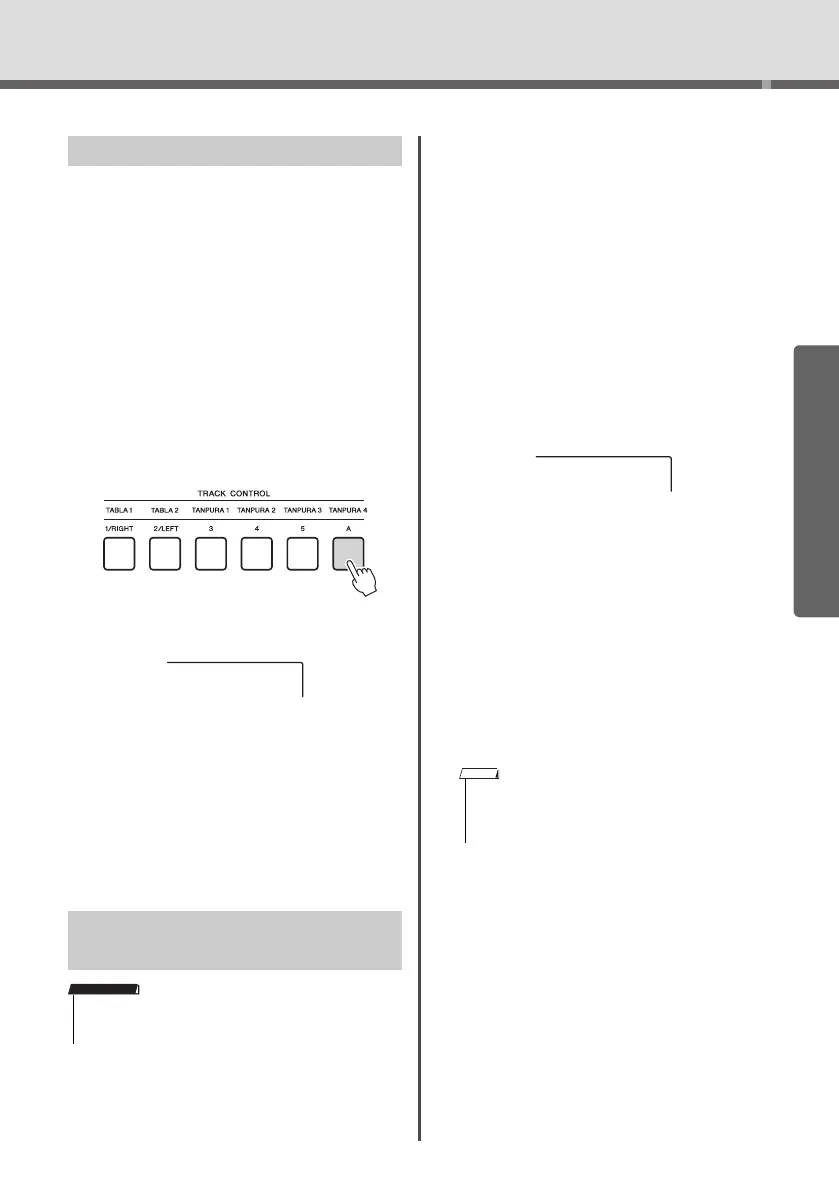
3
Hold down the TRACK CONTROL [A]
button for longer than a second.
A confirmation message will appear on the dis-
play.
4
Press the [+/YES] button.
A confirmation message will appear on the dis-
play. To cancel this operation, press the [-] button.
5
Press the [+/YES] button to clear the
Sample.
An in-progress message will appear briefly on the
display.
1
Confirm the Sample Zone containing the
sample you intend to save.
1-1 Press the [VOICE] button.
1-2 Select the Voice number 802 “Sampling” for
the Main Voice.
1-3 Press the key to confirm that the desired
sample sounds.
2
Connect a USB flash drive to the [USB
TO DEVICE] terminal.
For details, refer to “Connecting a USB Flash
Drive” on page 72.
3
Hold the [FUNCTION] button for longer than
a second to call up the File Control display.
To cancel the operation, press the [FUNCTION]
button again to exit from the File Control display.
4
Use the CATEGORY [<<] and [>>] but-
tons to call up “SaveSMPL.”
5
Press the [0/EXECUTE] button.
“PressKey” appears on the display.
6
Press the appropriate key in the Sample
Zone (the key to which the desired sam-
ple is assigned).
7
Use the [+/YES] and [-/NO] buttons to
select the file name for saving.
• Normal/One-shot: SMPL001–SMPL250
• Loop: SMPLL001–SMPLL250
8
Press the [0/EXECUTE] button.
“SaveOK?” appears on the display.
9
Press the [0/EXECUTE] or [+/YES] button
again.
“Saving” appears on the display and the sample
will be saved to the USB flash drive.
10
Press the [FUNCTION] button to exit
from the File Control display.
Restoring the Default Samples
Saving a Sample to a USB Flash
Drive
• If the instrument is in the Quick Sampling mode, press the
[QUICK SAMPLING] button to exit from the mode, and then
follow the steps below.
• If the file name already exists in the USB flash drive,
“Overwr?” appears on the display. To overwrite, press the
[+/YES] button; to select another name, press the [-/NO]
button.
SaveSMPL
 Loading...