DVD-E600MK2
10
DVD-E600MK2
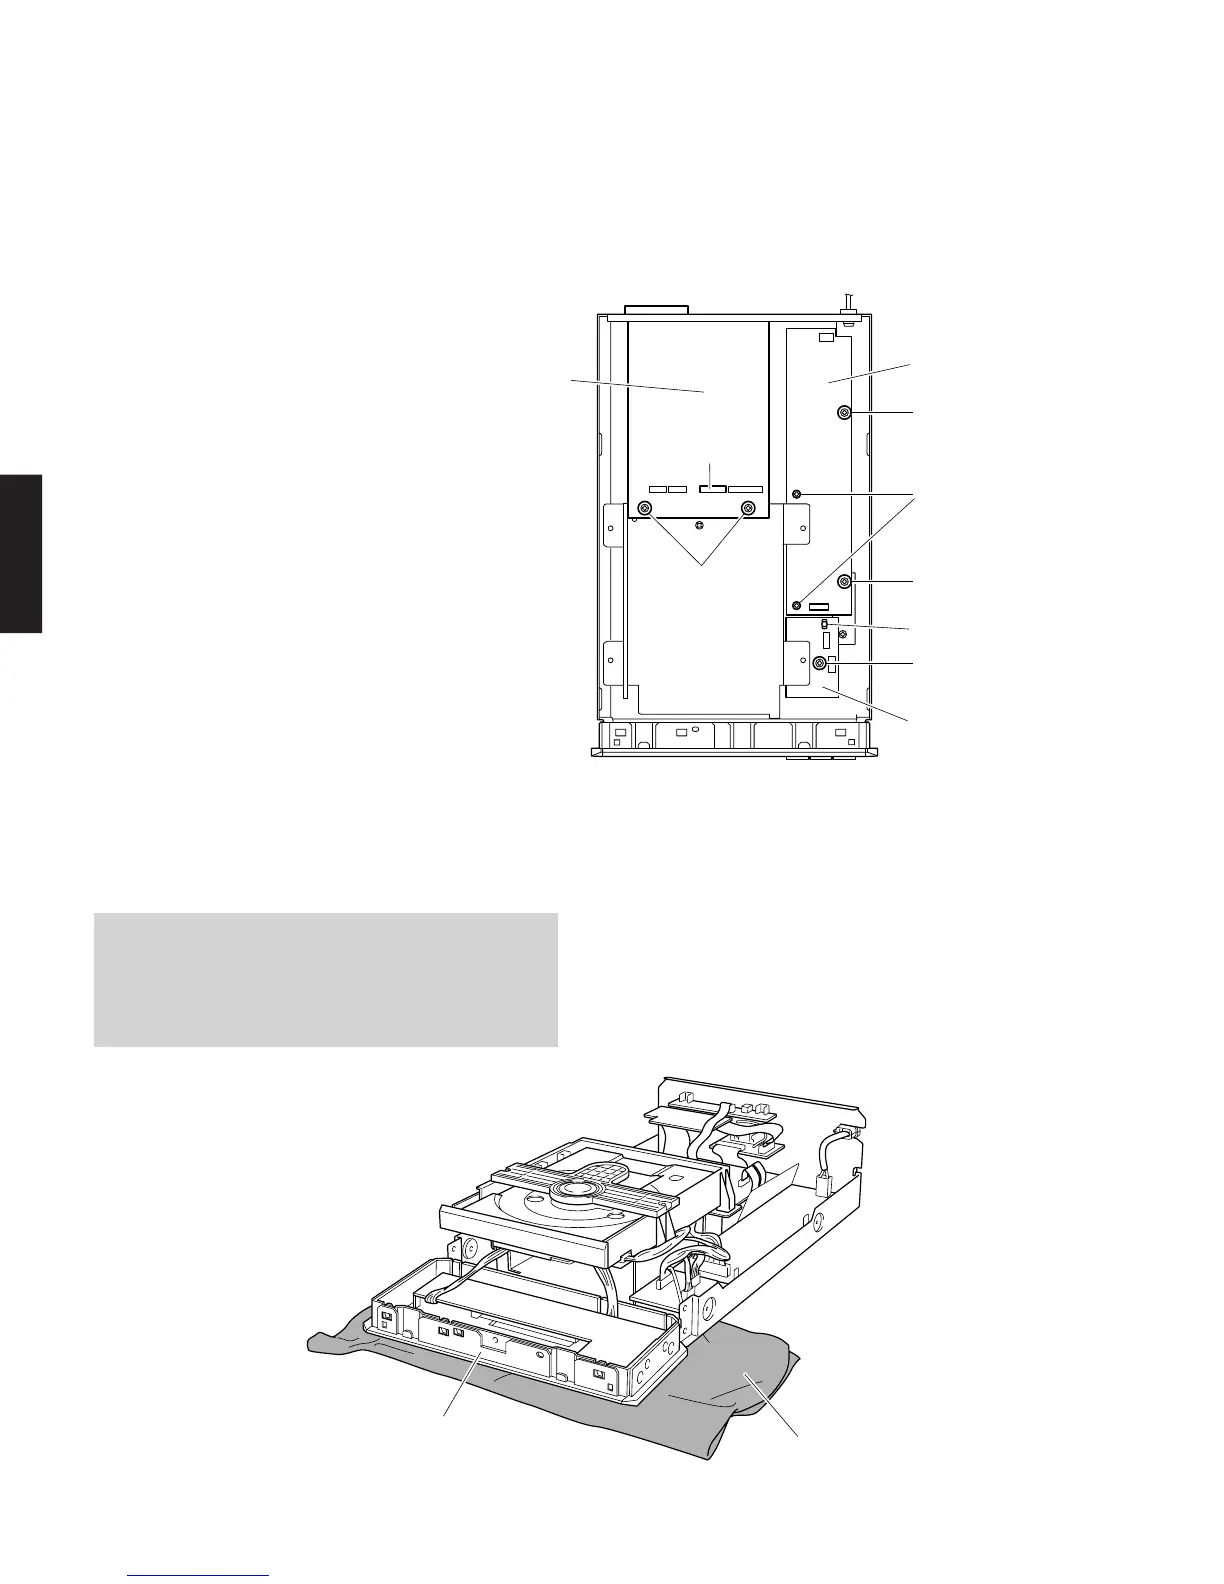
7. Removal of MAIN (5), MAIN (6) P.C.B. and POWER
SUPPLY UNIT
a. Remove 5 screws (9). (Fig. 4)
b. Remove 5 screws (0). (Fig. 5)
c. Remove 2 screws (A). (Fig. 5)
d. Loosen 1 Locking Card Spacer. (Fig. 5)
e. Remove the MAIN (5), MAIN (6) P.C.B. and POWER
SUPPLY UNIT.
Fig. 5
When checking the P.C.B.
• Reconnect all cables (connectors) that have been
disconnected.
• When connecting the flat cable, use care for the
polarity.
Fig. 6
A
0
0
POWER SUPPLY UNIT
MAIN (6) P.C.B.
Locking Card Spacer
MAIN (5) P.C.B.
CB6
0
0
Cloth
Front Panel Unit