41
USING VIDEO FEATURES
BASIC
OPERATION
English
You can display the operating information of this unit on a
video monitor. If you display the “SET MENU” and sound
field program parameter settings on a video monitor, it is
much easier to see the available options and parameters
than it is to read the information in the front panel display.
1 Turn on the video monitor connected to this
unit.
2 Set the component selector switch to AMP
and then press DISPLAY on the remote
control repeatedly to toggle between the
OSD modes.
The OSD mode changes in the following order.
Full display
Fully shows the sound field program parameter
settings as well as the contents of the front panel
display.
Short display
Briefly shows the contents of the front panel display
at the bottom of the screen each time you operate this
unit.
Display off
No information is displayed except for the “SET
MENU” screen.
y
You can display a gray background in the OSD when there
is not video signal being input by setting “GRAY BACK” in
“OPTION MENU” to “AUTO” (see page 80).
• The OSD signal is not output at the DVR OUT jacks and
will not be recorded.
• You must set “VIDEO CONV.” in “OPTION MENU” to
“ON” (see page 79) to display the OSD.
• To display the OSD with the component video signals
output at the COMPONENT VIDEO MONITOR OUT
jacks, set the OSD mode to the full display mode.
• When “GRAY BACK” in “OPTION MENU” is set to
“OFF” (see page 80), the OSD may not be displayed
correctly depending on the conditions of the picture.
You can combine a video image from a video source with
sound from an audio source. For example, you can enjoy
listening to classical music while viewing beautiful
scenery from the video source on the video monitor.
Press the input selector buttons on the remote
control to select a video source and then an
audio source.
If you want to enjoy an audio source input at the MULTI CH
INPUT jacks together with a video source, first select the video
source and then press MULTI CH INPUT on the front panel (or
MULTI CH IN on the remote control) to select the component
connected to the MULTI CH INPUT jacks as the input source
(see page 38).
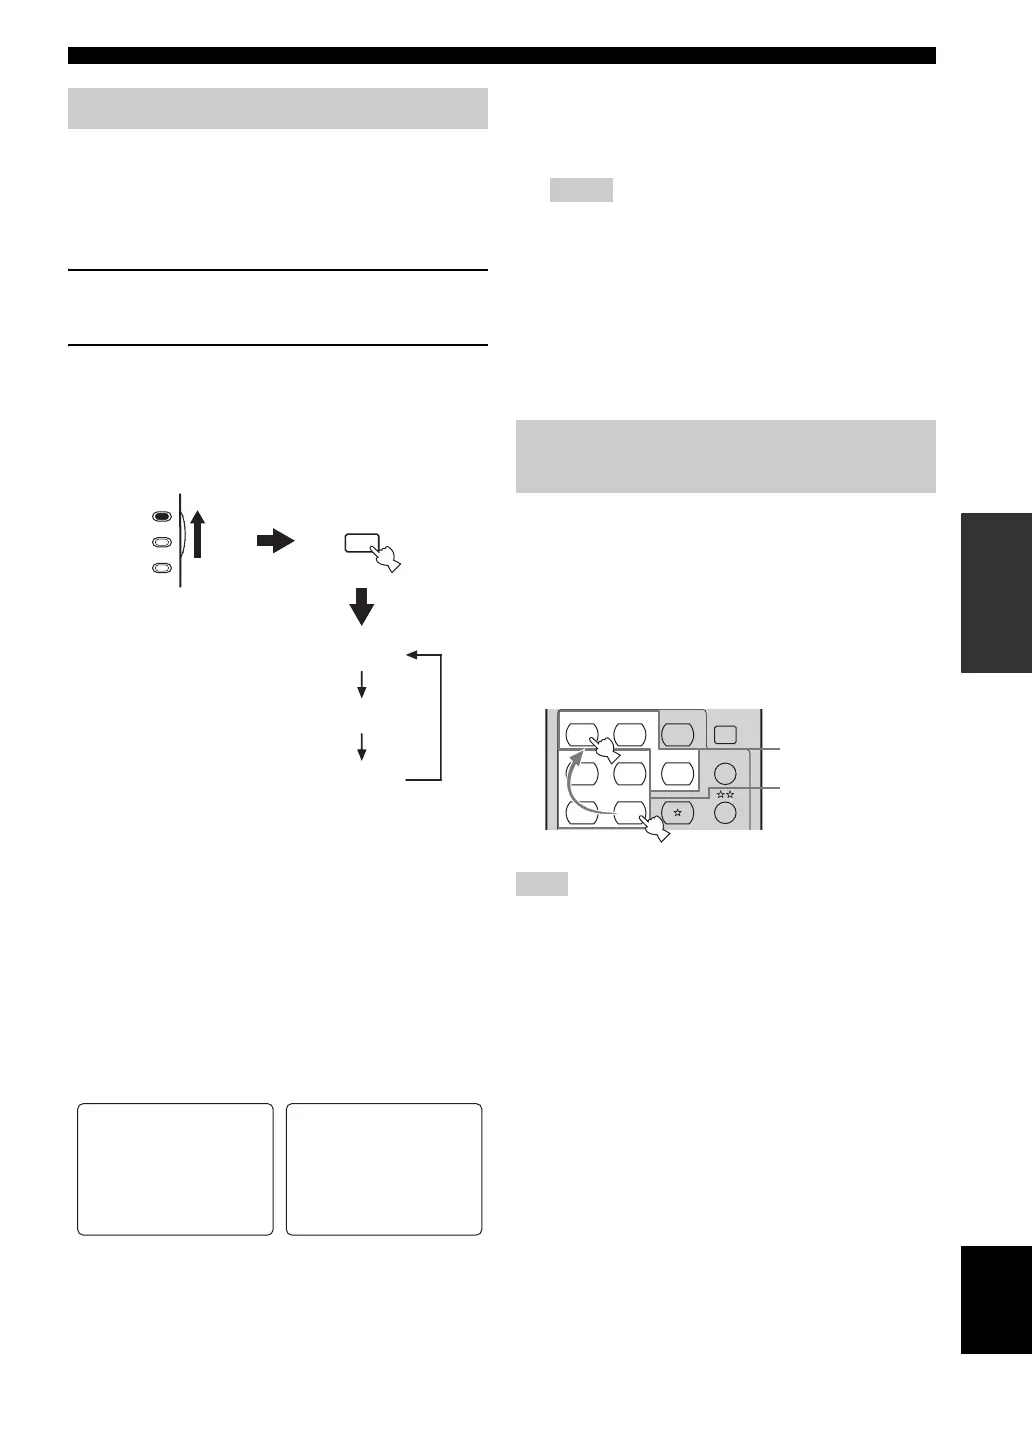
Selecting the OSD mode
DISPLAY
AMP
SOURCE
TV
Full display
Short display
Display off
P02 MUSIC
. Pop/Rock
DSP LEVEL;;;;0dB
P.INIT.DLY;;21ms
P.ROOM SIZE;;1.0
S.INIT.DLY;;25ms
S.ROOM SIZE;;1.0
P02 MUSIC
Pop/Rock
Full display Short display
Notes
Playing video sources in the
background
Note
CD
MULTI CH IN
SLEEP
CD-R
DVD DTV
MD
CBL
TUNER
V-AUX DVR
Audio sources
Video sources
 Loading...