Do you have a question about the Yamaha RX-V677 and is the answer not in the manual?
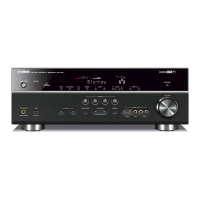
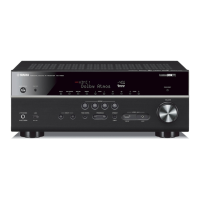
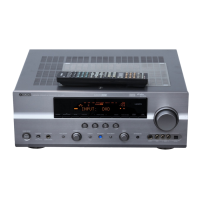
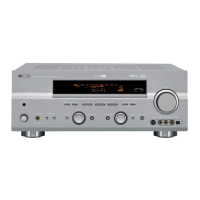
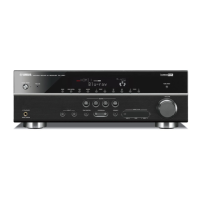
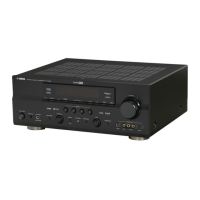
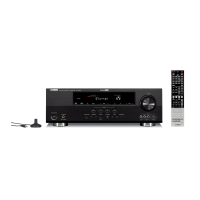
This document outlines the procedure for performing a factory reset on the Yamaha RX-V677 AV receiver, a device designed for audio and visual processing in home entertainment systems. The primary function of this procedure is to restore the receiver to its original factory settings, which can be useful for troubleshooting issues, preparing the unit for a new setup, or clearing custom configurations. The process is entirely performed using the physical controls on the front panel of the receiver, ensuring that users can reset the device even without access to a remote control or on-screen display.
The usage features of this reset process are straightforward and user-centric. The first step involves placing the unit into Standby Mode, which is a common initial state for many electronic devices before performing maintenance or configuration tasks. This is achieved by pressing the "Main Zone Power" button, a clearly labeled control on the front panel, indicating its primary role in managing the receiver's power state for the main listening area.
The core of the reset procedure involves a specific combination of button presses. Users are instructed to hold down the "Straight" button while simultaneously pressing the "Main Zone Power" button. The "Straight" button typically activates a direct audio mode, bypassing any processing, and its use in this context suggests it acts as a secondary trigger for the reset function. This dual-button press is a common design pattern in electronics for accessing hidden or advanced menus, preventing accidental resets during normal operation.
A crucial usage feature is the visual feedback provided by the receiver's front panel display. After the initial button combination, the display will show "SP IMP -8ohms Min" or "SP IMP -6ohms Min." This message serves as a confirmation that the receiver has entered the service or reset mode. The display of speaker impedance information is a technical detail that signals the unit's internal diagnostics are accessible. Users are instructed to release the "Straight" button once this message appears, indicating a successful entry into the reset menu.
Navigating the reset menu is another key usage feature. The "Program Arrow Right" button is used to cycle through the available options. This button is typically used for navigating menus or selecting presets during normal operation, making its use intuitive for users familiar with the receiver. The instructions specifically guide the user to select "INIT- CANCEL," which is the default option when entering this mode. This "CANCEL" option is a safety feature, allowing users to exit the reset process without making any changes if they decide against it.
To proceed with the factory reset, users must then select "INIT- ALL." This is achieved by repeatedly pressing the "Straight" button. The "Straight" button, having served as part of the initial trigger, now acts as a selector within the reset menu, demonstrating its multi-functional design. The "INIT- ALL" option clearly indicates that all settings will be initialized, providing explicit confirmation of the action about to be taken. This step is critical for ensuring the user understands the implications of the reset.
The final step in the usage sequence is to turn the unit off using the "Main Zone Power" button. This action saves the selected "INIT- ALL" command and initiates the factory reset process. Upon turning the unit back on with the "Main Zone Power" button, the receiver will boot up with all settings restored to their factory defaults. This power cycle method is a standard way to apply changes in many electronic devices.
Regarding maintenance features, while this procedure is not a typical maintenance task like cleaning or firmware updates, it serves as a powerful diagnostic and corrective maintenance tool. If the receiver is experiencing erratic behavior, unresolvable configuration issues, or performance problems that cannot be fixed through individual setting adjustments, a factory reset is often the first recommended step. It effectively clears any corrupted settings or conflicting configurations that might be causing the issues, allowing the user to start fresh. This can save time and effort in troubleshooting complex problems.
The ability to perform this reset directly from the front panel is a significant maintenance advantage. It means that even if the remote control is lost or malfunctioning, or if the on-screen display is inaccessible due to a video output issue, the user can still restore the device to a known good state. This independence from external accessories enhances the receiver's maintainability and ensures that users have a fallback option for critical troubleshooting.
Furthermore, the clear visual cues on the front panel display throughout the process (e.g., "SP IMP -8ohms Min," "INIT- CANCEL," "INIT- ALL") are essential maintenance aids. They provide real-time feedback, guiding the user through each step and confirming successful execution, reducing the chances of errors or confusion during the reset procedure. The step-by-step instructions, coupled with these visual indicators, make the process accessible even for users who may not be highly technical.
In summary, the factory reset procedure for the Yamaha RX-V677 AV receiver is a well-designed function that prioritizes user control and clarity. Its usage features involve intuitive button combinations and clear display feedback, guiding the user through the process of restoring the device to its default state. As a maintenance feature, it serves as an invaluable tool for troubleshooting and resolving a wide range of software-related issues, ensuring the receiver can be brought back to optimal working condition without requiring specialized tools or technical expertise. The reliance on front panel controls enhances its robustness and accessibility for essential device management.
| Receiver type | Surround |
|---|---|
| Audio output channels | 7.2 channels |
| Dynamic power per channel (4 Ohm) | 190 W |
| Dynamic power per channel (8 Ohm) | 125 W |
| Power output per channel (1KHz@8 Ohm) | 105 W |
| Power output per channel (20-20KHz@8 Ohm) | 90 W |
| HDMI in | 6 |
| Remote (IR) input | 1 |
| Composite video in | 5 |
| Component video (YPbPr/YCbCr) in | 2 |
| 12V trigger | Yes |
| Speakers connectivity type | - |
| Supported radio bands | AM, FM |
| Optical drive included | No |
| Product color | Black |
| Audio decoders | Dolby Digital Plus, Dolby Pro Logic IIx, Dolby TrueHD, DTS-HD Master Audio |
| Volume control | Rotary |
| On Screen Display (OSD) languages | DEU, ENG, ESP, FRE, ITA, JPN, RUS |
| Power consumption (standby) | 0.15 W |
| Depth | 365 mm |
|---|---|
| Width | 435 mm |
| Height | 171 mm |
| Weight | 10025 g |