8
Assembly (continued)
5
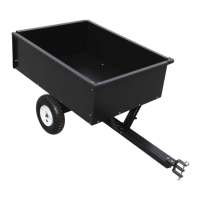
Attach the Hitch Pin Bracket
Attach two hitch pin brackets (J) and the connecting plate
(F) to the hitch tongue (B) using two sets of M8x30 hex
bolts (HH), Ø8 lock washers (DD), and M8 hex nuts (EE).
Insert the hitch pin (II) through the bracket holes and
secure with the Ø3 R pin (GG).
6
Attach the Side Panel
Hardware Used
HH x 2
DD
EE
x 2Ø8 Lock Washer
x 2M8 Hex Nut
x 1Hitch Pin
x 1Ø3 R Pin
II
GG
M8x30 Hex Bolt
EE
DD
GG
HH
II
F
J
J
B
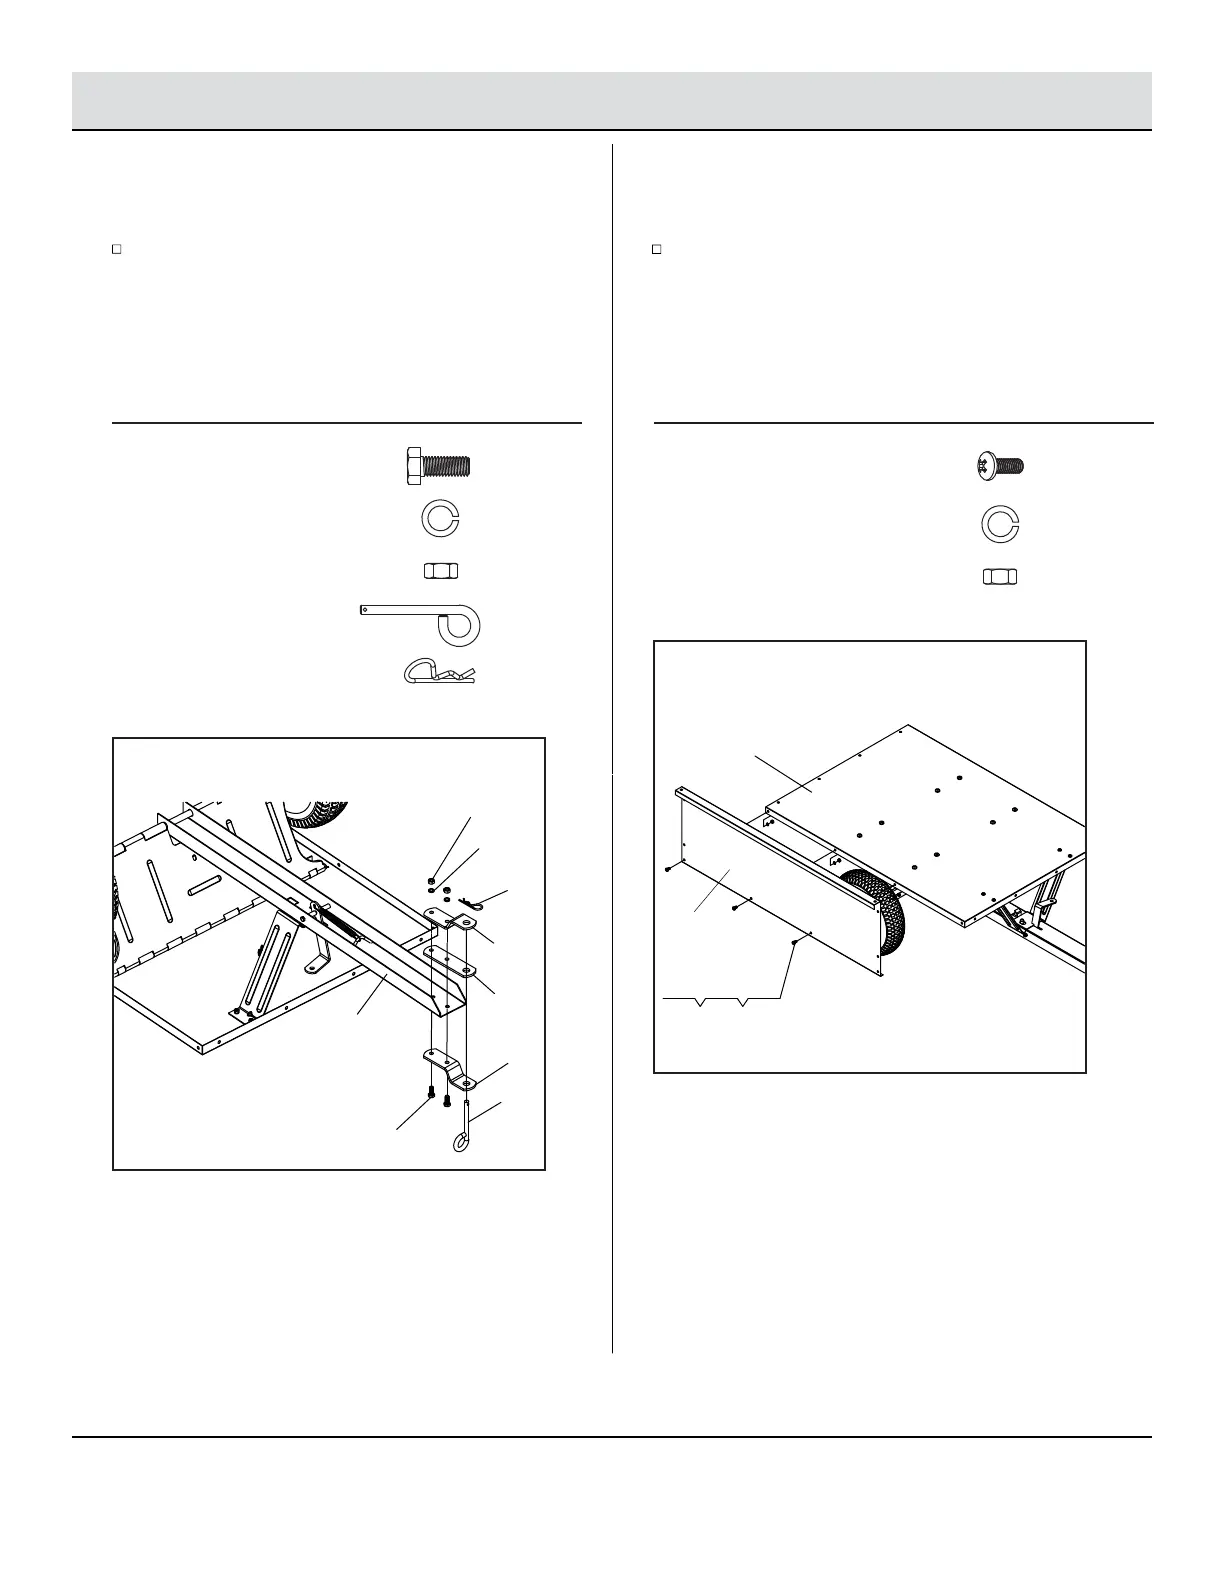
Turn the bottom panel over onto the wheels and tighten
hardware on the tongue support (K). Attach the side panel (C)
to the bottom panel (A) using three sets of M6x16 screws (AA),
Ø6 lock washers (BB), and M6 hex nuts (CC). Repeat on the
other side panel.
Hardware Used
AA x 6M6x16 Screw
x 6Ø6 Lock WasherBB
x 6M6 Hex NutCC
A
C
AA BB CC
 Loading...