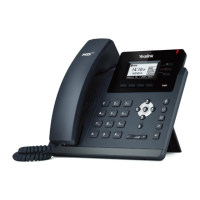
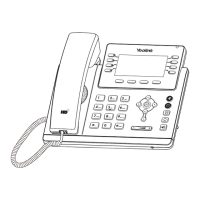
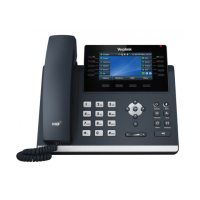
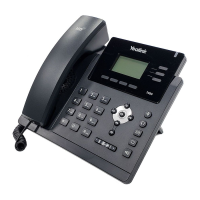
This section describes how to use a DNS SRV record which specifies the location of PBXware.
NOTE: Your DNS Server needs to be configured correctly for this to work. Bicom Systems can
provide service to set up this for you.
Check if the DNS SRV is enabled in your PBXware
Contact your PBXware administrator to find out if the DNS SRV is enabled in your PBXware,
■
or if you have access to PBXware. You can also check this on your own.
Open a new browser window and enter the IP address in order to access the PBXware's web
■
administration login screen. Example: http://192.168.1.10.
Log in to PBXware with your e-mail address and password.
■
Navigate to Settings ---> Servers. Click the server corresponding with the Edit button.
■
NOTE: On MT, navigate to Settings ---> Tenants ---> Master Tenant.
In Auto Provisioning group, make sure that Use DNS SRV when possible: is set to Yes. If
■
it is set to No or N/A, set to Yes and click the Save button. NOTE: You must re-save all your
Extensions configured for Auto Provisioning.
Log in to the phone's web administration interface
If there is no DHCP in your network, you can still auto provision your Yealink phone. Please
refer to your Yealink phone model User Guide for instructions about setting the static IP
address. After you configure your Yealink phone to use a static IP address, continue with the
following steps.
Open a new browser window and enter your phone IP address in order to access the phone's
■
web administration interface login screen. Example: http://192.168.1.22
Log in to the phone's web administration interface with your username and password. Please
■
note that the factory default login details are as follows: username is admin and password is
admin.
Click the Upgrade tab.
■
Click the Advanced tab.
■
URL
■
In the URL field, enter the Hostname.
- Example for of a Hostname: bicomsystems.com
Make sure that you replace the Hostname from this example with your PBXware Hostname.
■
Make sure that DNS server is configured to automatically route registration request to
■
PBXware which is actually under another domain name. Example: newbicomsystems.com.
Check New Config
■
Select Power on + Repeatedly.
Click the Confirm button.
■
 Loading...


