Installation Guide | 5 - Change the IP Address of the PBX | 33
b. At the bottom of the Linkus login page, tap NFC and tap Scan.
2. Scan the PBX's NFC tag.
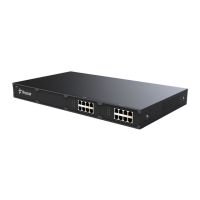
a. Keep your phone's NFC detection area against the Yeastar logo that is on the
PBX's front panel.
The NFC tag is detected and you're redirected to the network configuration
page.
3. Configure PBX network.
a. In the Basic section, select an Ethernet mode from the drop-down list.
• Single: Only LAN port is used for connection, WAN port is disabled.
• Bridge: LAN port is used for connection, WAN port is used as bridge for
PC connection.
• Dual: Both LAN port and WAN port are used for connection.
Note: You need to specify a default network interface for the PBX, the
traffic will be routed to the default interface.
b. Configure network settings, and tap Next.
c. In the pop-up dialog box, tap Confirm.
4. Write NFC data to the PBX.
a. Keep your phone's NFC detection area against the Yeastar logo that is on the
PBX's front panel till you are prompted "Writing successfully".
Device information and network settings of the PBX are displayed on the page.
b. Reboot the PBX to take effect.
Note: You can also write NFC data first, then power on the PBX to take ef-
fect.