Installation Guide | 2 - Hardware Overview | 7
Table 6. (continued)
No. Feature Description
• Static/Off: The system goes wrong.
# Power Indicator Indicate the power status.
# SD Slot Insert an SD card to store recording files, voicemails, or logs.
# USB Slot Insert a USB flash drive to storage recording files, voicemails, or
logs.
# WAN Status
Indicator
Indicate the WAN status.
# LAN Status Indicator Indicate the LAN status.
# Console Connect RS232 line to debug the system.
# Power Switch Press this button to switch on/off the device.
# Power Inlet Connect the supplied power supply to the port.
# Protective Earth Connect to the ground to reduce the risk of electrocution to the
user or protect the PBX from bad effects of external noise in
case of a lightning strike.
# Antenna Socket Rotate the antenna into the Antenna Socket.
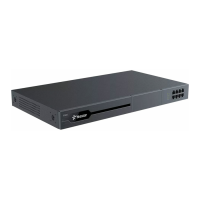
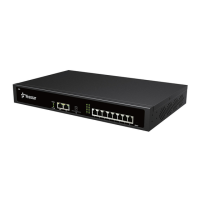
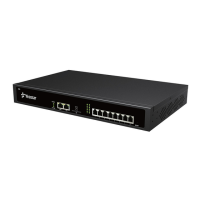
Expansion Board
Yeastar P560 and P570 are expandable.
• Yeastar P560 supports up to 1 EX08/EX30 Expansion Board; supports 1 D30 Module.
• Yeastar P570 supports up to 2 EX08/EX30 Expansion Boards; supports 2 D30 Mod-
ules.
EX08 Expansion Board
EX08 board supports up to 4 modules (8 RJ11 ports).