Installation Guide | 2 - Hardware Overview | 5
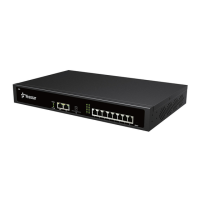
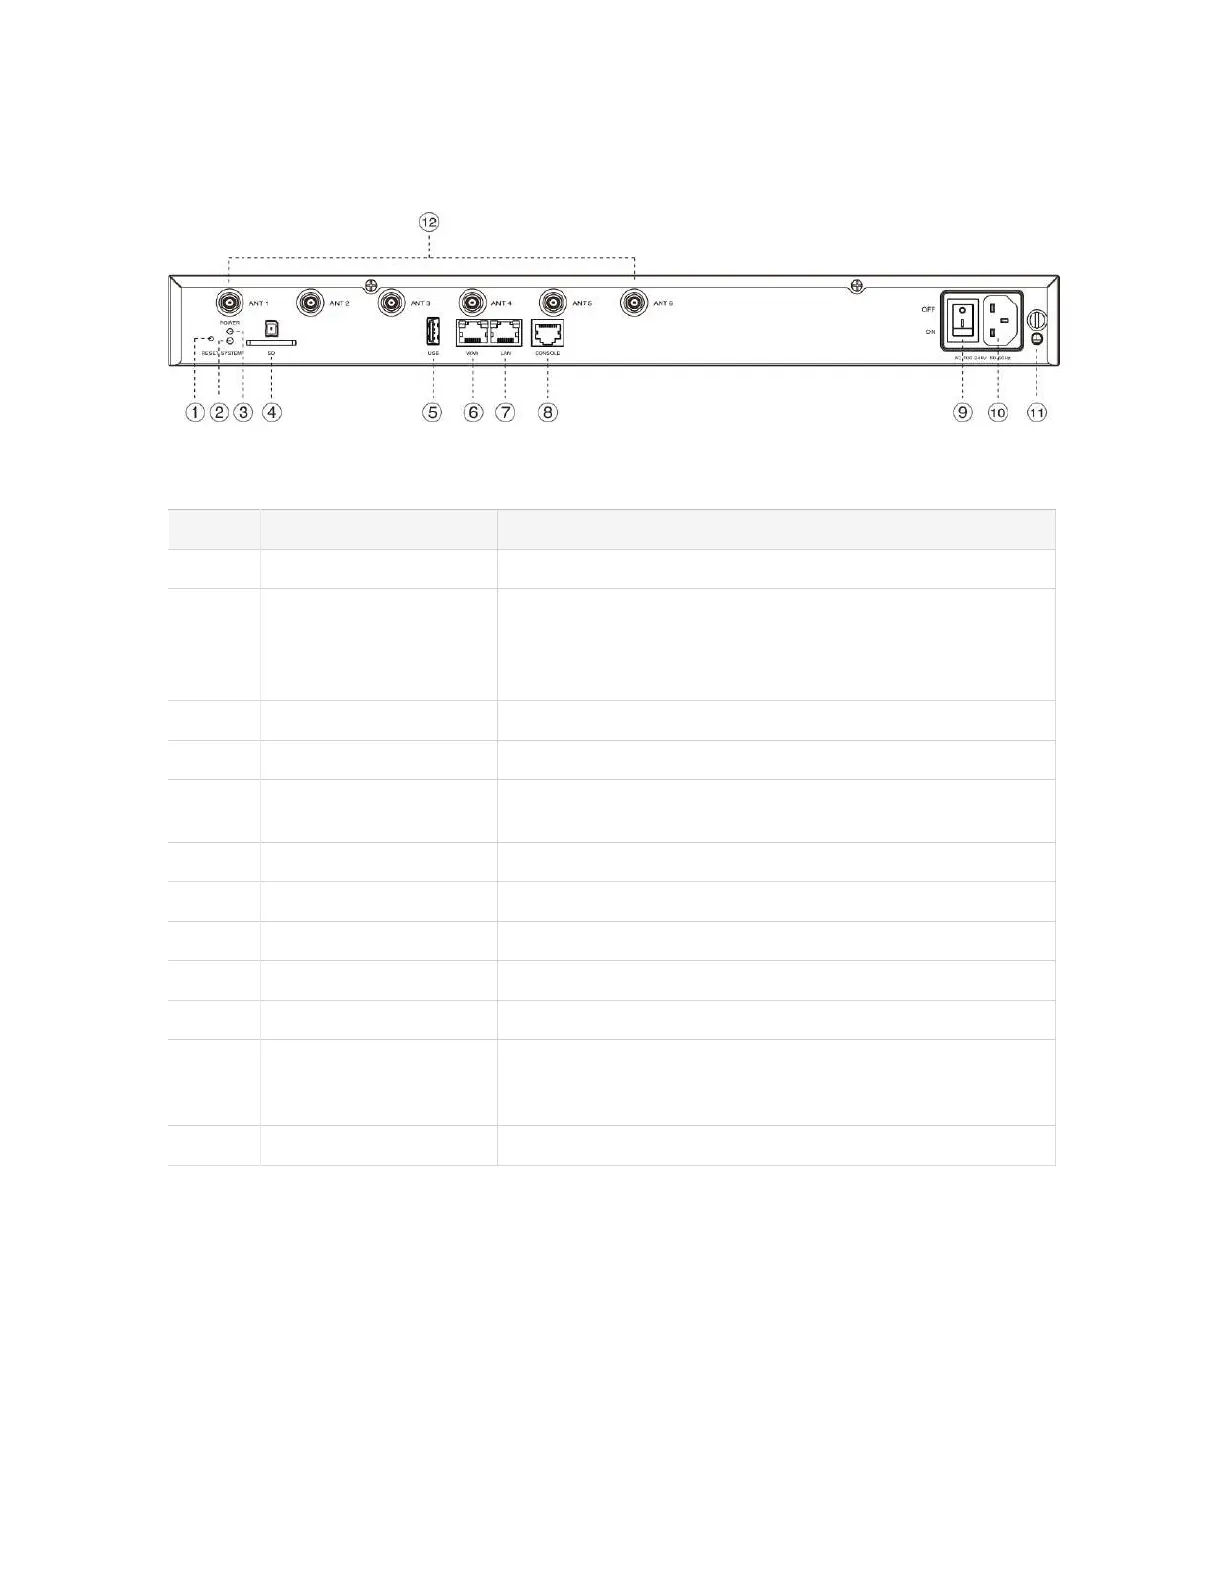
Rear panel
Table 4.
No. Feature Description
# Reset button Press the button to restore to factory defaults.
# System Indicator Indicate the system status.
• Blinking: The system is working properly.
• Static/Off: The system goes wrong.
# Power Indicator Indicate the power status.
# SD Slot Insert an SD card to store recording files, voicemails, or logs.
# USB Slot Insert a USB flash drive to storage recording files, voicemails,
or logs.
# WAN Status Indicator Indicate the WAN status.
# LAN Status Indicator Indicate the LAN status.
# Console Connect RS232 line to debug the system.
# Power Switch Press this button to switch on/off the device.
# Power Inlet Connect the supplied power supply to the port.
# Protective Earth Connect to the ground to reduce the risk of electrocution to the
user or protect the PBX from bad effects of external noise in
case of a lightning strike.
# Antenna Socket Rotate the antenna into the Antenna Socket.