22. 23.
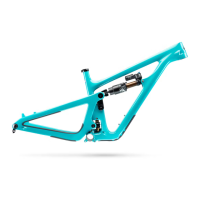
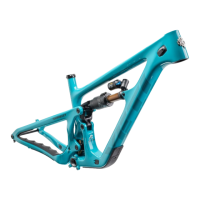
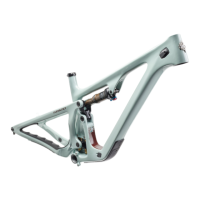
FRAME ASSEMBLY
Make sure your tools are in good condition.
A worn allen key can round the hex on a bolt
not allowing for proper torque.
Torque settings are listed throughout the
instructions and on page 13 of this manual.
It is important to prep all bolt threads. The
instructions denote whether to use a Loctite
compound or grease.
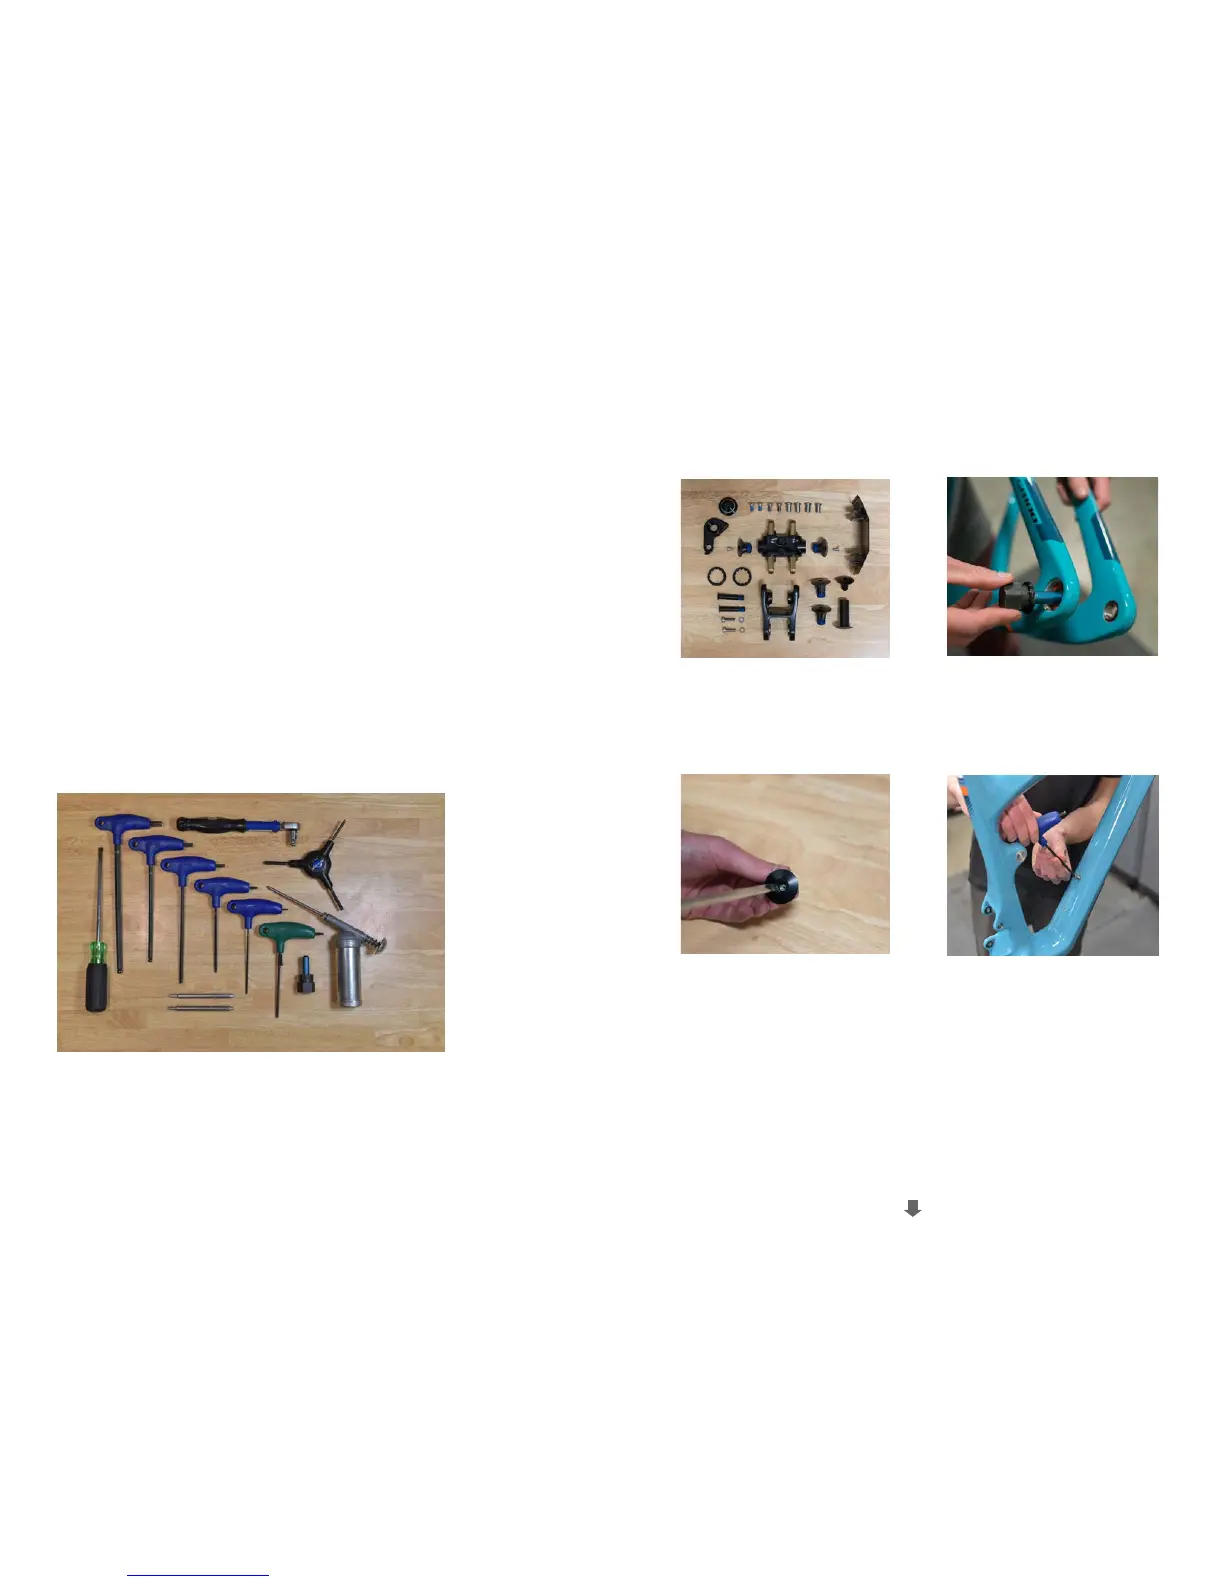
YETI TIPS TOOLS NEEDED
Warning: Service on Yeti bicycles requires special knowledge
and tools. Yeti Cycles recommends that all service and
repairs be performed by an authorized Yeti Dealer
• 2.5mm allen key
• 5mm allen keys
• 6mm allen key
• 8mm allen key
• T25 allen key
• Guide pin tool (2)
• Torque wrench
• Cassette tool
• Flat head screw
driver
• Grease
• Blue (242) Loctite
• Silver anti-seize
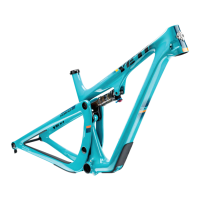
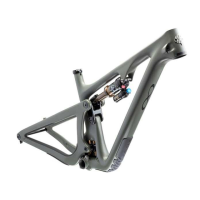
01.
All the parts you’ll need to get your
SB100 frame assembled. Please refer
to the exploded view later in this manual
for more information.
02.
Install 2x Bearing Lockrings (200020311)
into the SS Pivots on the Rear Triangle.
Tighten to hand tight using a cassette tool.
03.
Install one Grease Zerk (200020314) into
each Main Pivot bolt with a flat head
screwdriver. Zerk end should be flush with
the end of the Main Pivot bolt.
04.
Install 2x H20 Bolts (300030010) and
Washers to front triangle.
*Torque: 4 Nm
 Loading...