17
IM 04L41B01-18E
Example of an Explicit Message Using RSLogix 5000
This is an exampleofusingRSLogix5000toconfigureanExplicitmessagetobesentto
theDXbyaPLCsupportingtheCIPDataTableRead/Writecommand.
ThissectionassumesthatthereaderisfamiliarwiththeoperationsofRSLogix5000and
RSLinx and that RSLogix5000cancommunicatewiththetargetDXviaRSLinx.
Tag
Makingtagsinitiallywillbeuseful.GotoControllerOrganizer(atreeontheleftsideof
thescreen) and open ControllerTagto makeatagwithDataTypeofMessage(Name
thetagasMSG1).Also,makeatagusedtoretaindatatobewrittentotheDX(Namethe
tagasDATATransferandstore10FLOATvalues).Makeabitusedtolaunchamessage
asWriteMessageBit.
ControllerTags
Name Data Type
DATATransfer REAL[10]
MSG1 Message
WriteMessageBit BOOL
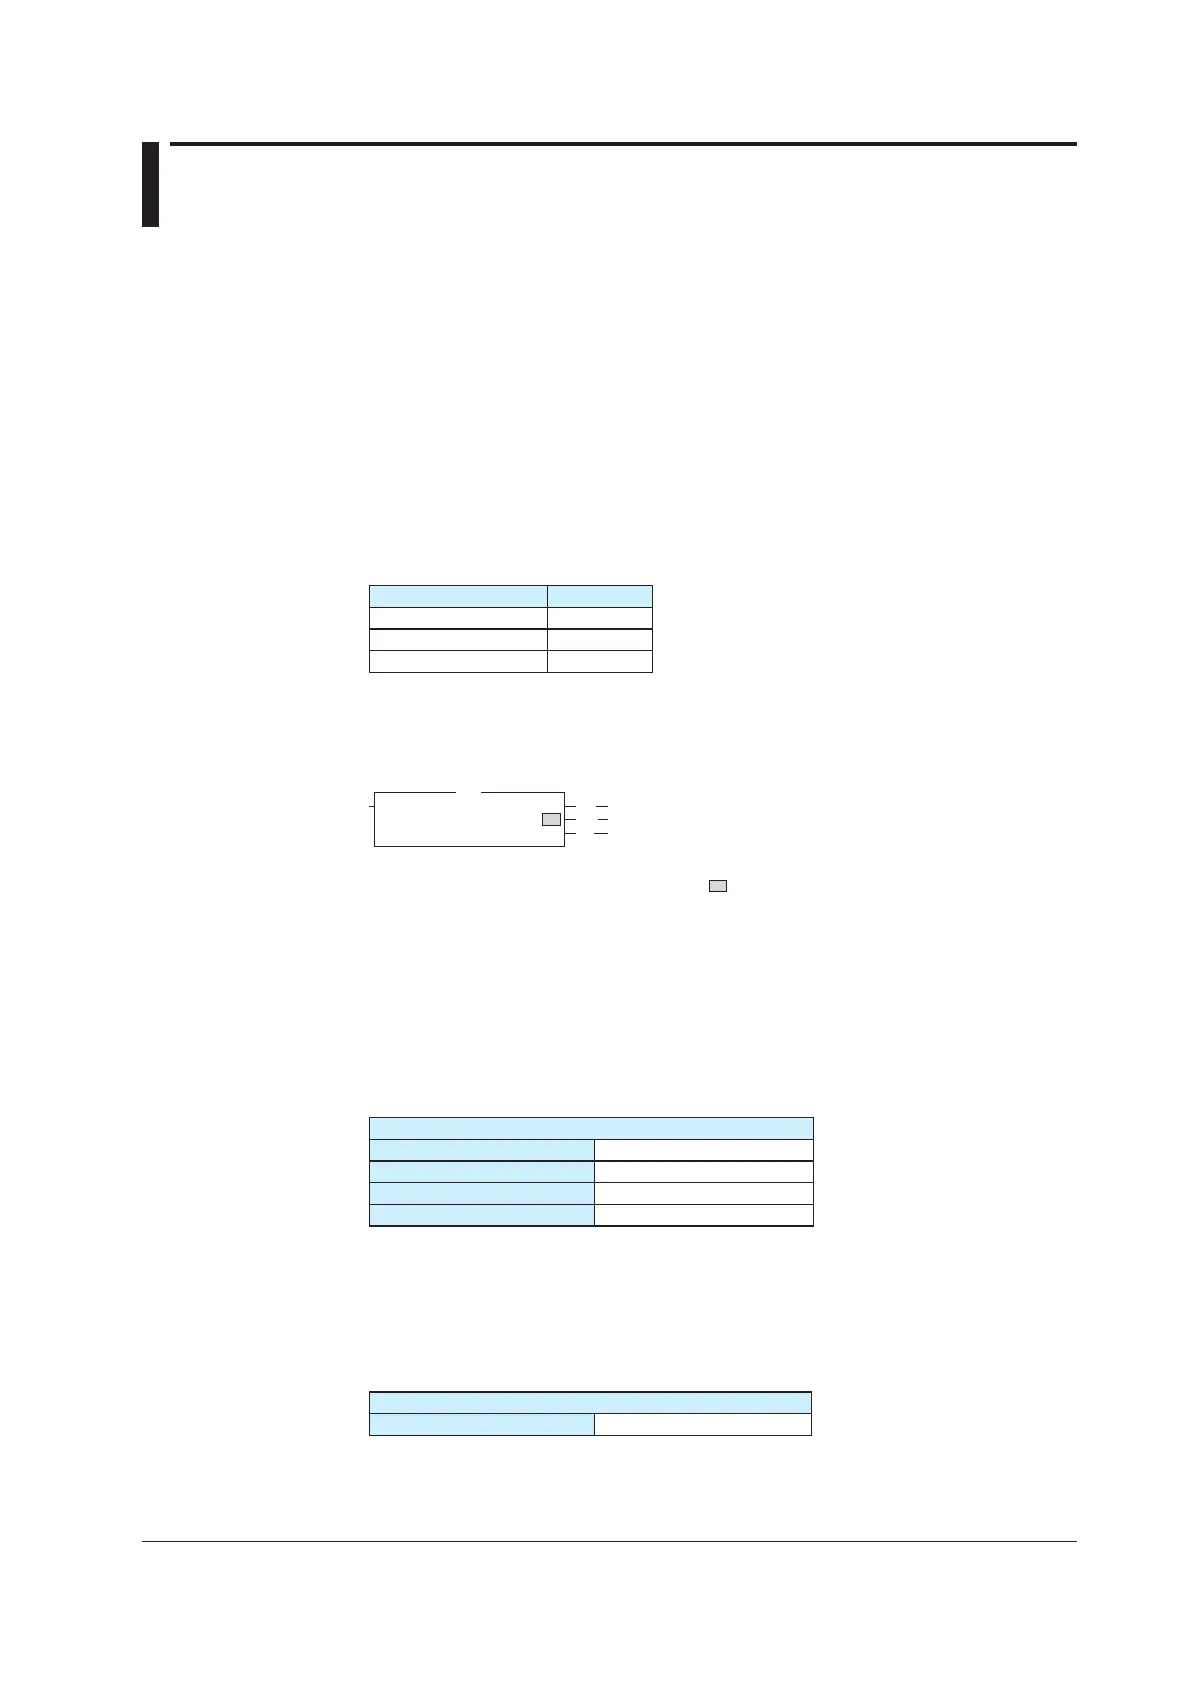
MSG Instruction
Goto the Input/Outputtab, then theLadder Element toolbar to selectMSG.TheMSG
block is inserted as ladder output. Tag MSG1 is assigned to the MSG block.
MSG
MSG1
(EN)
Message Control
Message
(DN)
(ER)
...
Make the MSG block settings (Click the
button in the MSG block). The following
showsanexampleinwhichthePLCwritesdatatothecommunicationinputdataC01to
C10ontheDX.
Set the Message Type as "CIP DataTable Write," Source Element as "DATATransfer"
(ataginthePLCdescribedearlier),NumberofElementas"10"(whichcanbesettoa
larger value if more data should be read or written per message). Set the Destination
Elementas"real[3000]."ThiscorrespondstocommunicationinputdataC01ontheDX.
MessageConfiguration
Configuration Tab
Message Type CIPDataTableW
rite
Source Element DATATransfer
Number Of Element 1
0
Destination Element real[3000]
Next,gototheCommunicationtabandsetaconnectionpathtotheDX.Thepathname
should consist of the PLC Ethernet port name (LocalENB in this example), comma, 2,
comma, and the DX IP address in this order.
MessageConfiguration
Communication Tab
Path LocalENB,2,192.168.1.126
 Loading...