JOHNSON CONTROLS
13
Form 160.78-N1
Issue date: 2/02/2022
2
Overview
The installation process consists of the following steps:
1. Rig chiller unit
2. Determine location
• Foundation requirements
• Clearance requirements
3. Rig chiller to nal location
4. Install isolators
• Locate and place isolator pads, or
• Install optional spring isolaters
5. Level chiller
6. Make connections
• Piping
• Wiring
7. Apply insulation
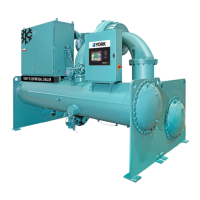
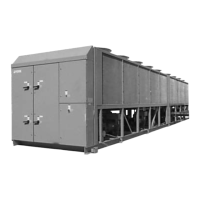
Rig chiller unit
The complete standard chiller is shipped without skids.
When optional skids are used it may be necessary to
remove the skids so riggers skates can be used under
the unit end sheets to reduce overall height.
Each unit has four lifting holes (two in each end sheet).
Lift the unit using these holes only, as shown in Figure 2.
Care should be taken at all times during rigging and
handling of the chiller to avoid damage to the unit and
its external connections.
Do not lift the unit with slings around the
driveline (compressor/motor assembly) or
by means of eyebolts in the tapped holes
of the compressor motor assembly. Do not
turn a unit on its side for rigging. Do not
rig vertically.
Section 2 - Installation
LD03864
Figure 2 - Rigging