8
How to Start Charging
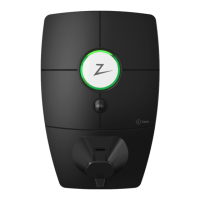
1. Check that the status indicator (Z) is illuminated white.
2. Remove the protective cover to gain access to the electrical outlet.
3. Attach the charging connector to the charging station electrical outlet.
4. Attach the charging connector to your vehicle.
5. The status indicator will ash blue once charging has started.
The charging current may vary depending on the capacity of the installation and the number of
active charging stations.
i
How to Start Charging with Authentication
Charging with authentication requires you to have registered a user prole in ZAPTEC Portal and
that this user prole have access granted to the charging station/facility. RFID tags/charging cards
are connected to your user prole.
For set up details, see section connecting a RFID Tag/Charging Card to Your
User Prole. The recommended authentication method is the use of RFID tags/charging cards.
Start charging with an authentication RFID tag/charging card:
1. Follow step 1–4 in How to Start Charging.
5. The status indicator (Z) will now ash yellow to indicate that it is awaiting authentication.
6. Hold the RFID tag/charging card up to the RFID zone, see illustration in the section ZAPTEC
HOME.
7. The status indicator will ash green once authentication is approved.
8. The status indicator will ash blue once charging has started.
If status indicator is ashing red, see the Troubleshooting section for further details.
How to Stop Charging
1. To interrupt the charging process: Stop charging as recommended in your car’s user manual.
2. Disconnect the charging connector from the vehicle.
3. Disconnect the charging connector from the charging station.
4. Place the protective cover over the charging point to limit exposure to dust and rain.