26
000000Ć1150Ć839 IOLMaster 11.02.2004
Conclude the entry by clicking the <NEW> button or striking the
<Enter> key. This will automatically activate the "Overview" [OVW]
mode. The fixation light and the illuminating LEDs are on.
If requested, you may exit the application and Windows by a click on
the Exit button.
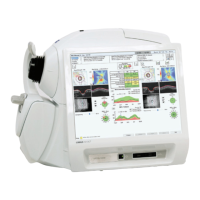
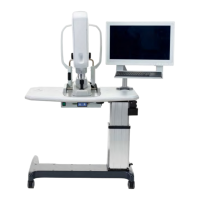
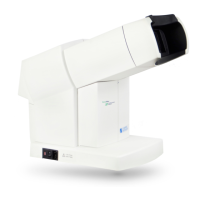
Aligning the instrument to the patient
The two red ring marks (13, Fig. 1) on the side rails of the headrest serve
for coarse vertical adjustment of the patient, (3, Fig. 1). The patient's
eyes should be level with these marks.
In overview mode align the instrument to the patient's eye using the
joystick (1, Fig. 1). Vertical adjustment is by turning the control knob.
Tell the patient to always look at the yellow fixation light in the
middle.
Note:
In ALM mode, the fixation light is "red"; otherwise it is always
"yellow".
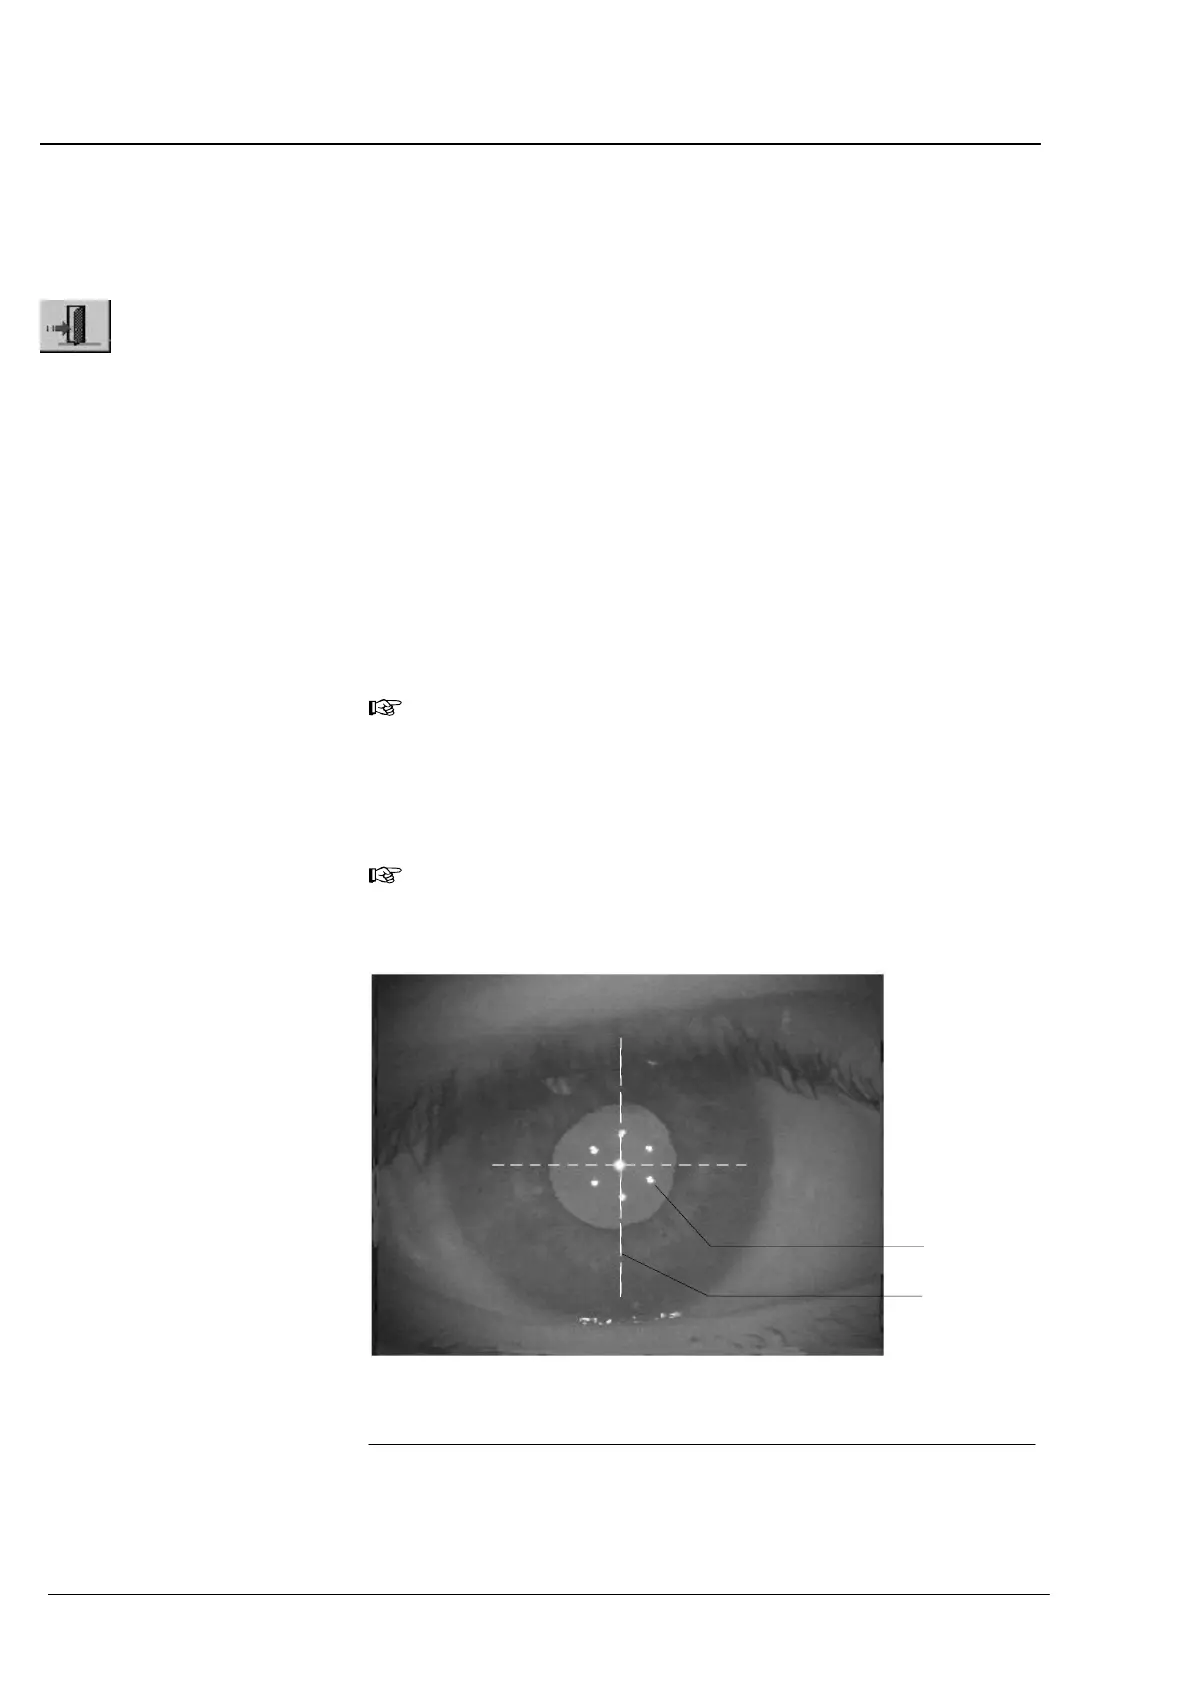
Adjust the instrumentĆtoĆpatient distance until the 6 light spots
(1,ĂFig. 14) appear focused.
Note:
The circle of lights should be approximately centered to the pupil
and cross hairs (2, Fig. 14).
Fig. 14 Video image of the eye with correctly aligned instrument
2
1 Circle of light spots for focusing
2 Cross hairs
1
Operation